Deploy a GitBuilding Website
Creating a new website repository on GitHub
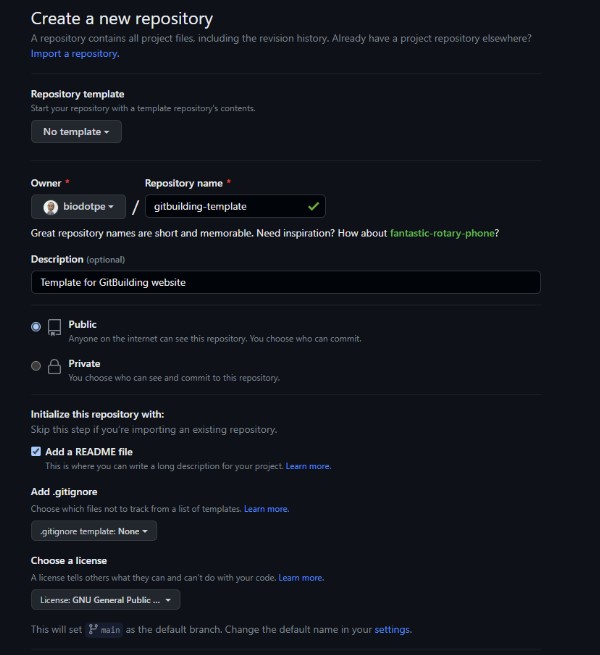
Go to your GitHub account and create a new repository where you will store the documentation files for your GitBuilding website.
Then, go to Settings to configure the repository and it can be identified as repo of a website. Select Pages and let GitHub Pages know which branch will be deployed as the website, in this case, the main branch.
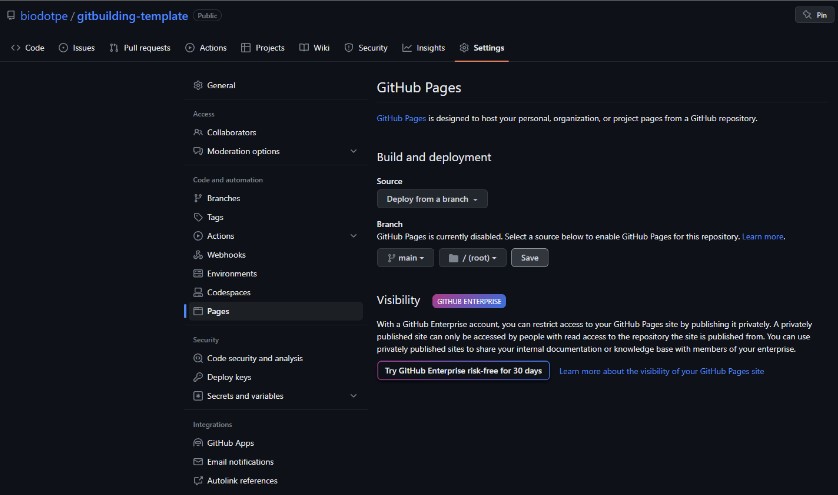
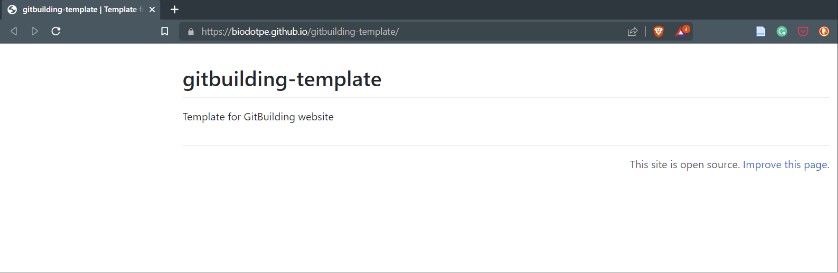
After saving this configuration, GitHub will automatically read the README file and deploy the website. You can open a browser and navigate to http://username.github.io/name-repository/. Sometimes the deployment can take a few minutes.
Implementing and deploying a GitBuilding website on GitHub
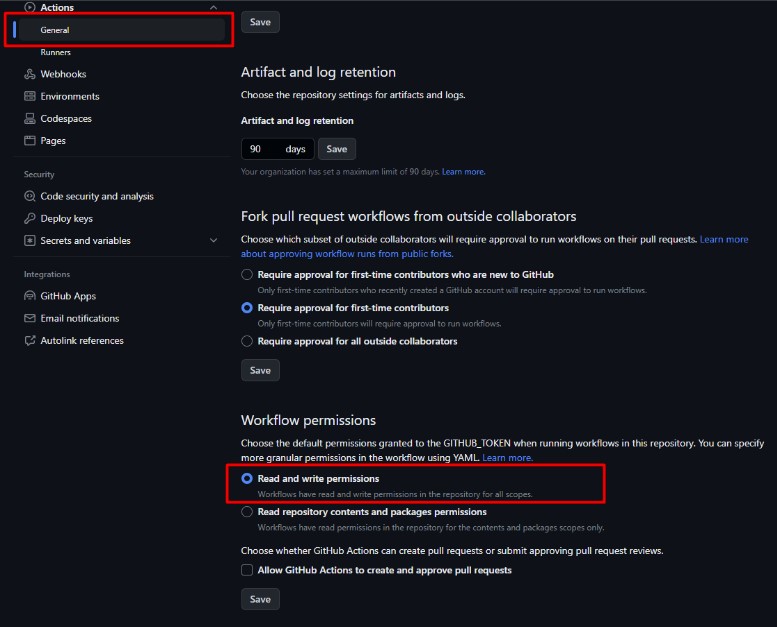
Go to Settings to update GitHub permissions, select Actions > General and allow Read and write permissions. This step is important to deploy any GitBuilding website.
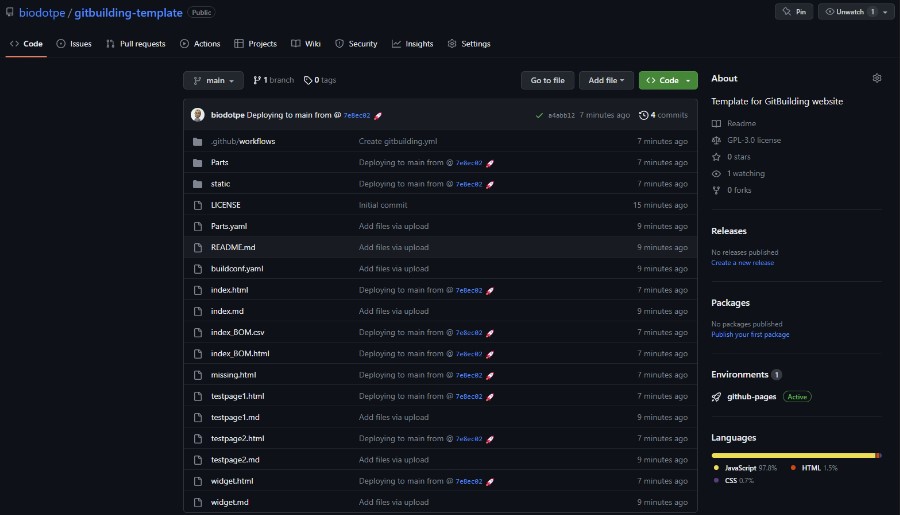
Once you have updated the permissions, you can import all documentation files from your laptop/PC using Add file option or GitHub Desktop. Finally, modify gitbuidling.yml file to let GitBuilding know which branch stores documentation files that will be published.
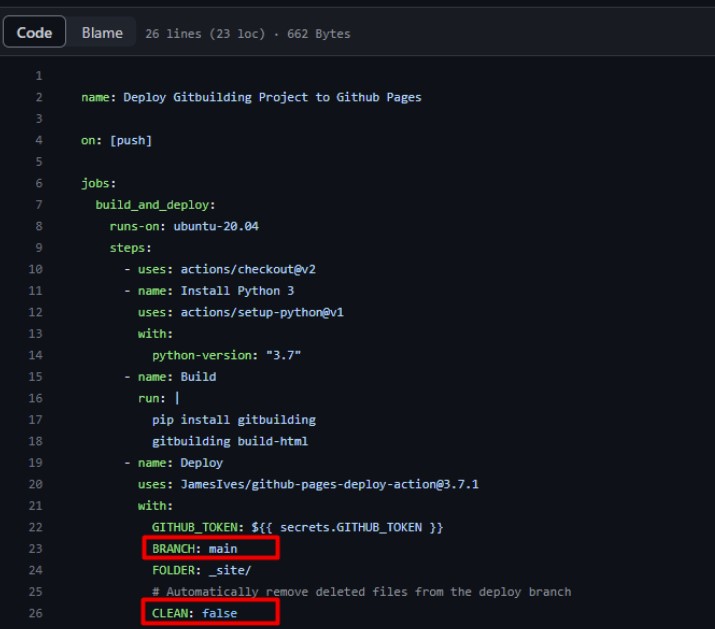
Push the changes on YML file and GitHub Pages will deploy your new GitBuilding website.
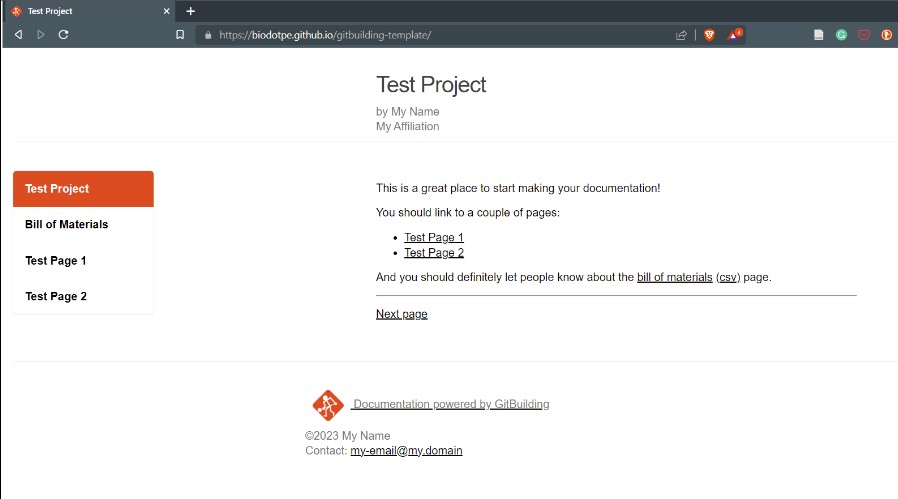
Refresh the browser and navigate again to http://username.github.io/name-repository/. This will show your documentation on the GitBuilding framework. You can keep working on it using GitHub platform and invite others to collaborate and improve the hardware documentation.
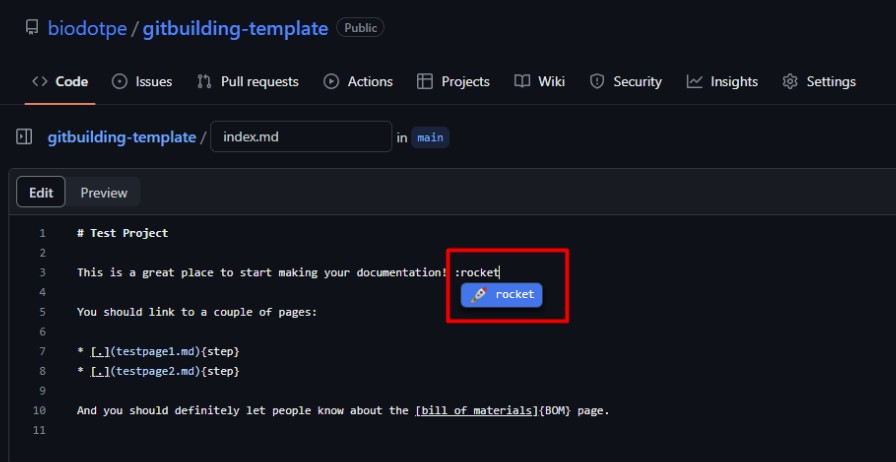
Customizing GitBuilding website
Update your documentation modifying Markdown files. Let’s try adding a rocket emoji on the main page!

Resources for this tutorial: