Create a GitBuilding Project
Creating a project folder
Create a folder for your project. It’s recommended to create it in C:\ or D:\ You can do it using the Windows explorer or Window terminal mkdir project_name

Creating a new documentation using GitBuilding
Then, go to your project folder and run gitbuilding new. Empty documentation files will be added to the directory.

Previewing the website template
GitBuilding has a built-in live editor. Open your terminal, navigate to the folder with your documentation, and run gitbuilding serve.

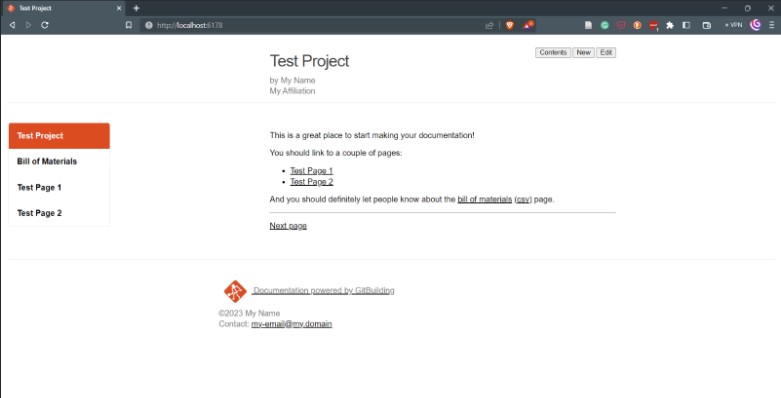
You can now open a browser and navigate to http://localhost:6178/. This will show the documentation in a browsable form.
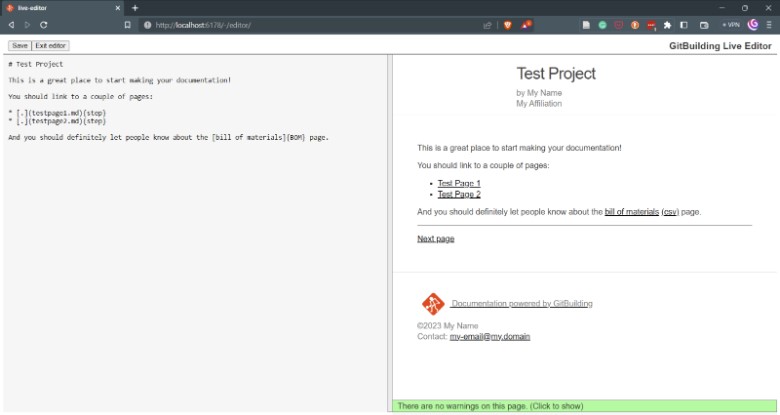
You can also edit the documentation directly from your browser by selecting edit in the top-right corner:
Continuous integration
Once you have finished the first version of your documentation, it can be released on GitHub and keep working on it. To set up continuous integration run gitbuilding generate ci and follow the instructions to choose the hosting service you wish to use, in this case, GitHub. The current CI scripts assume that your documentation is in the root directory of your Git repository.
