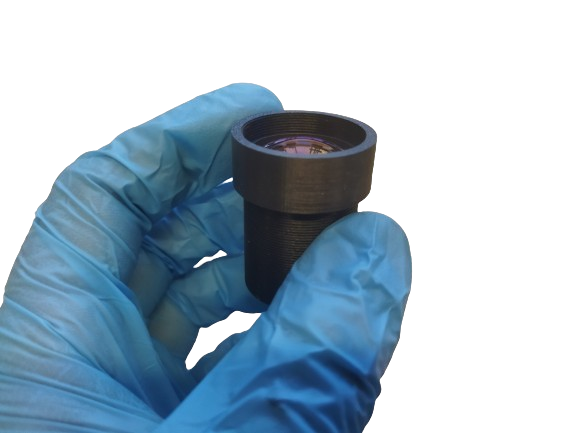
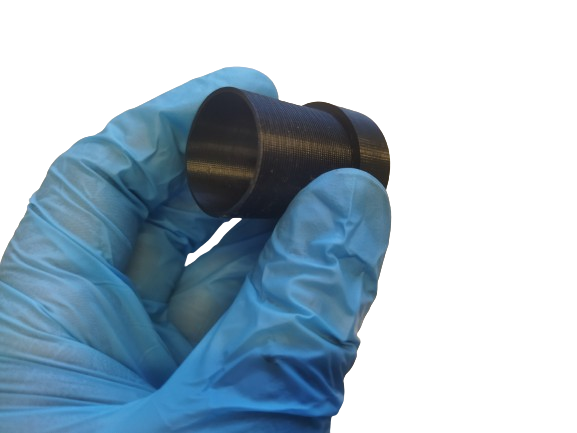
Optical Module
Warning Use nitrile gloves when handling all parts of the optical module. Take special care with the lenses and the laser fiber.
Step 1: Optical Lens
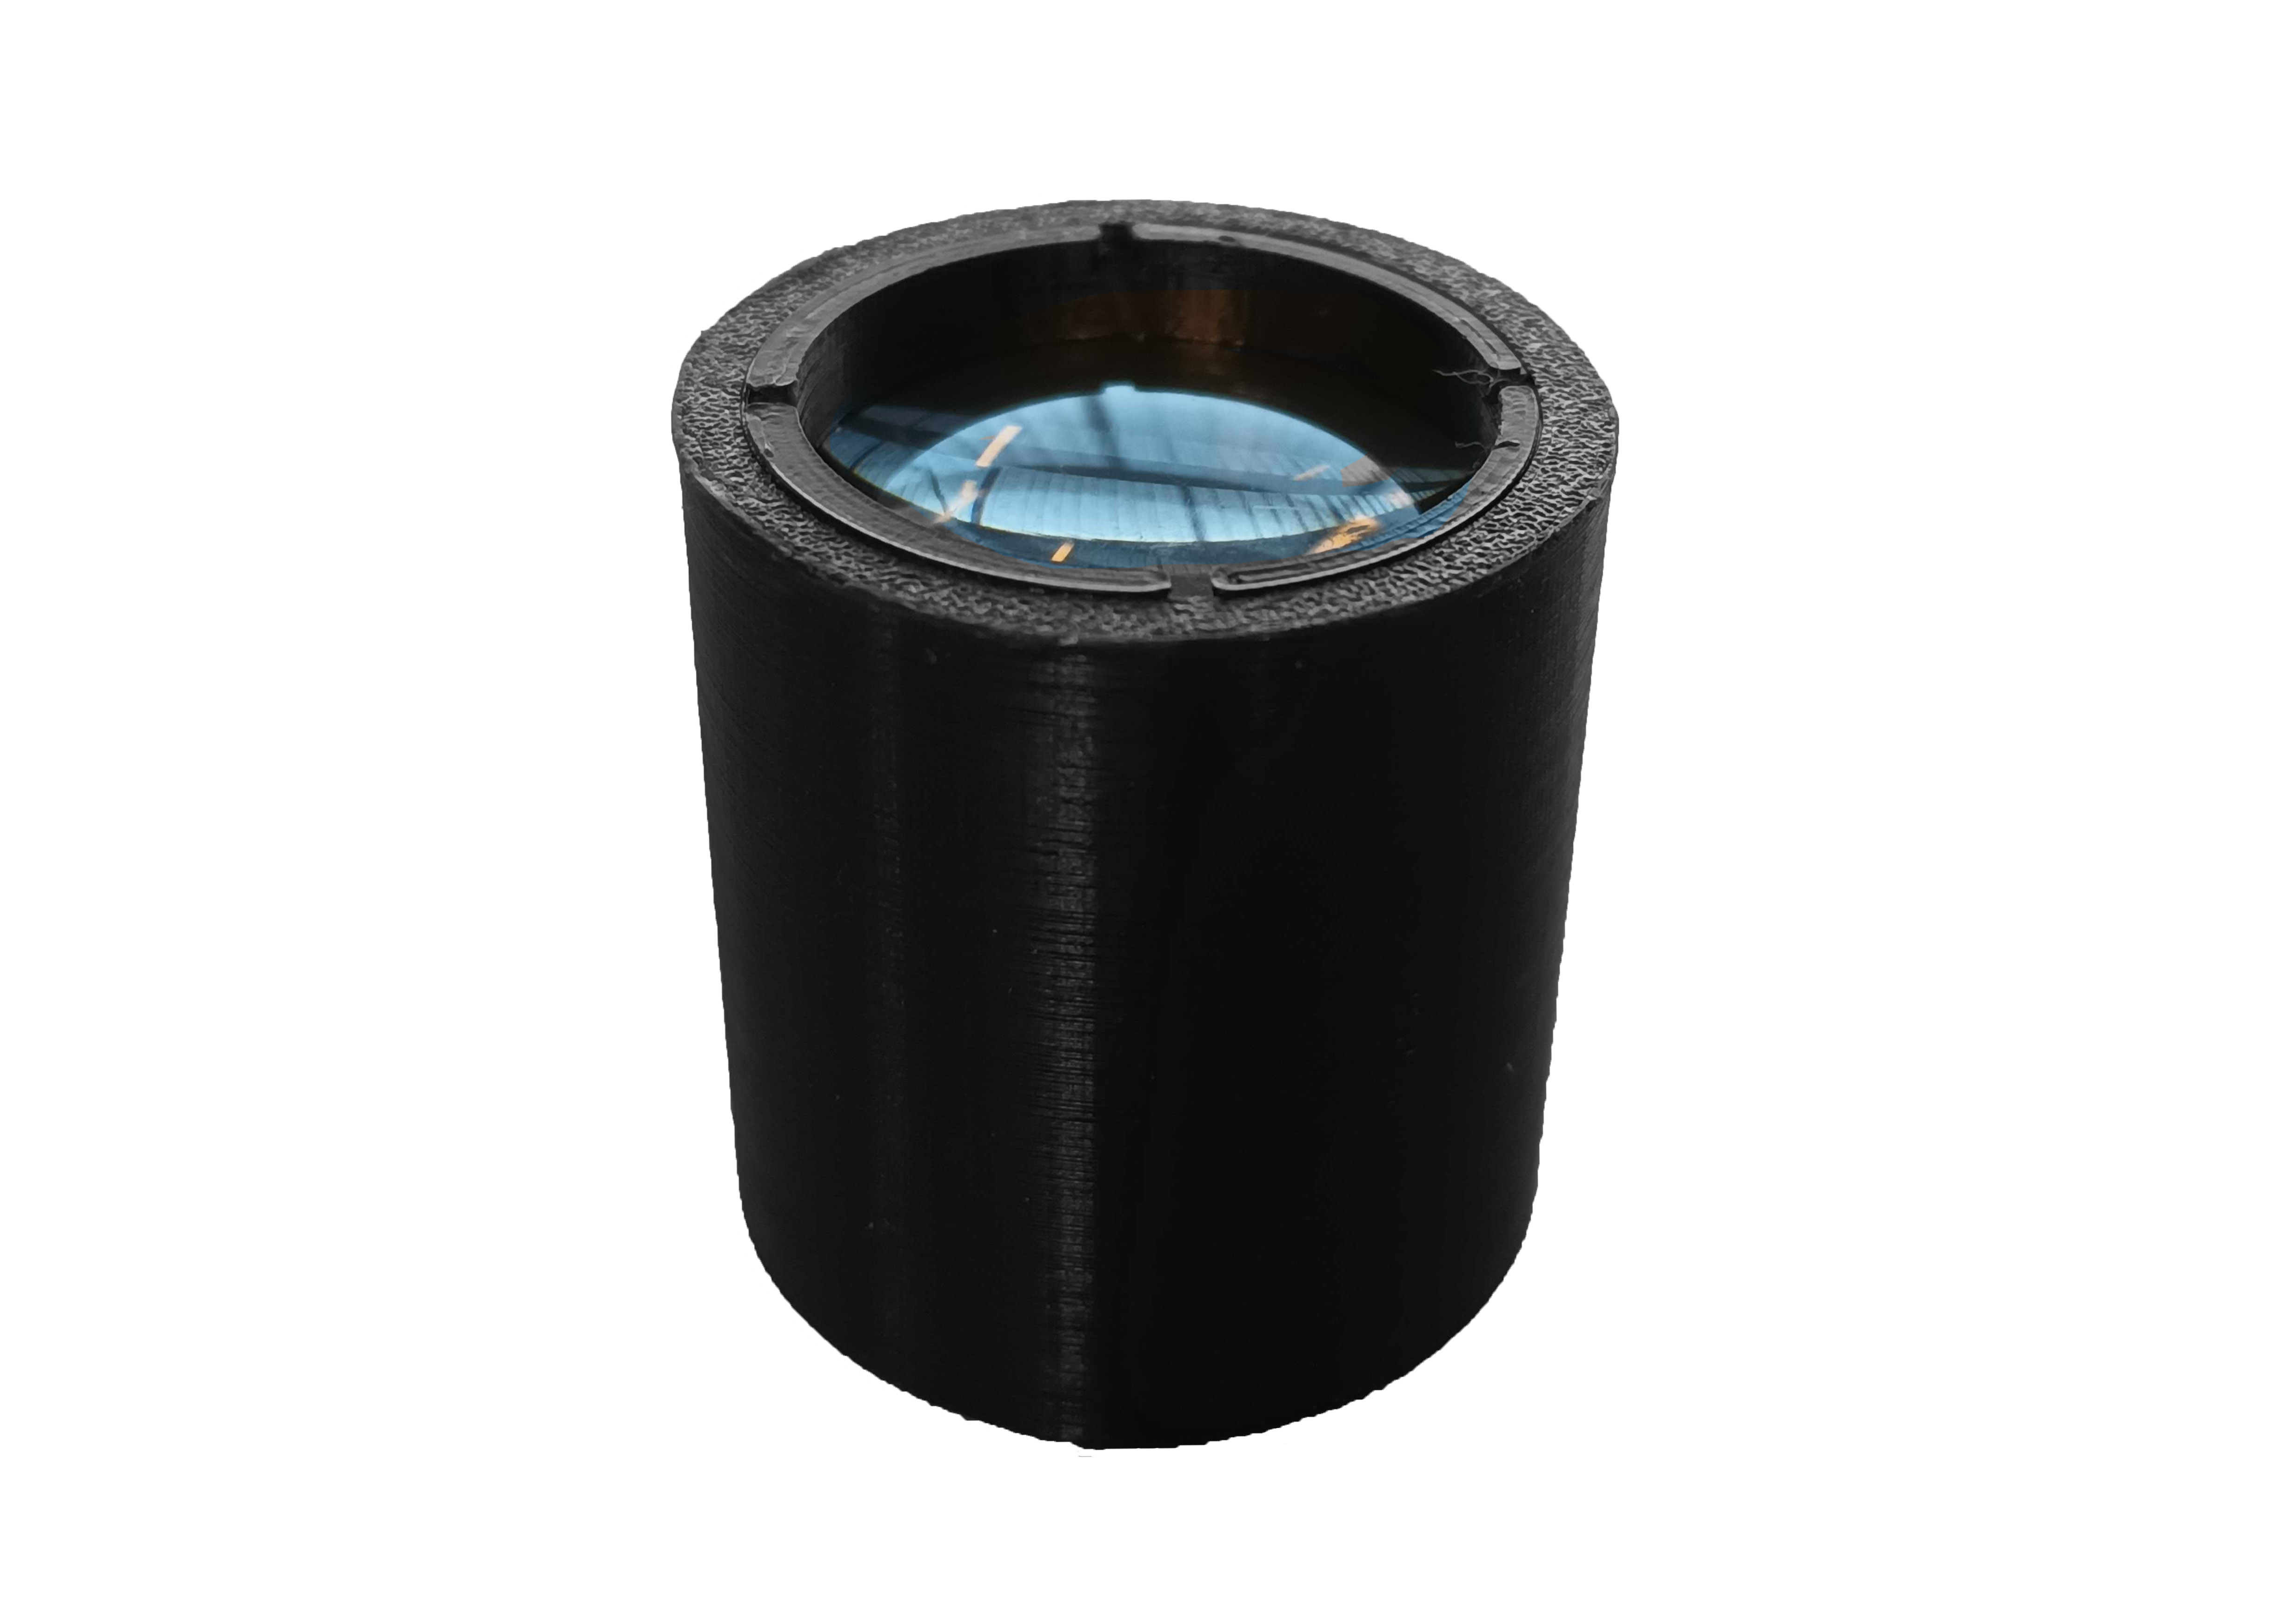
Insert inner ring into the ring tool. Then, insert into the optical tube and rotate to a minimum depth of 6mm to later insert the lens and second internal ring.
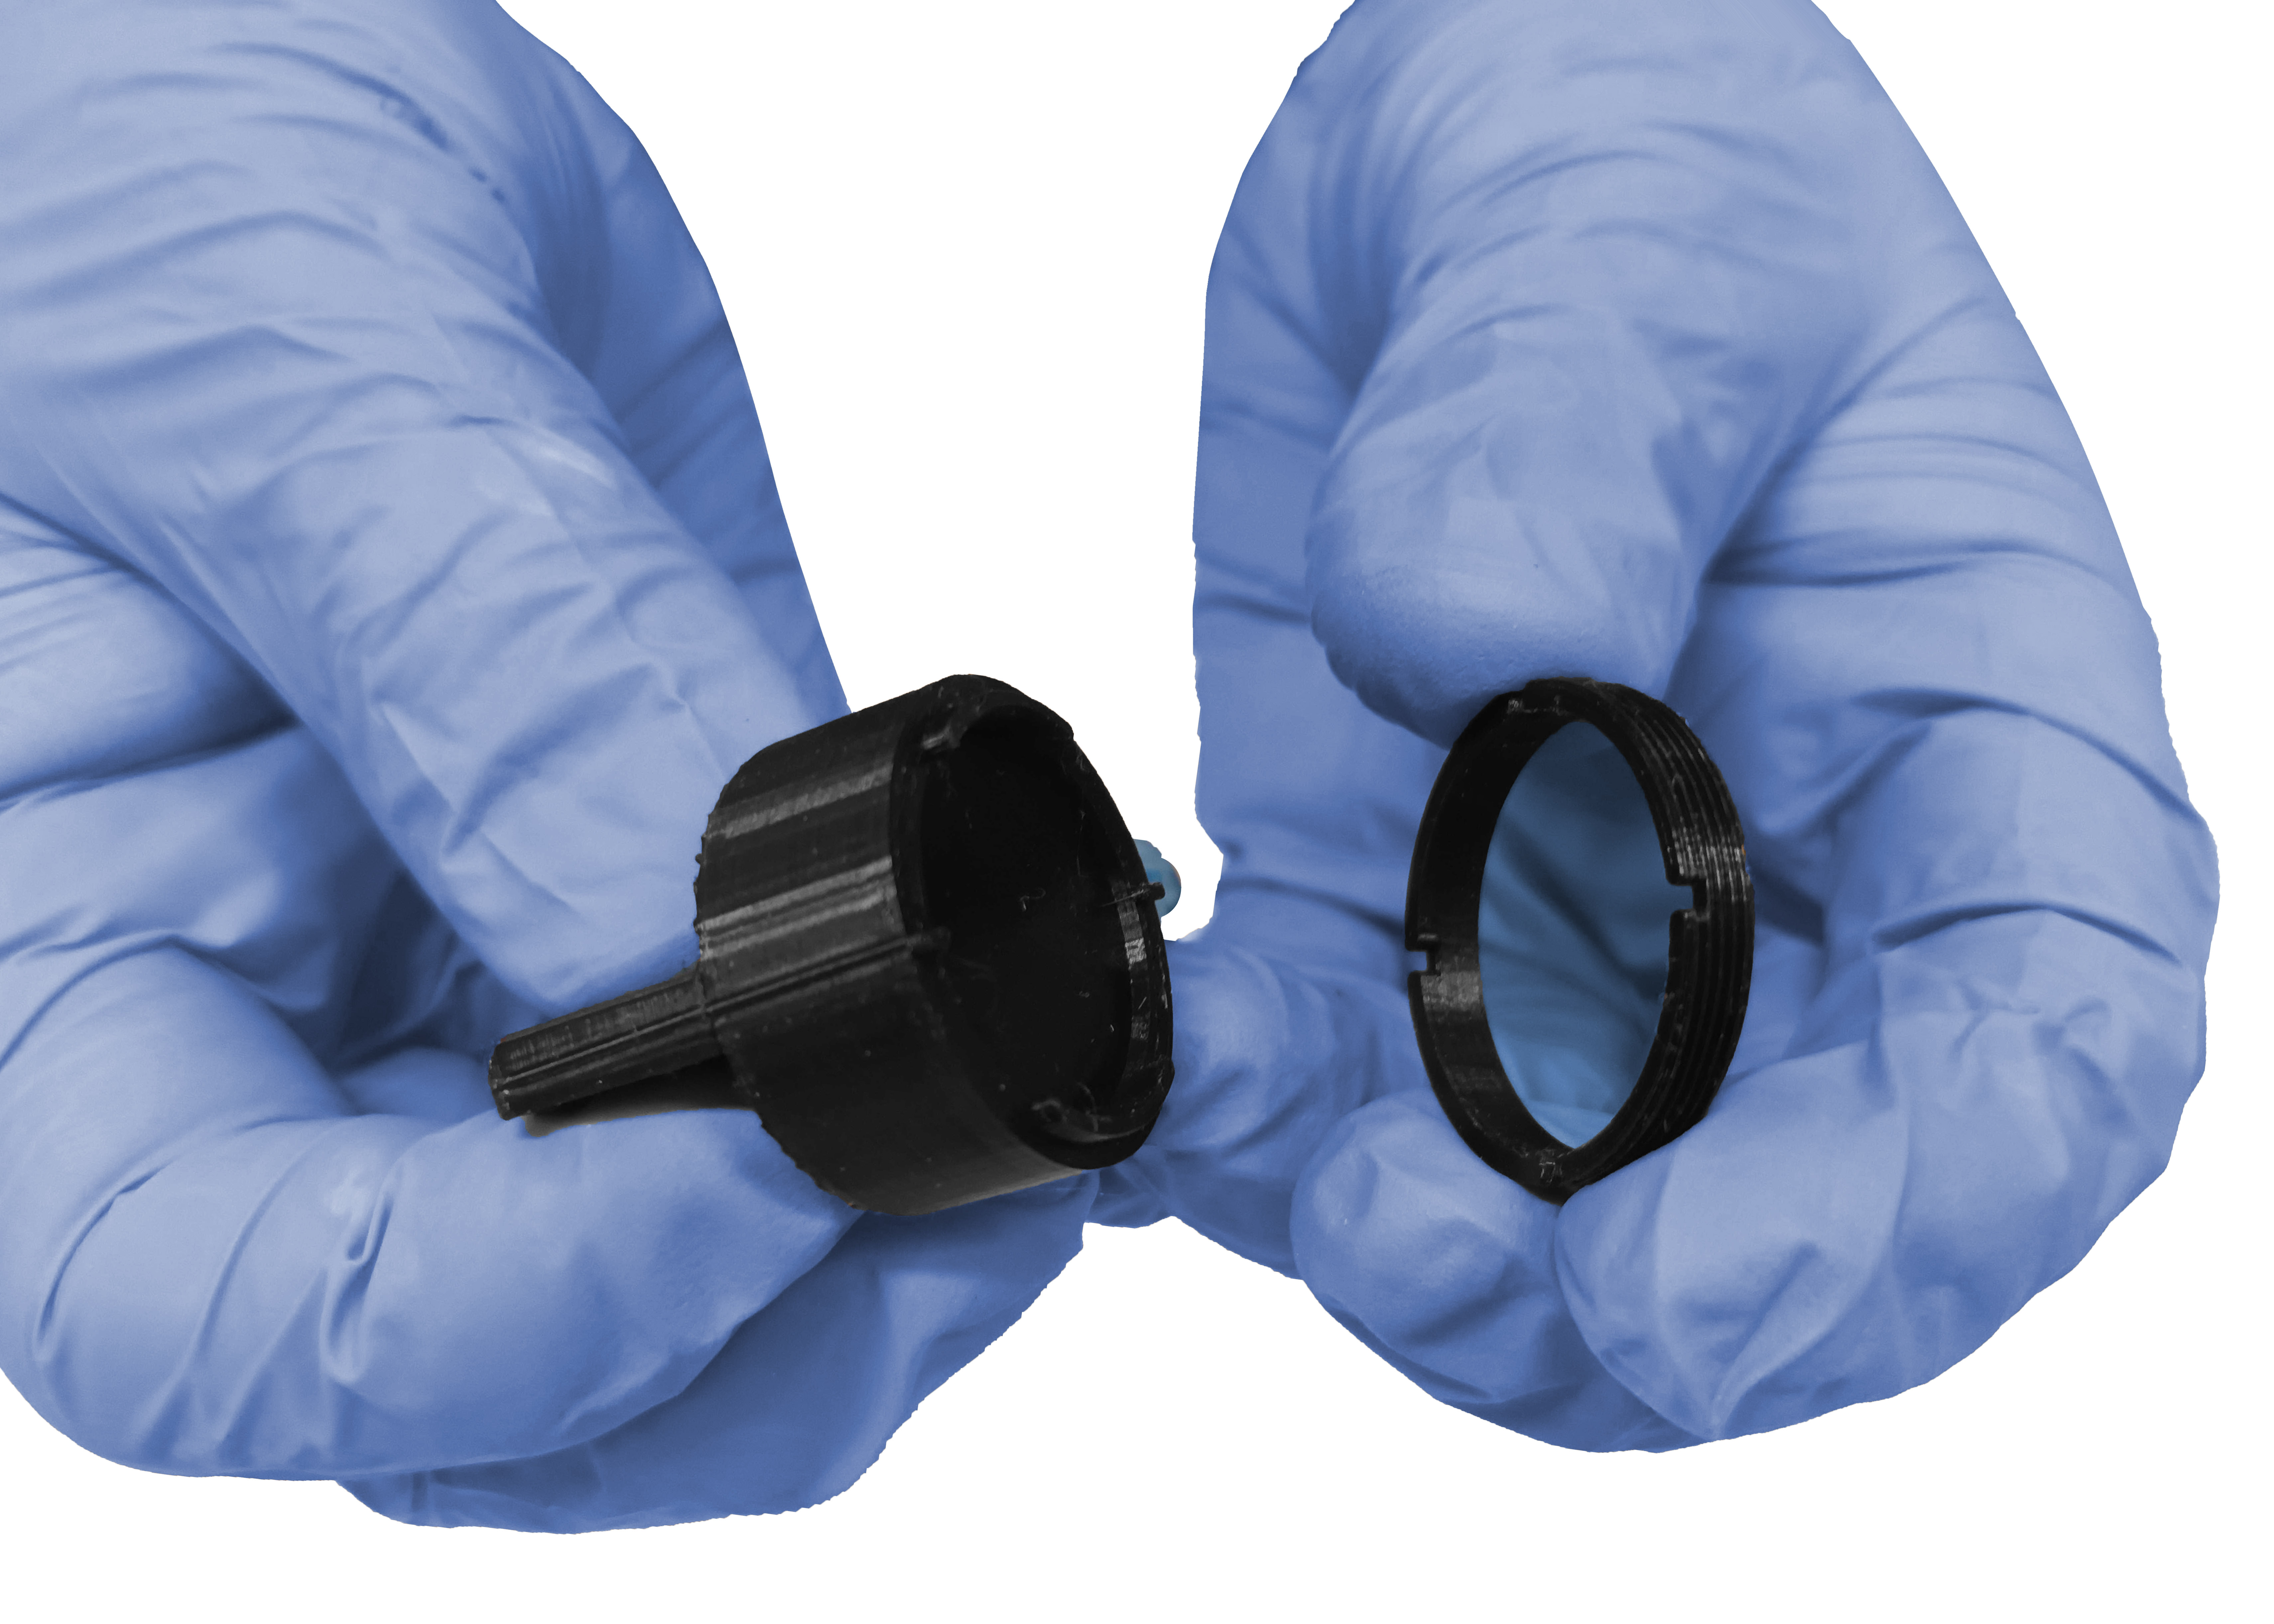
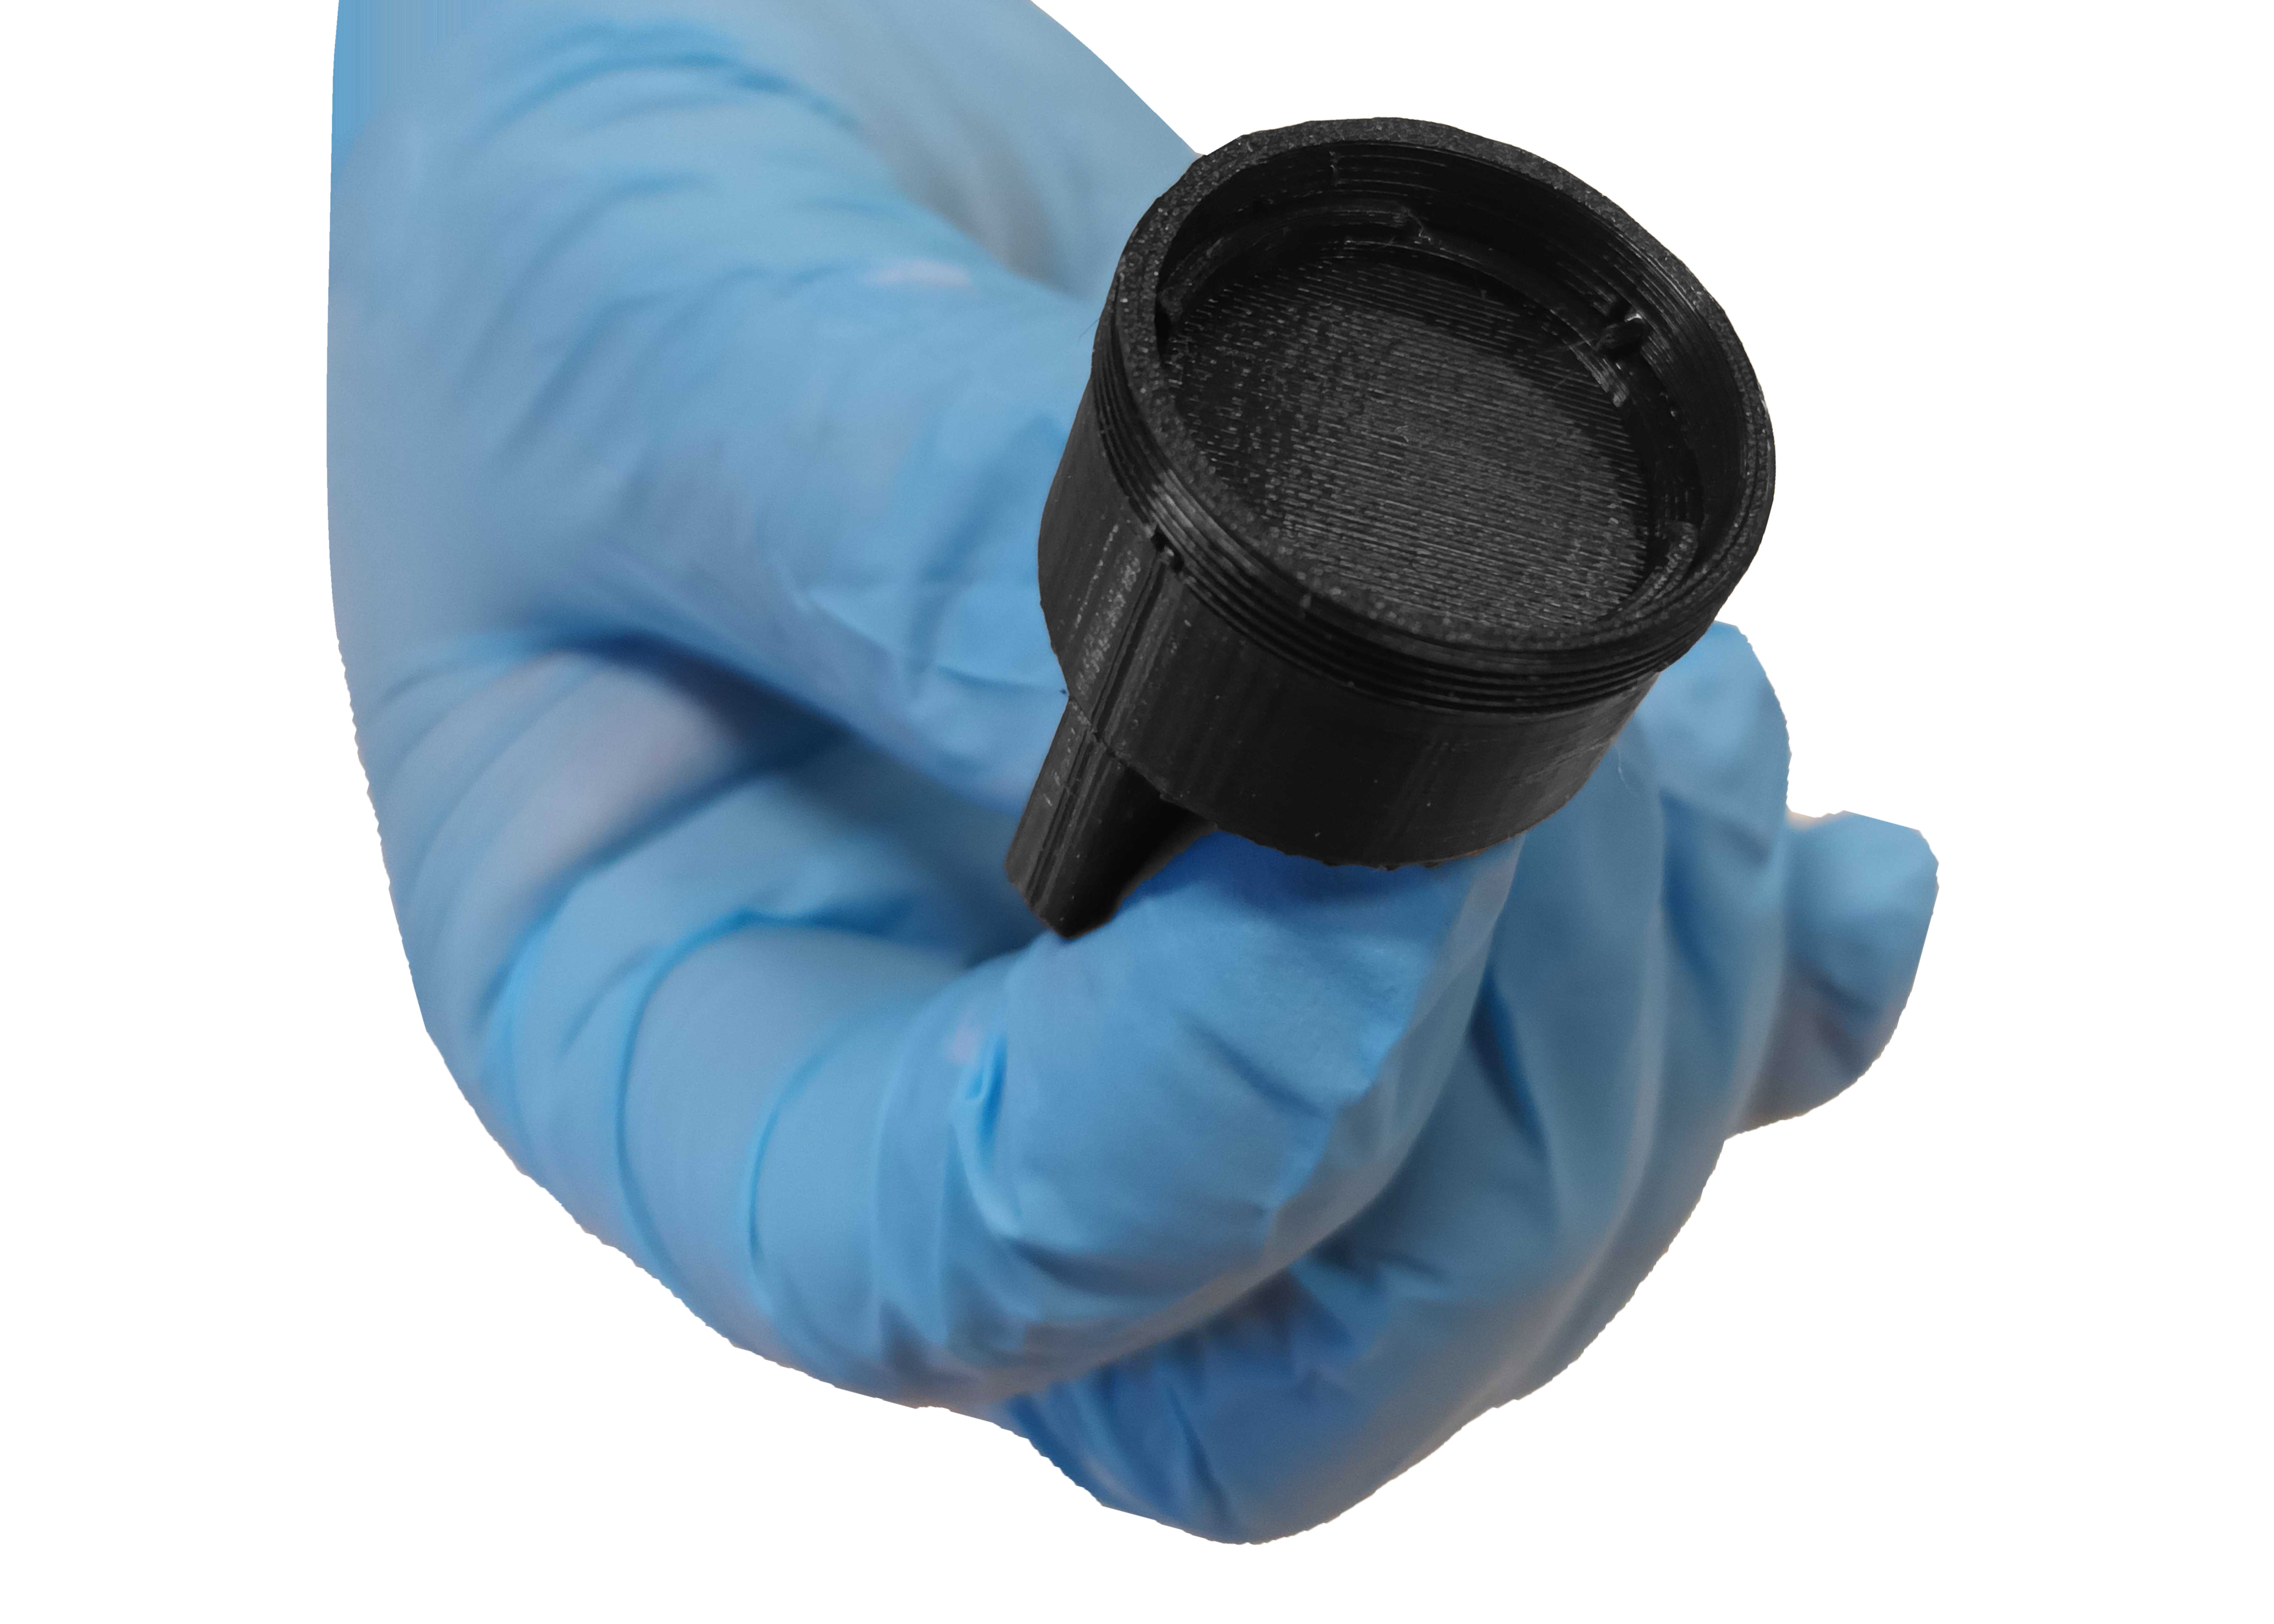
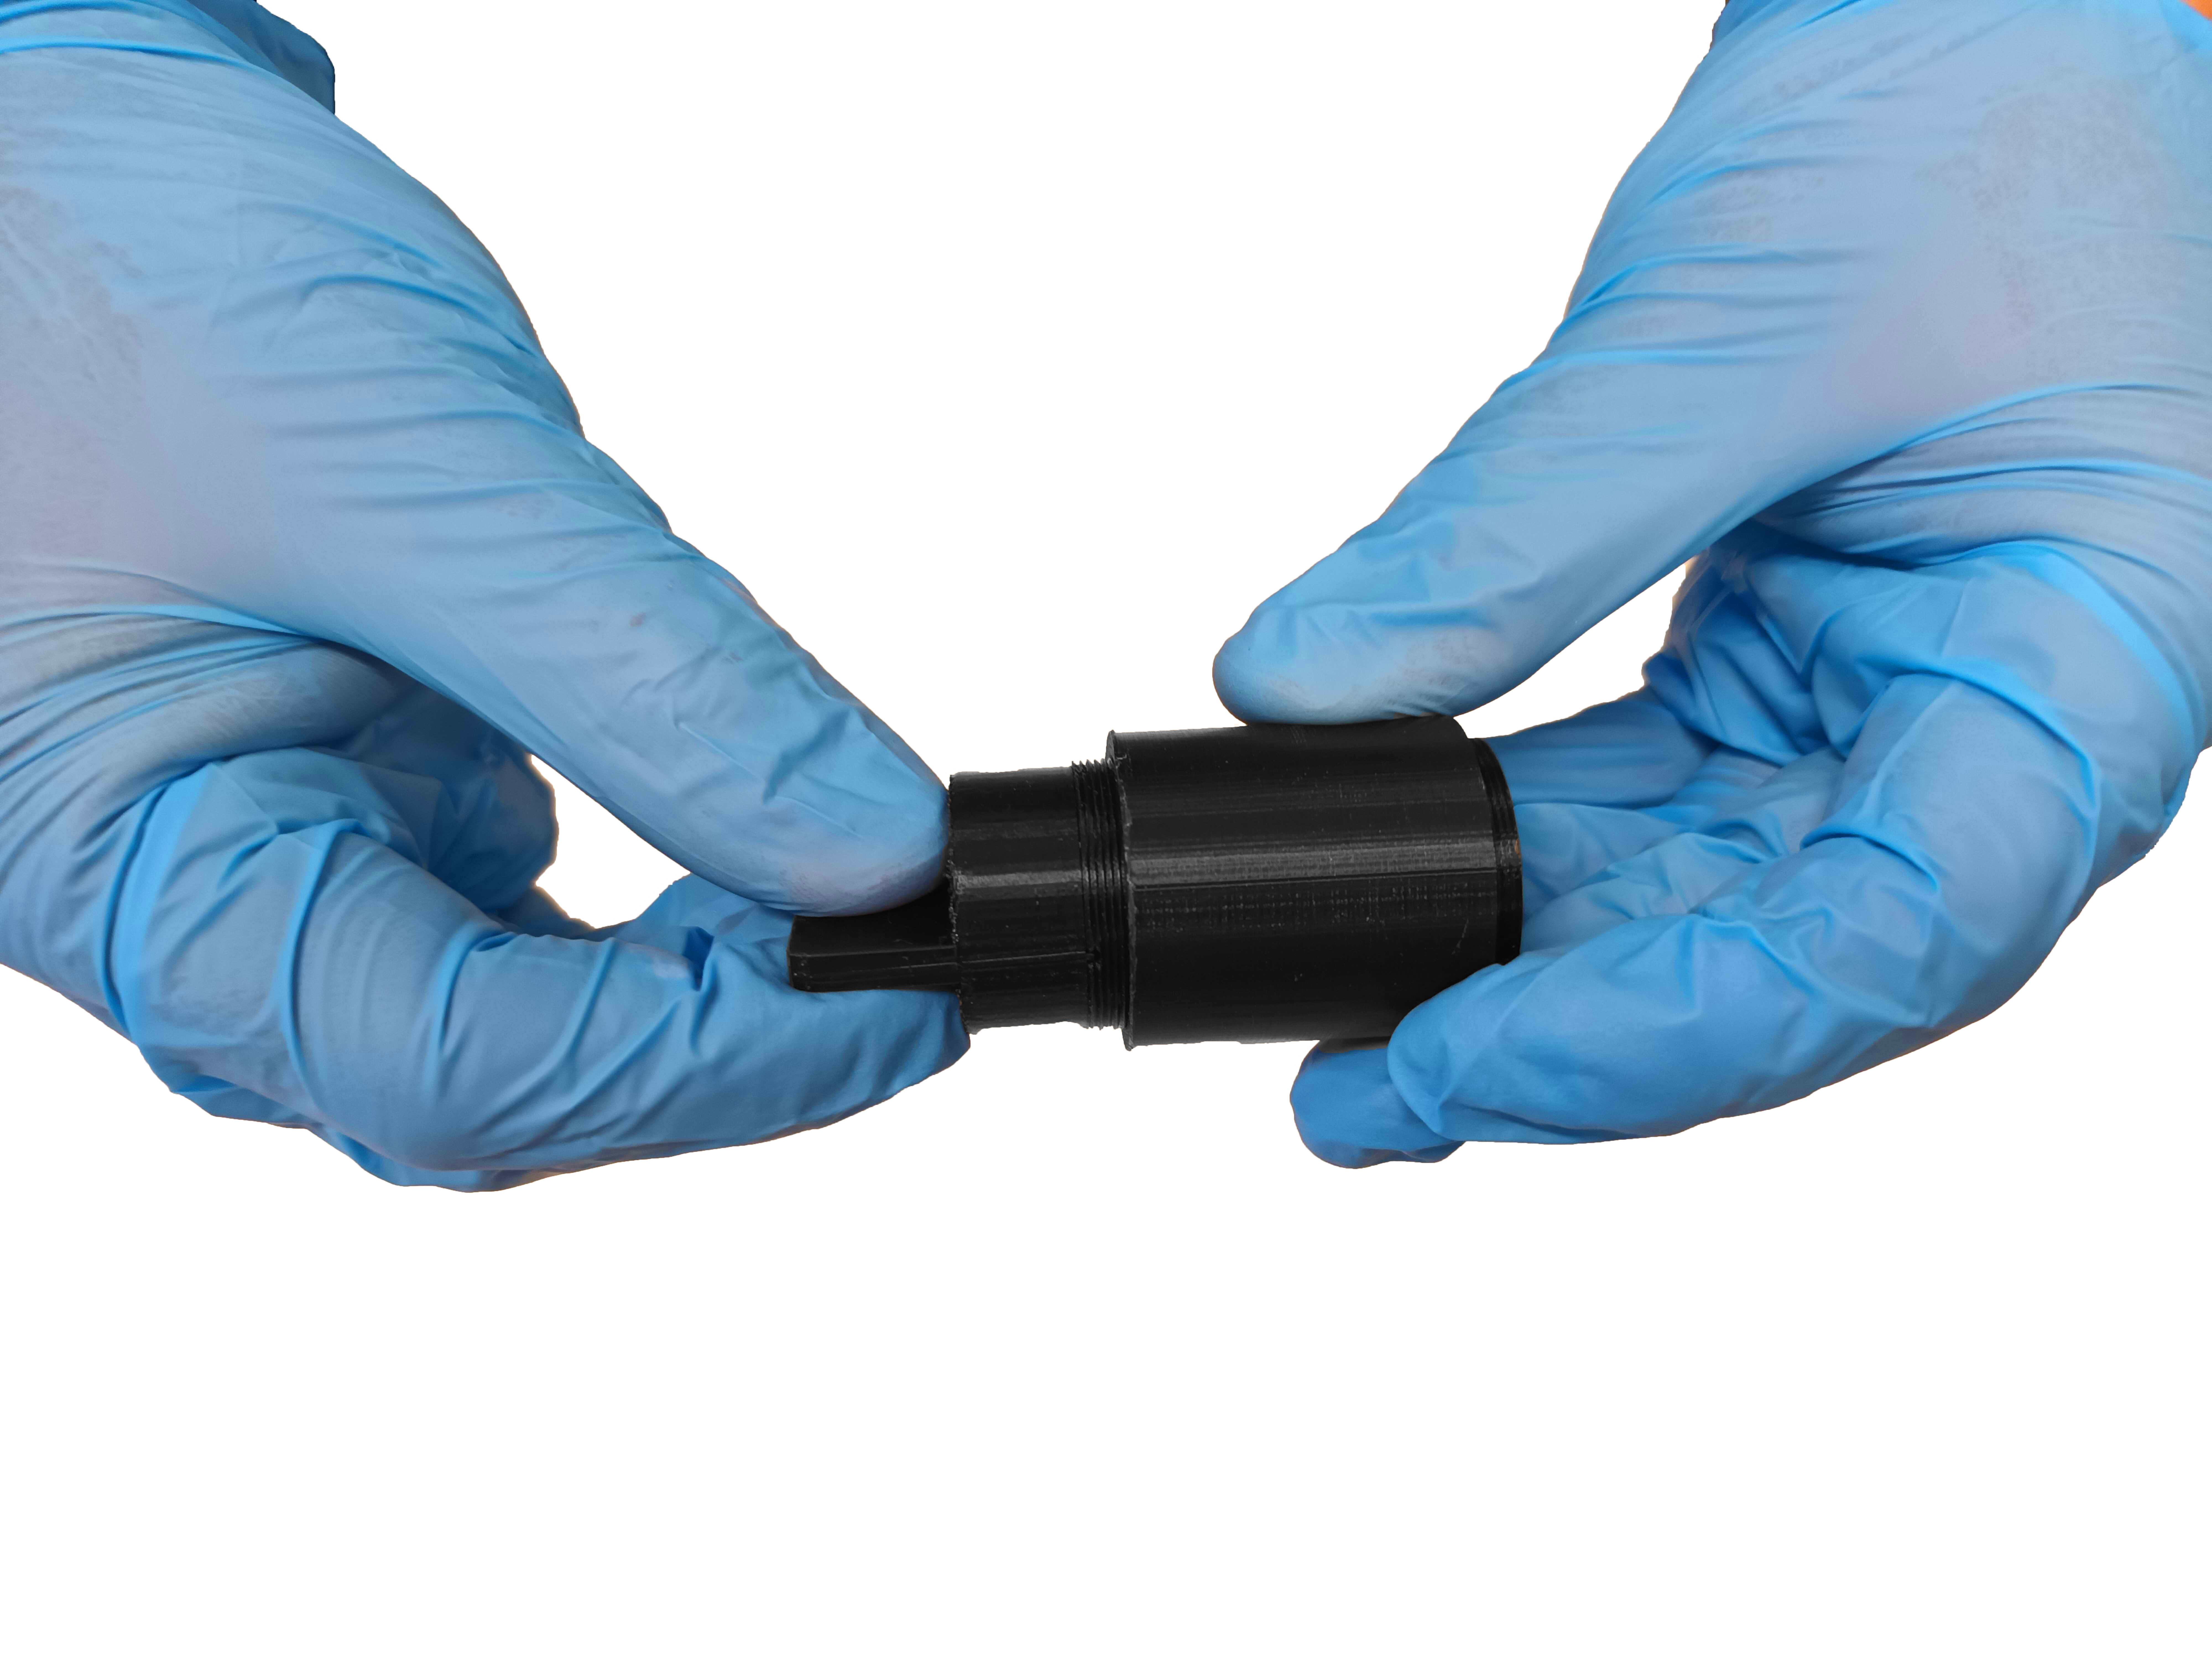

Insert lens into optical tube.
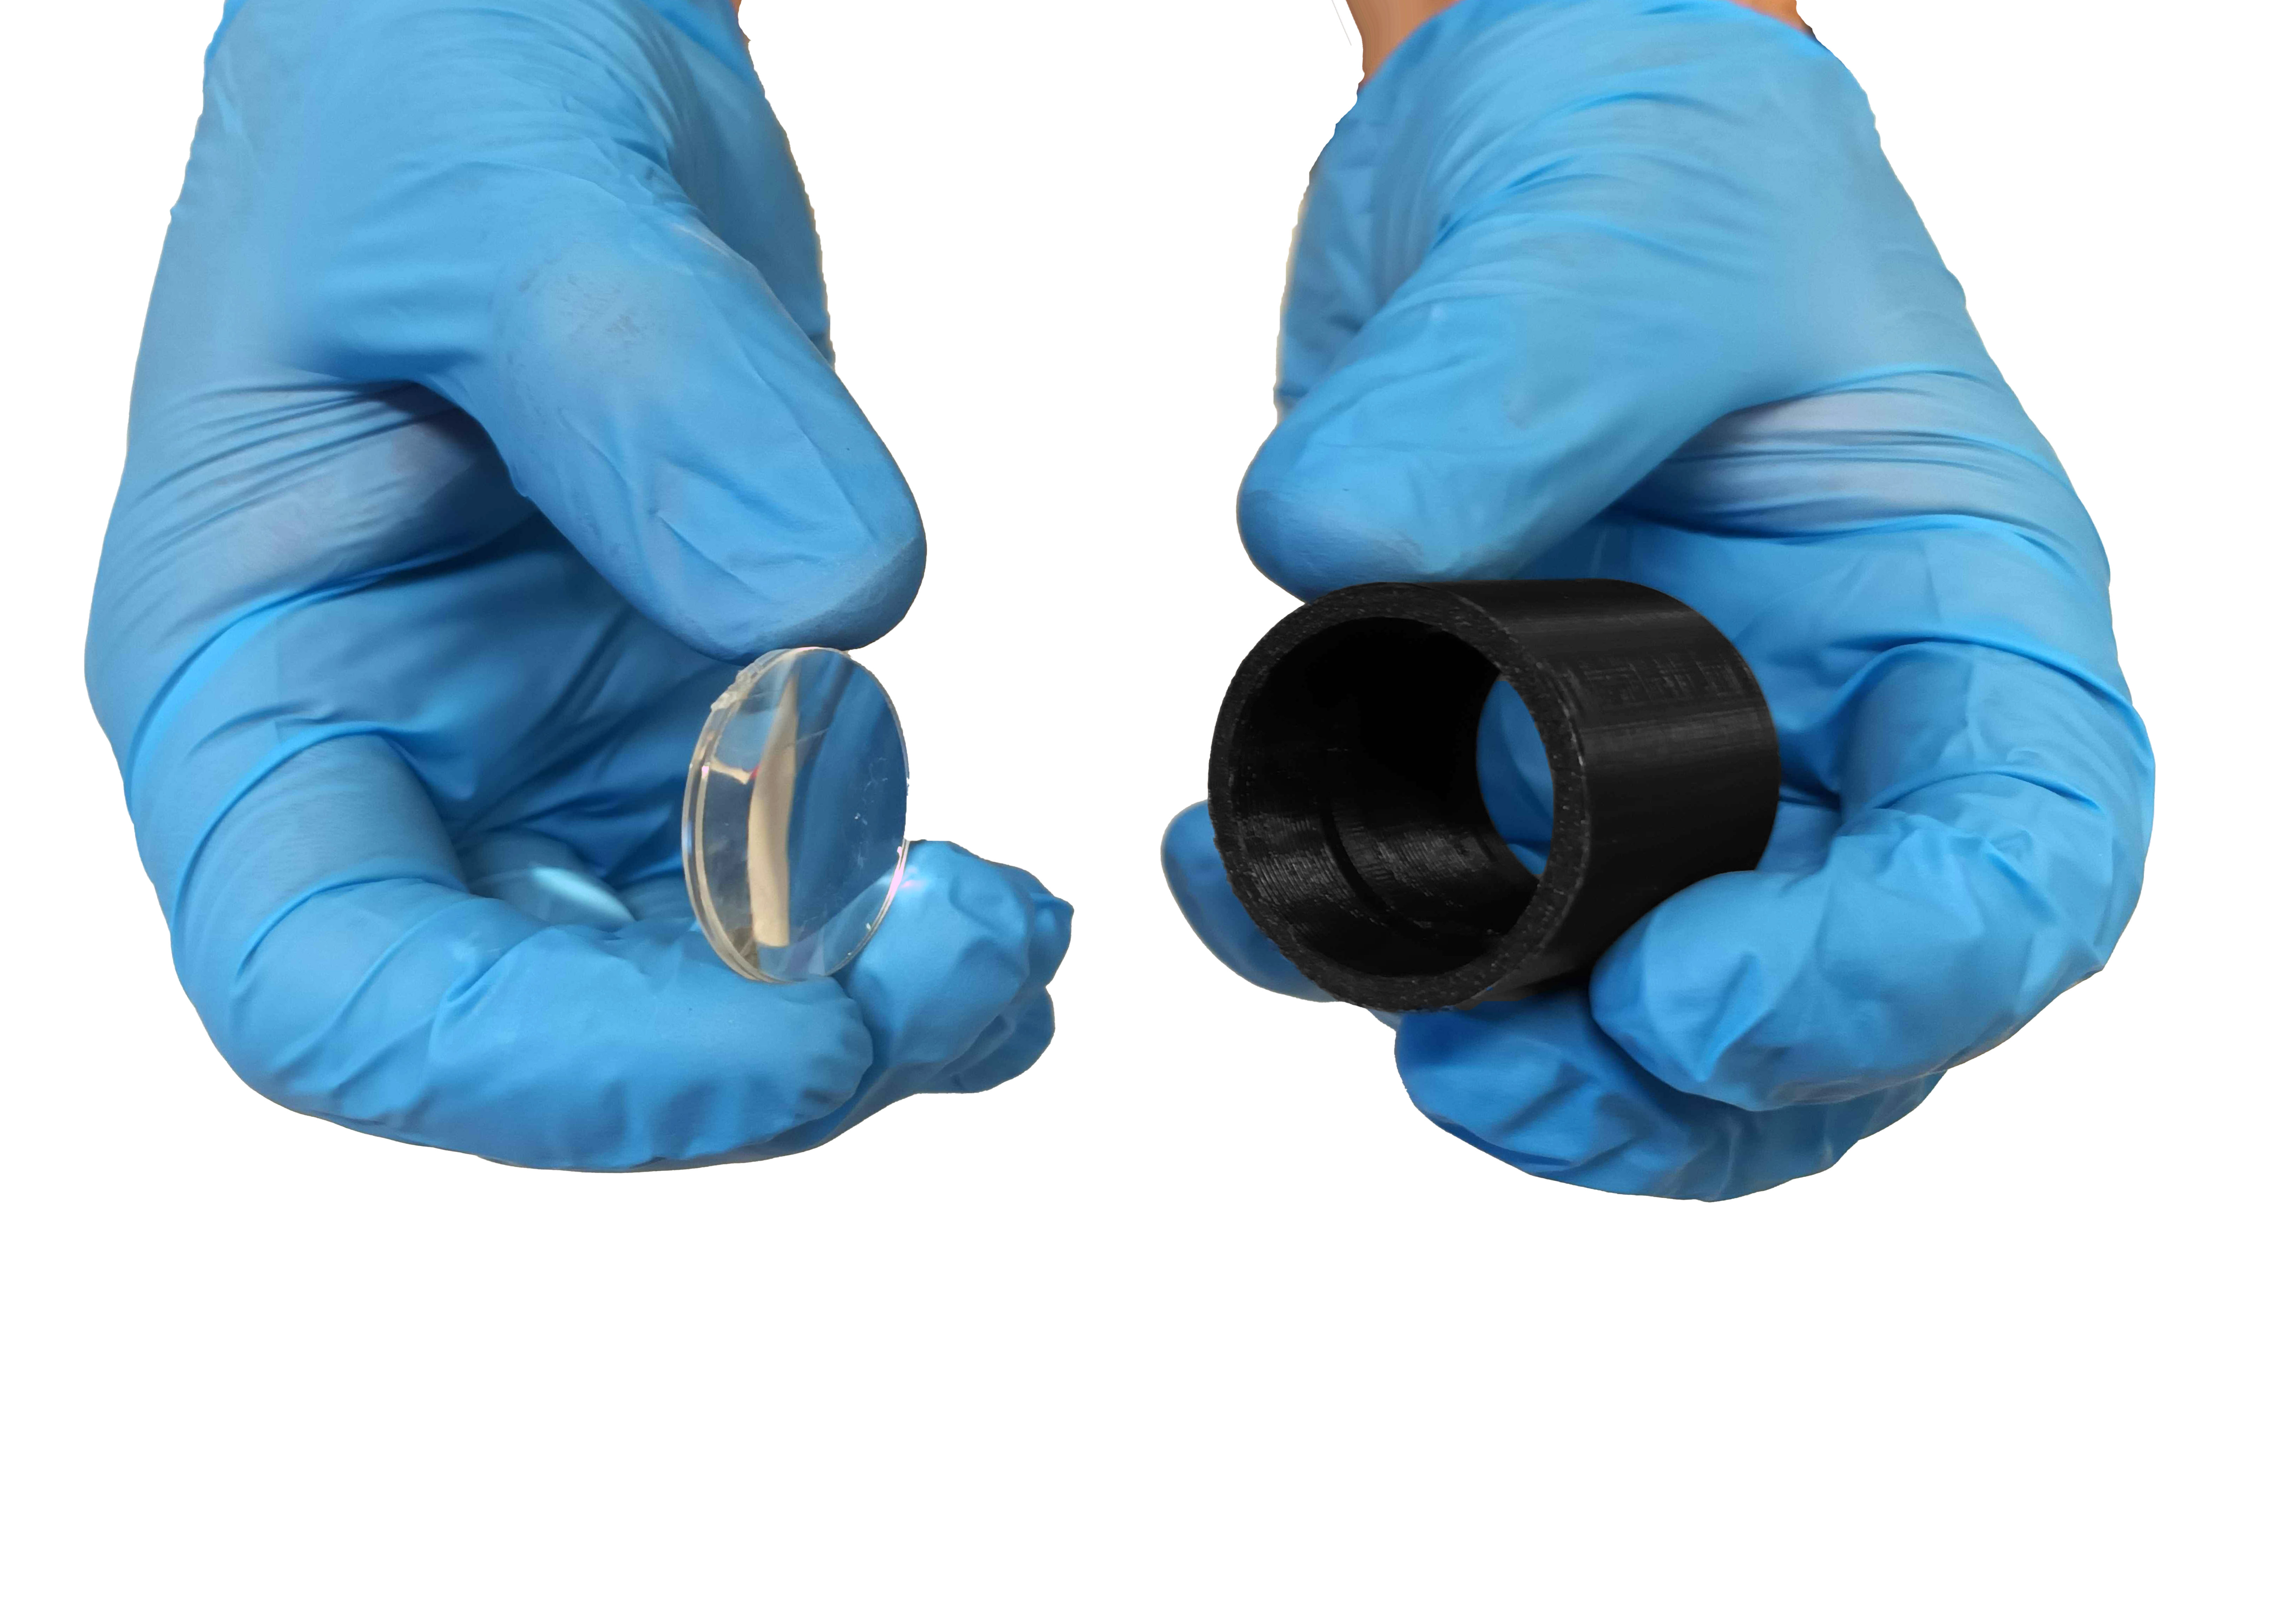
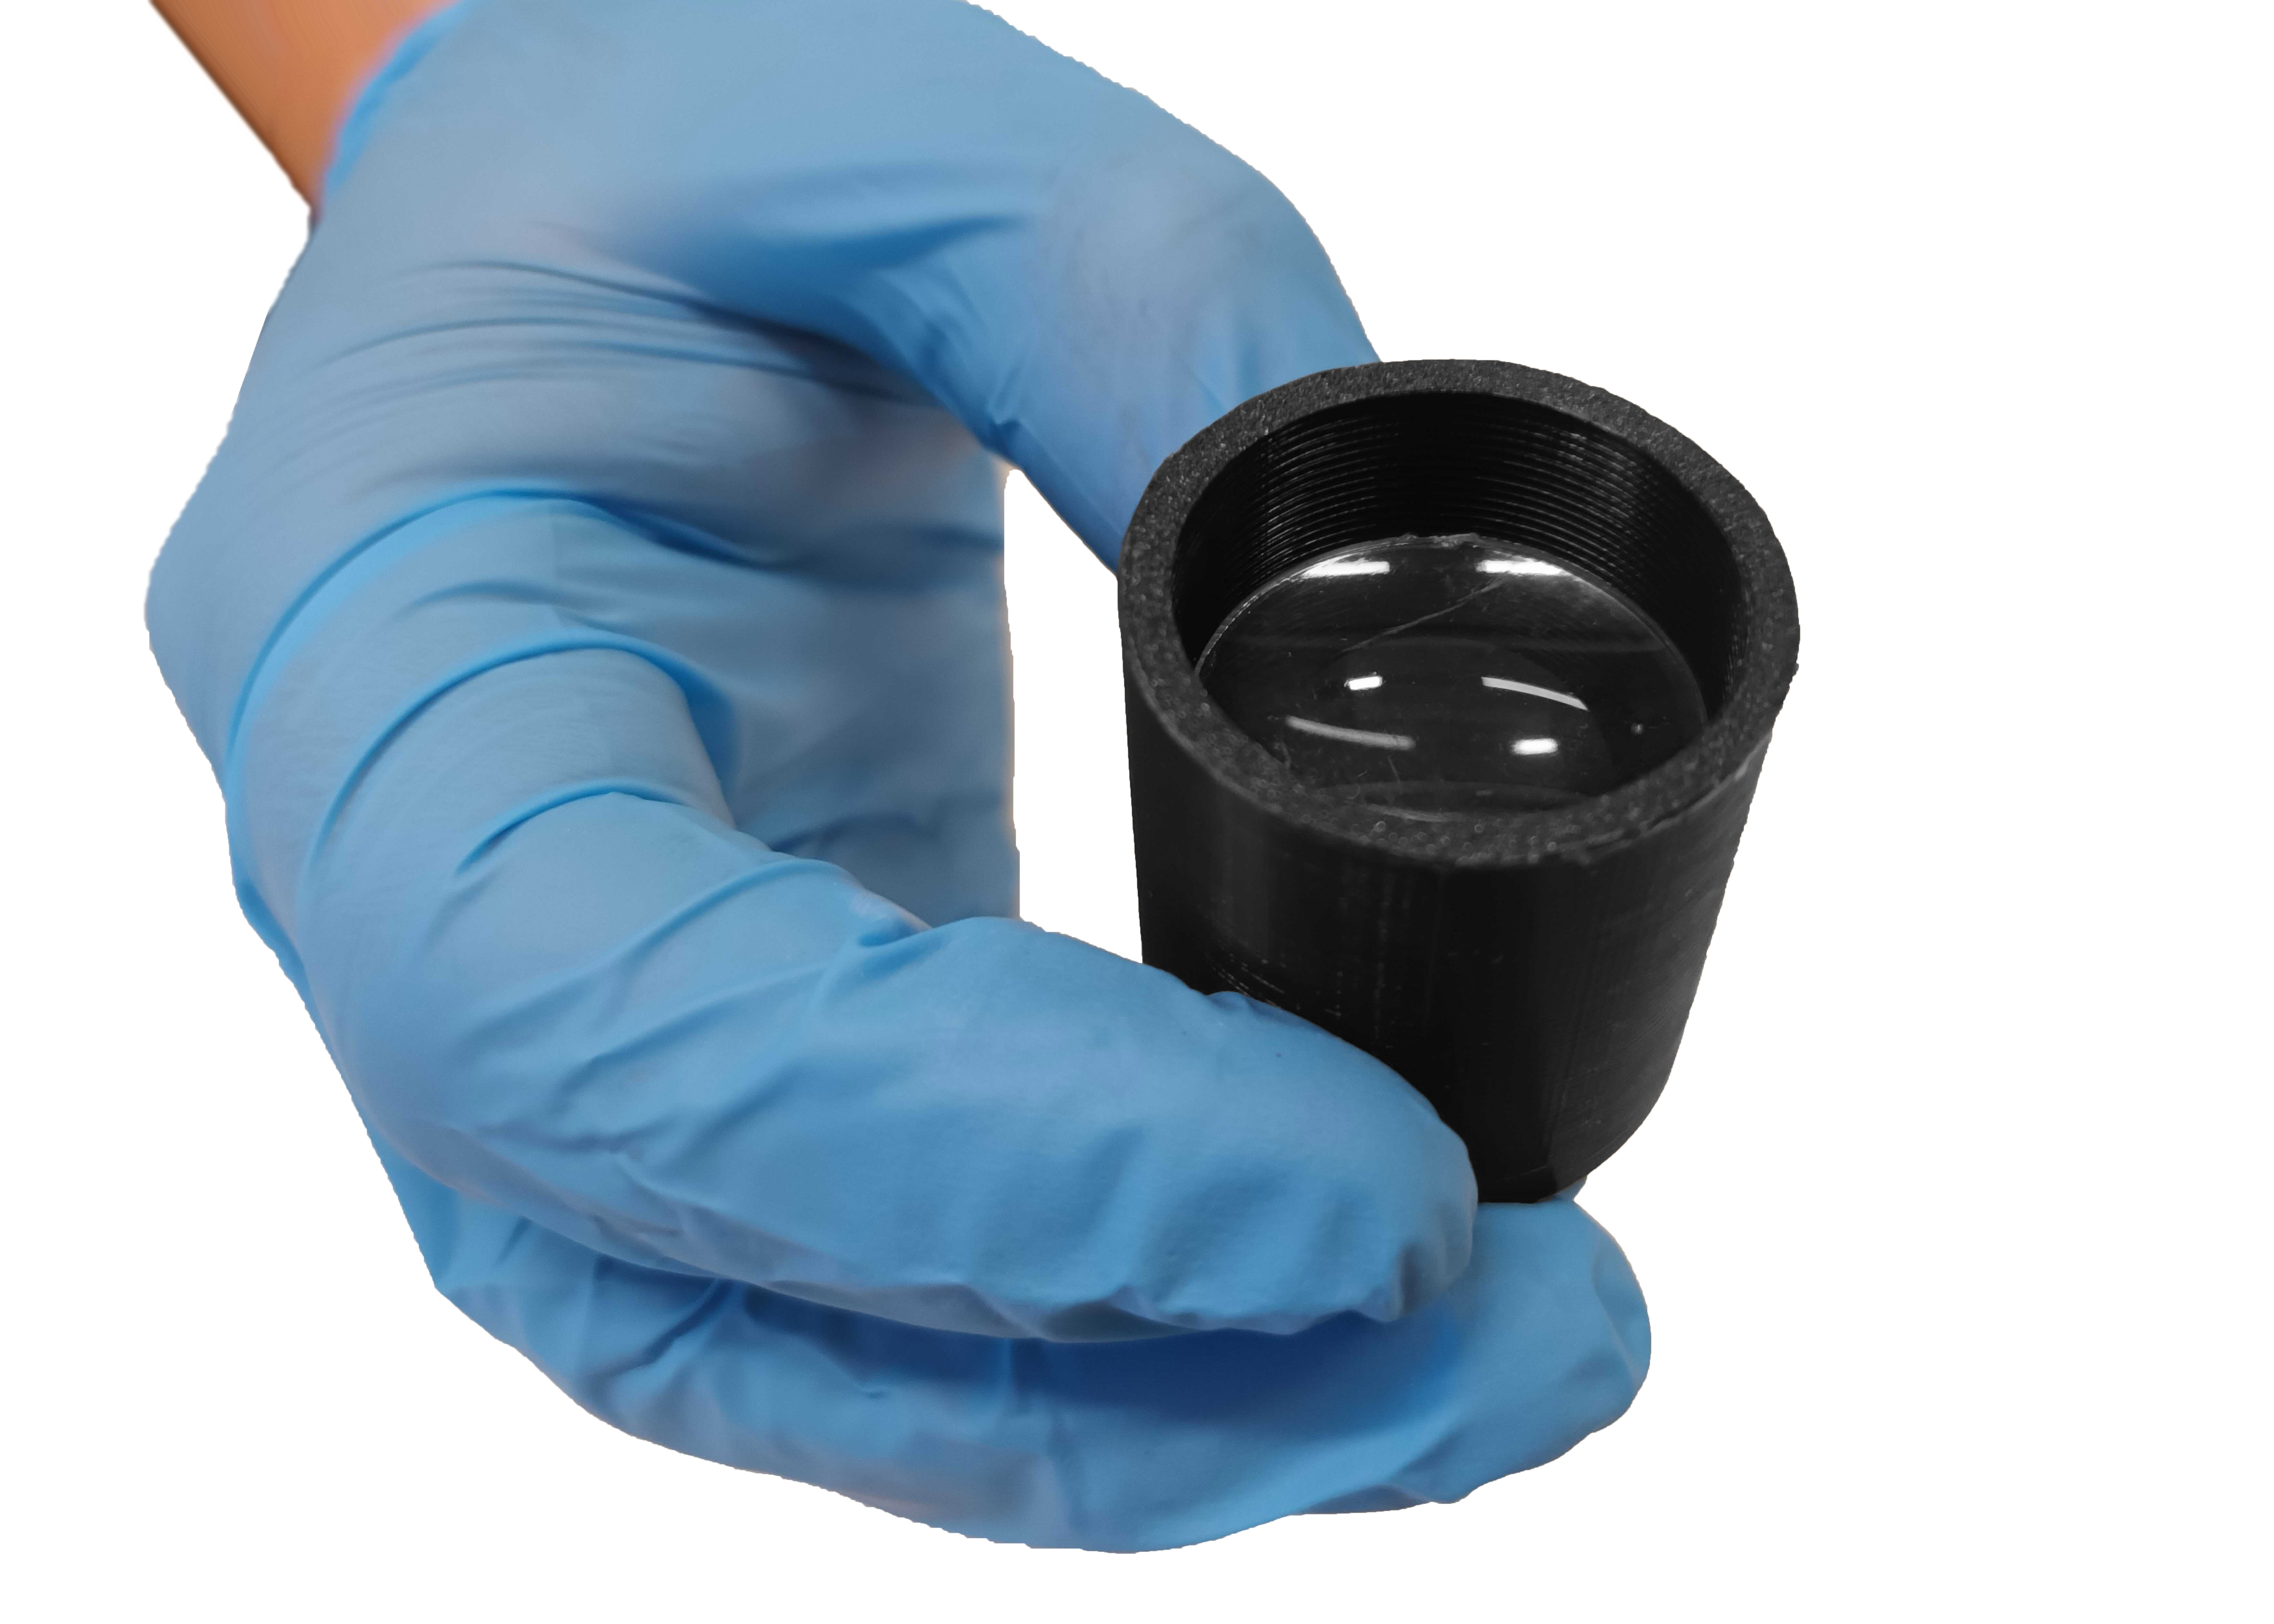

Fit the second inner ring on the ring tool, insert into the optical tube and screw until tightening the lens in place between the two internal rings.


Step 2: Optical tubes
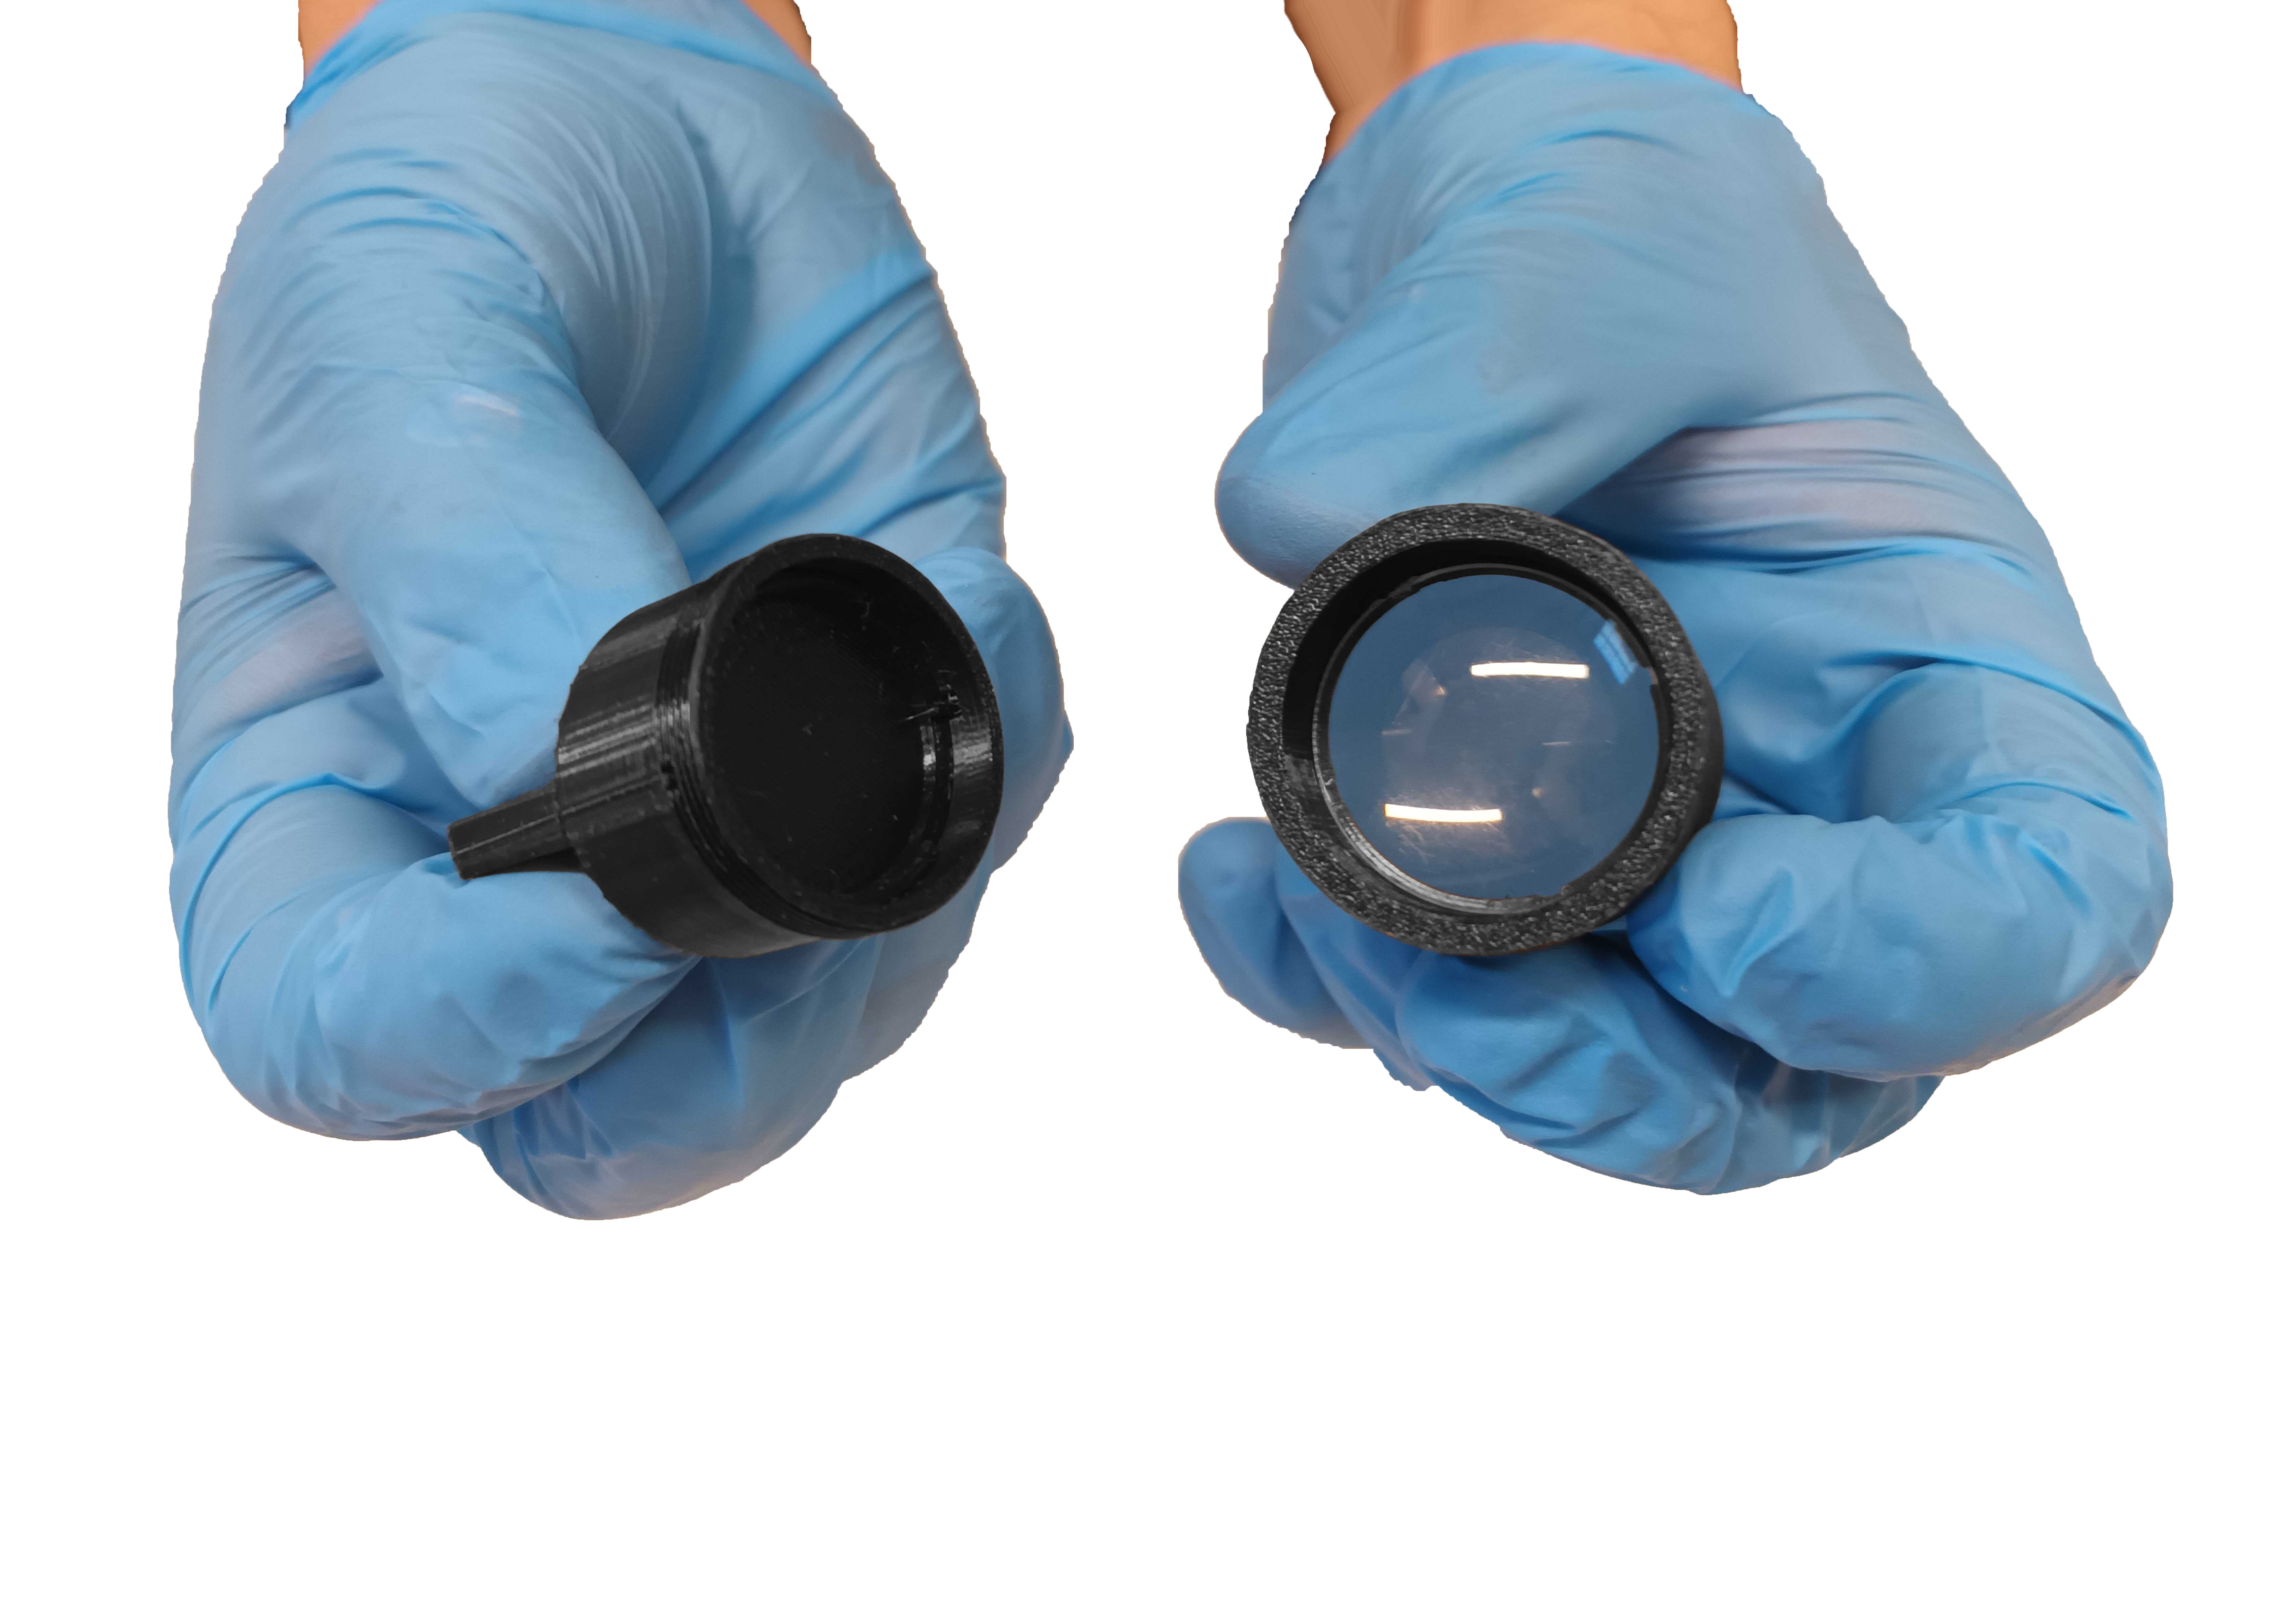
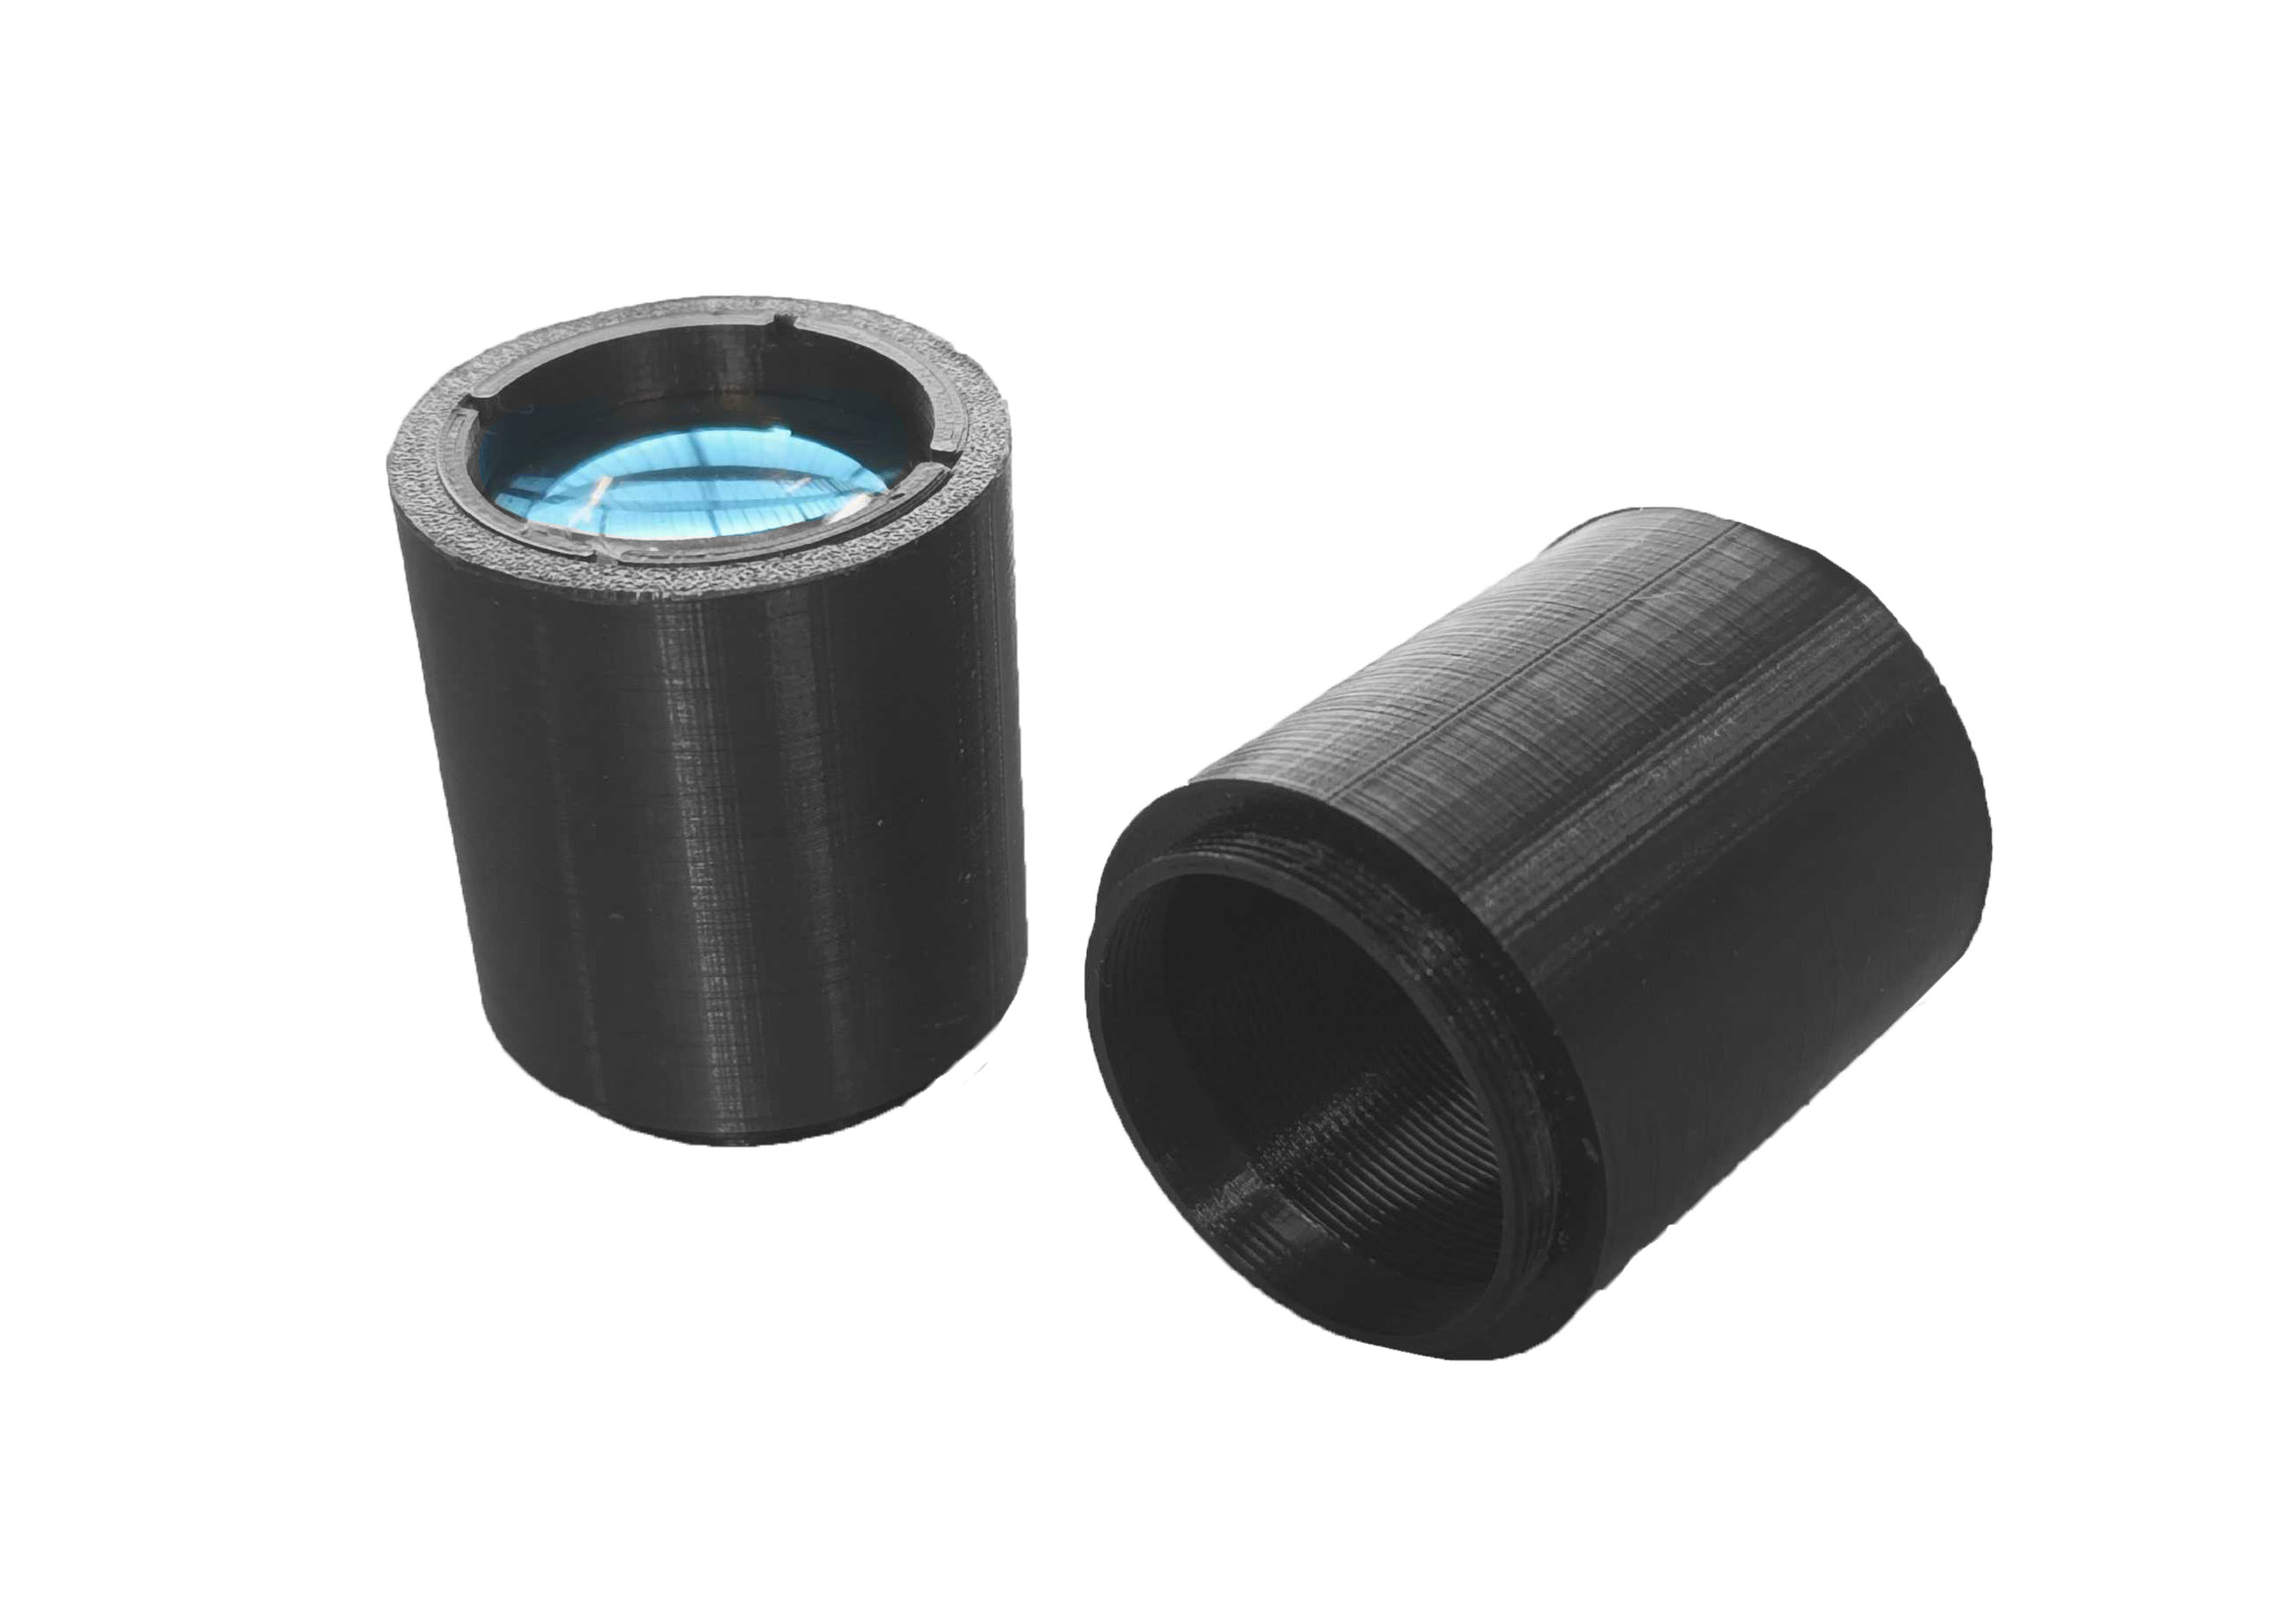
For this step, you must have the optical tube with its attached lens, assembled in the previous step.
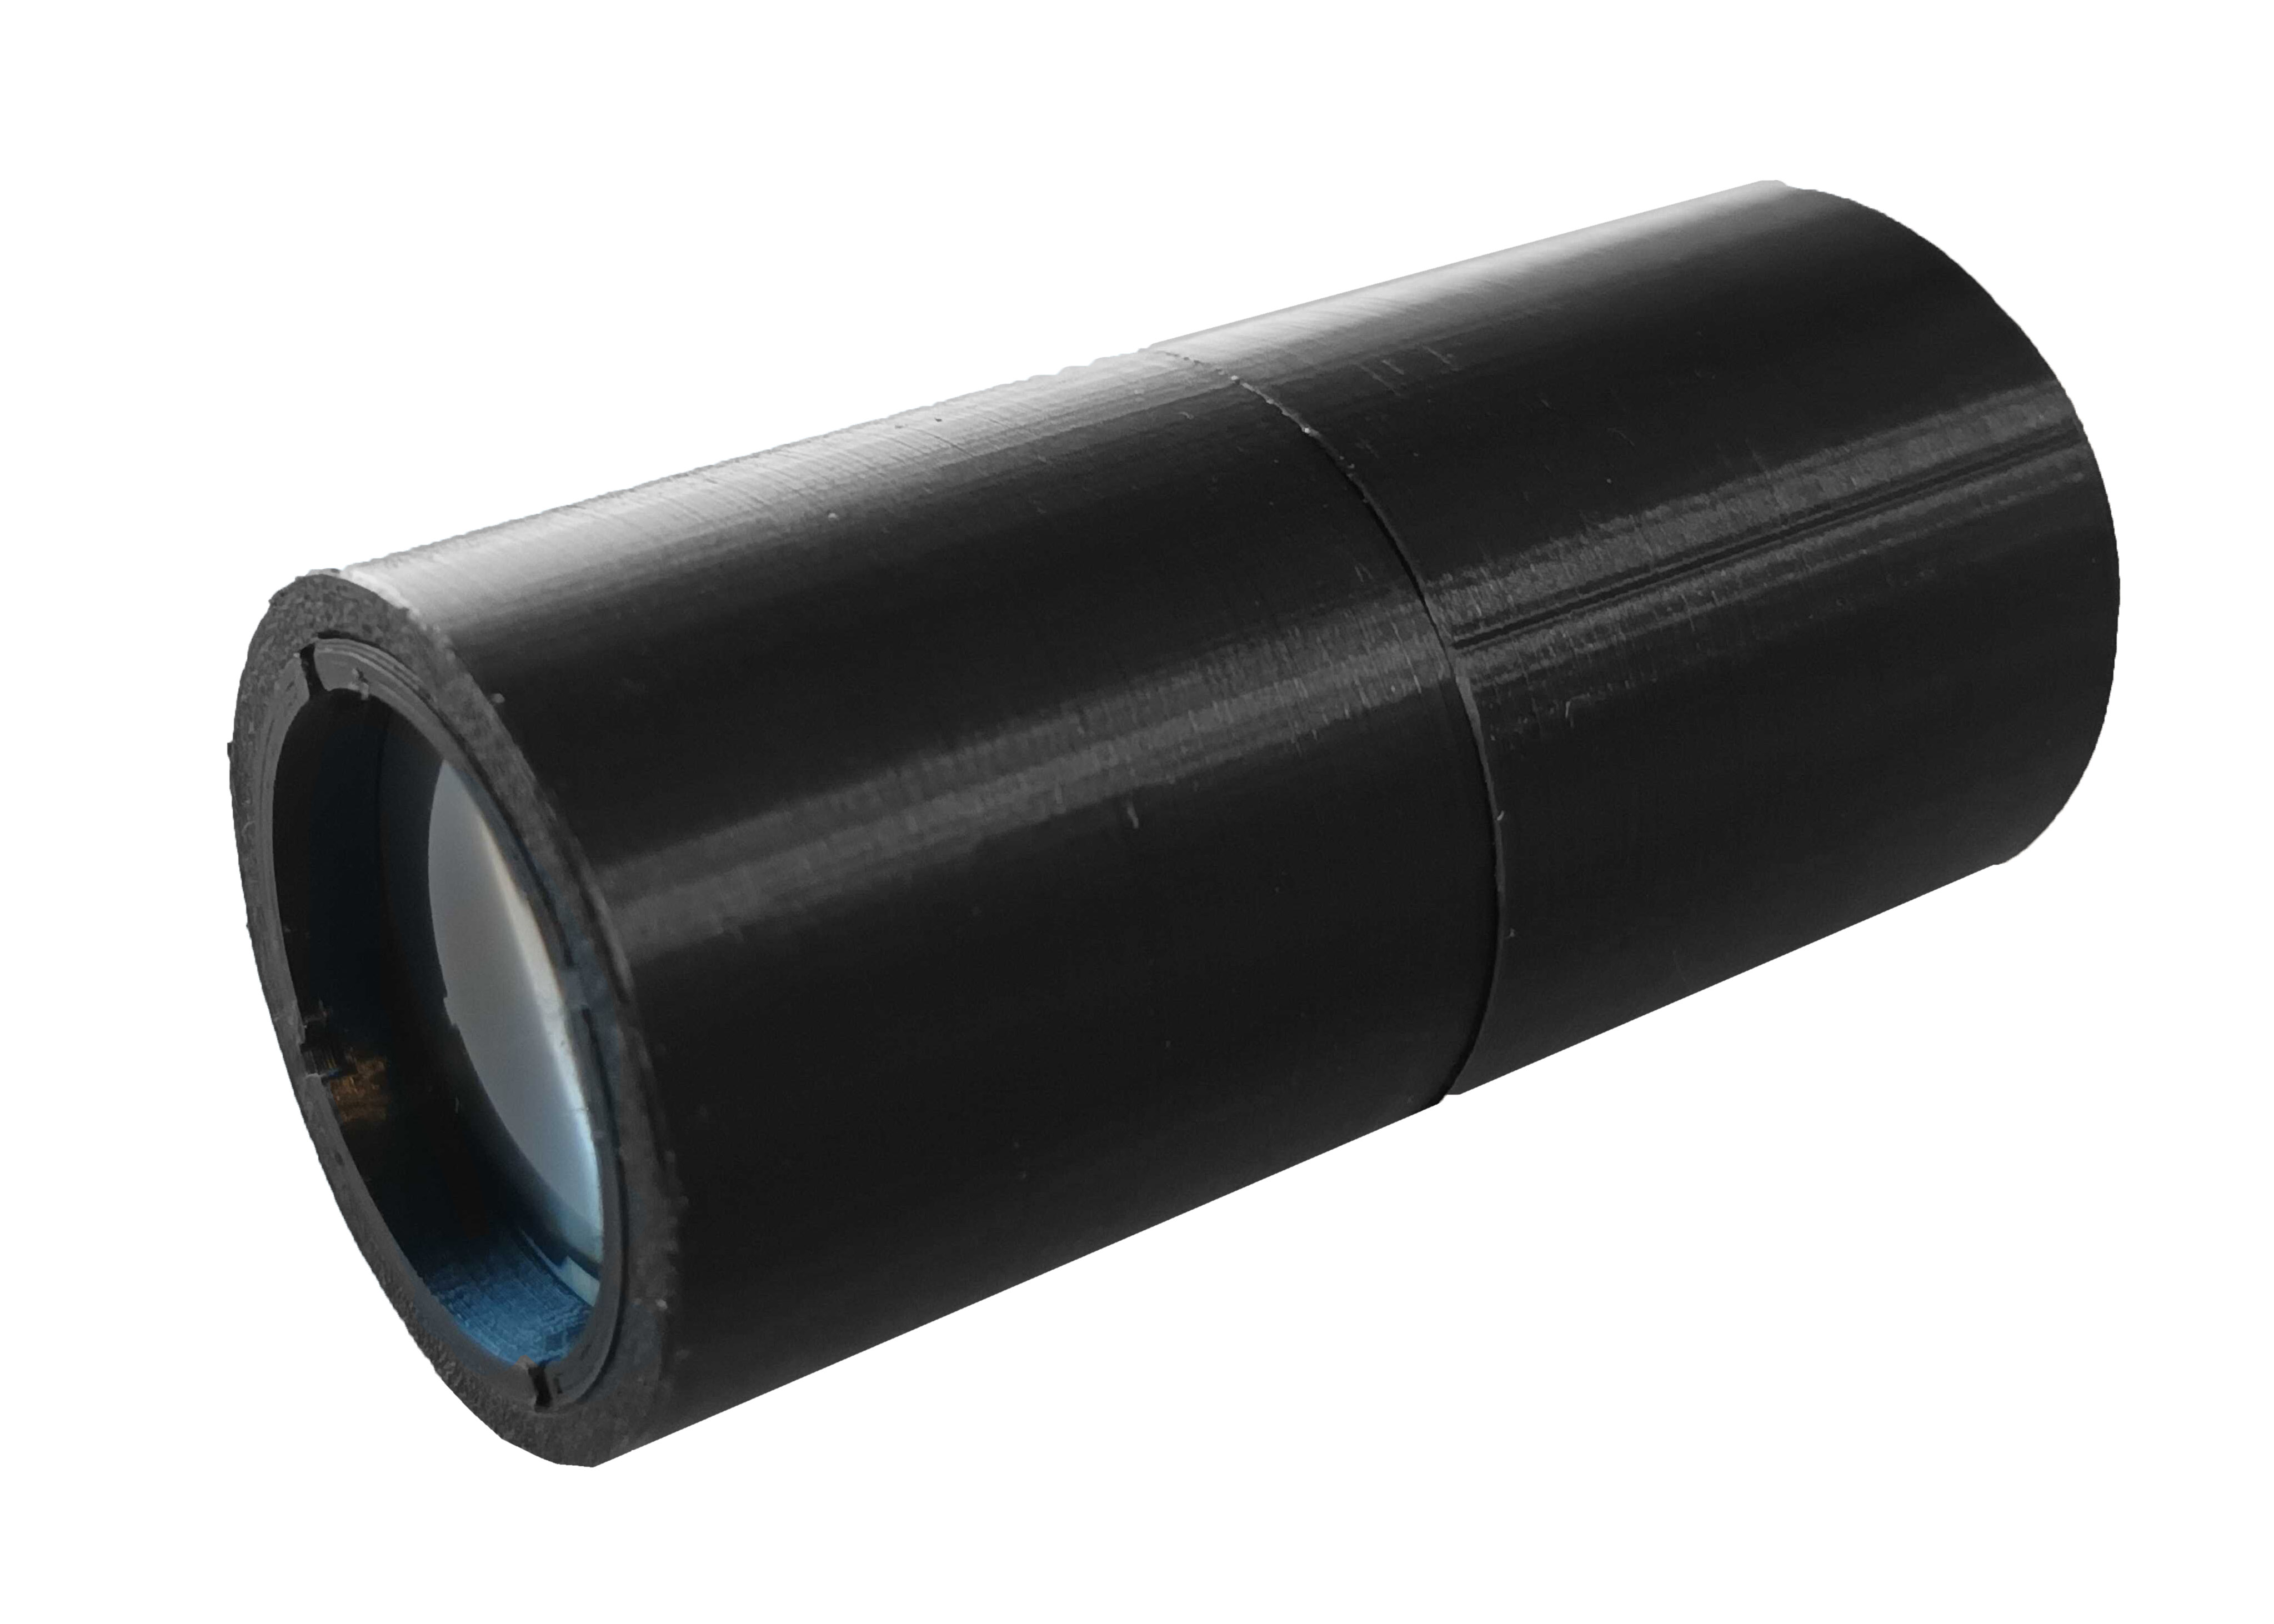
Fit both tubes and screw until the end.

Step 3: Base
For this step, you must have the extended optical tube, assembled in the previous step.
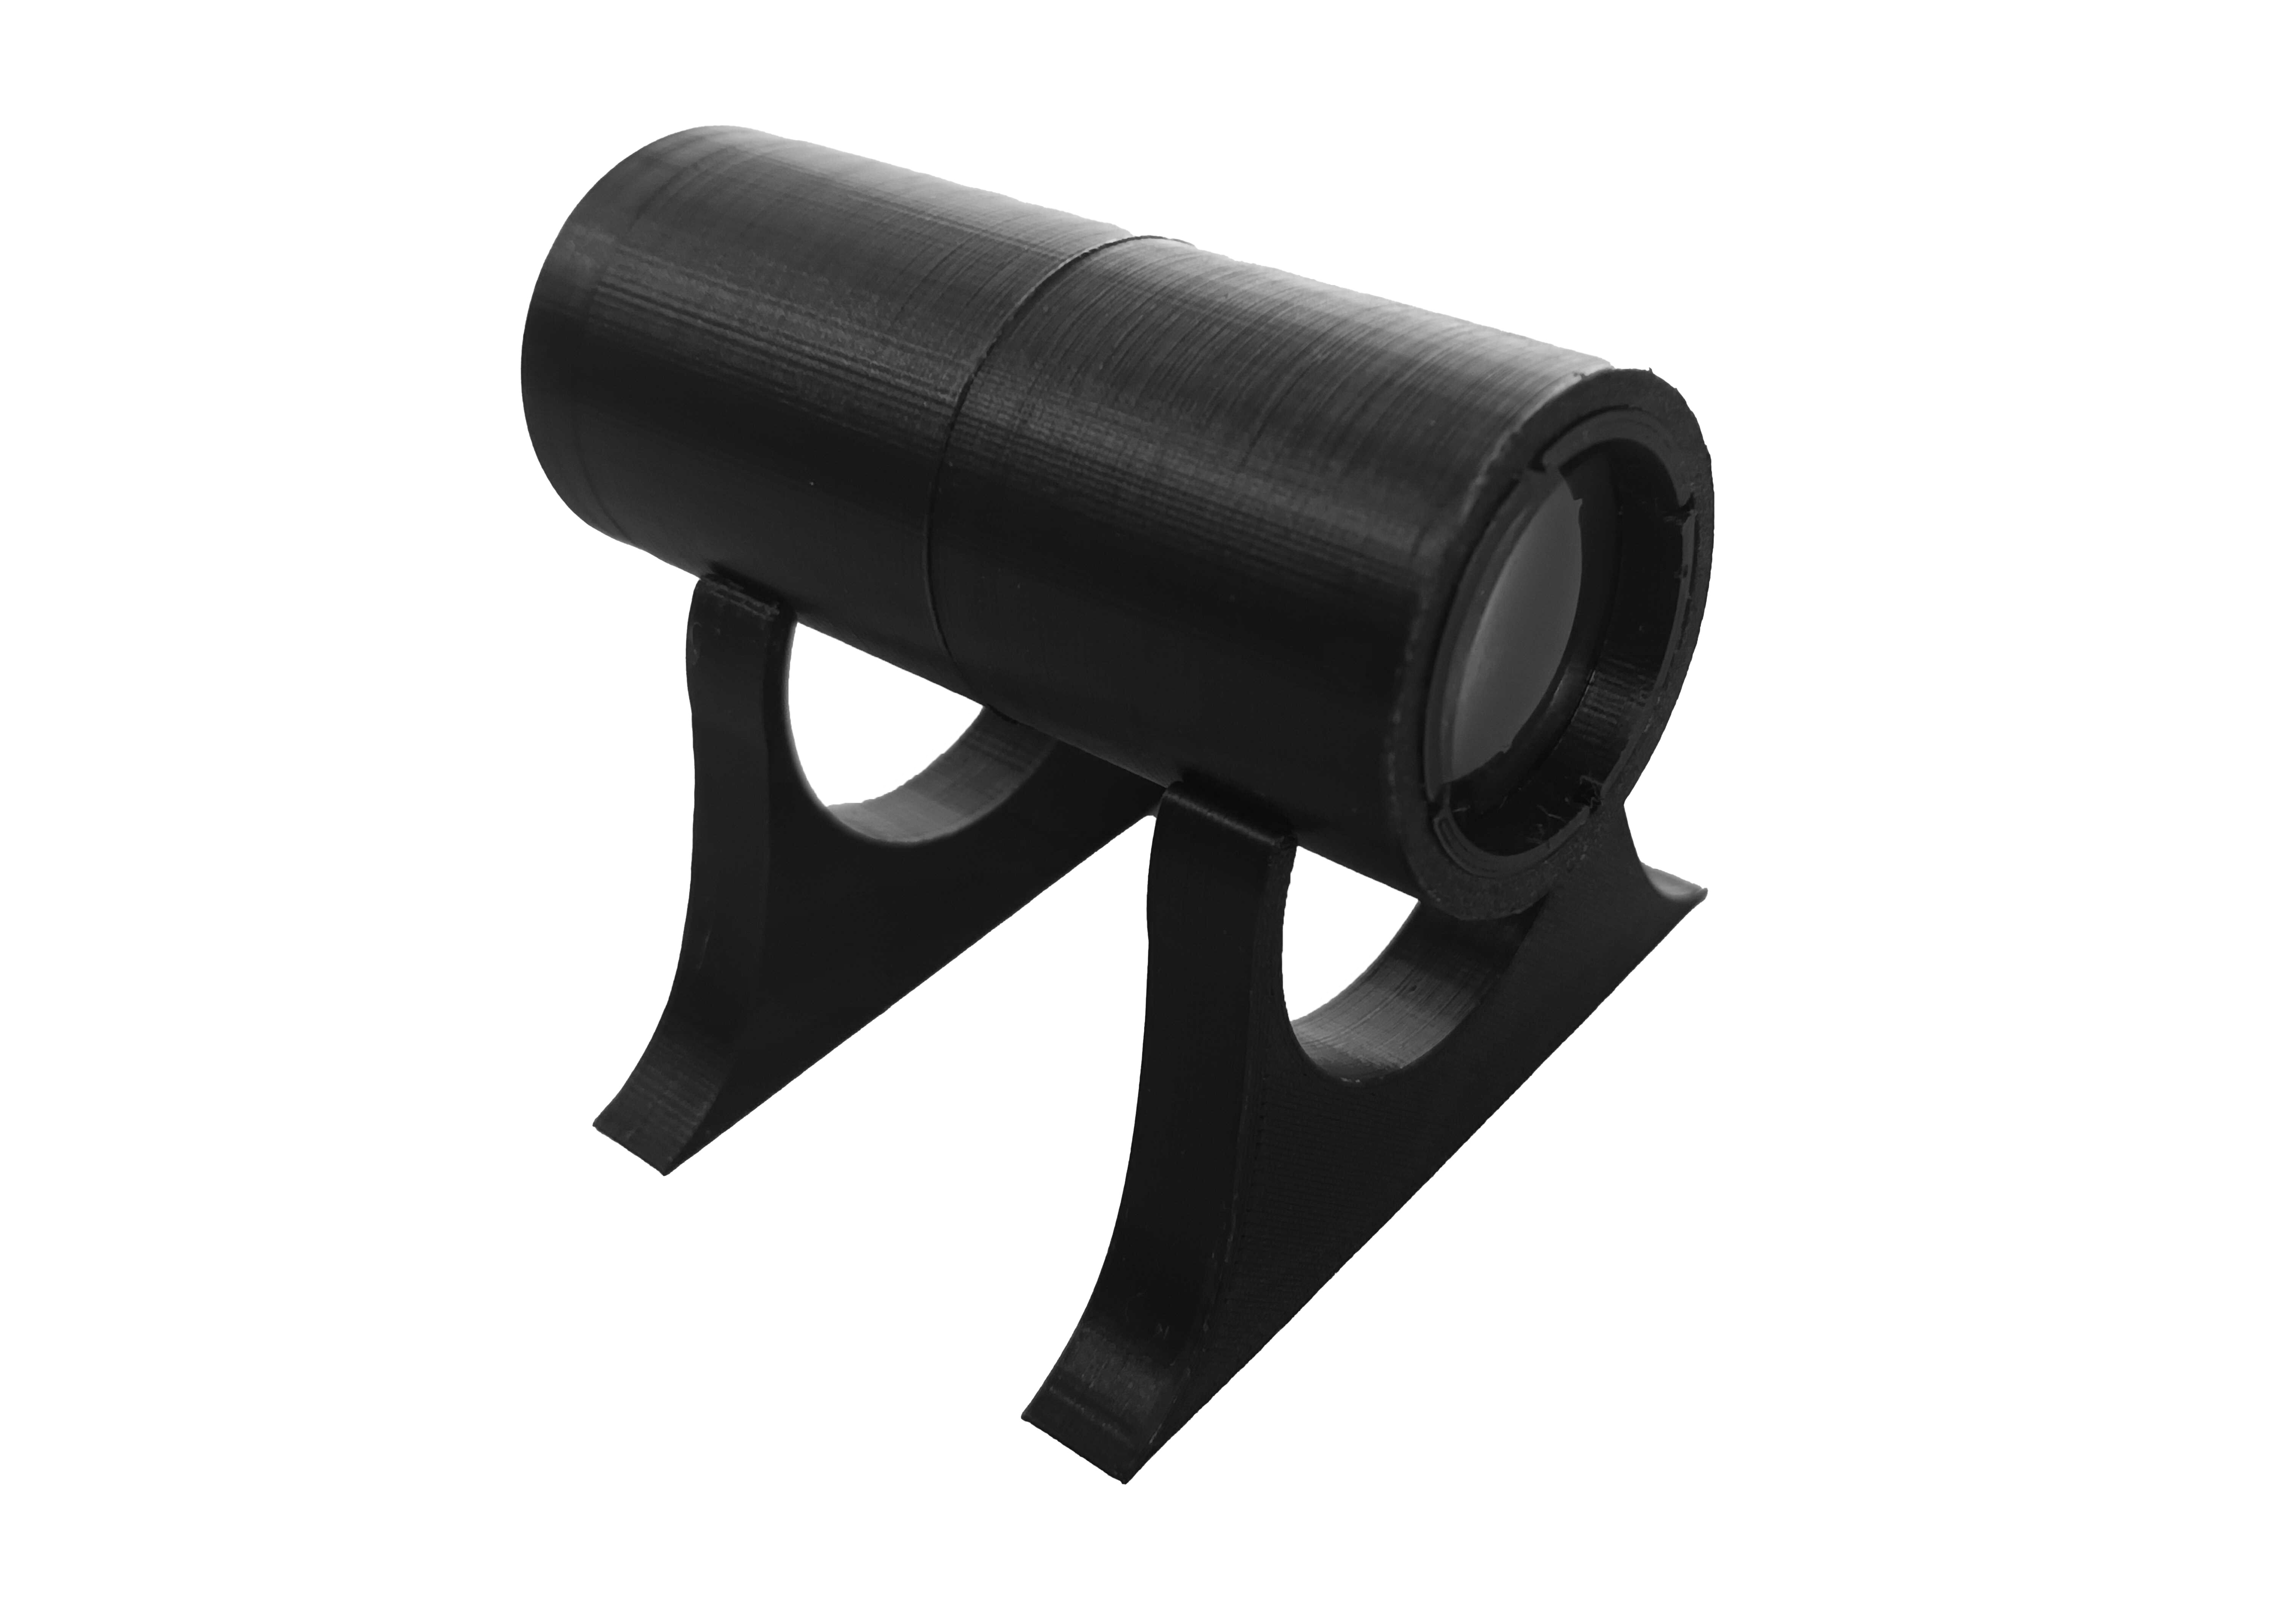
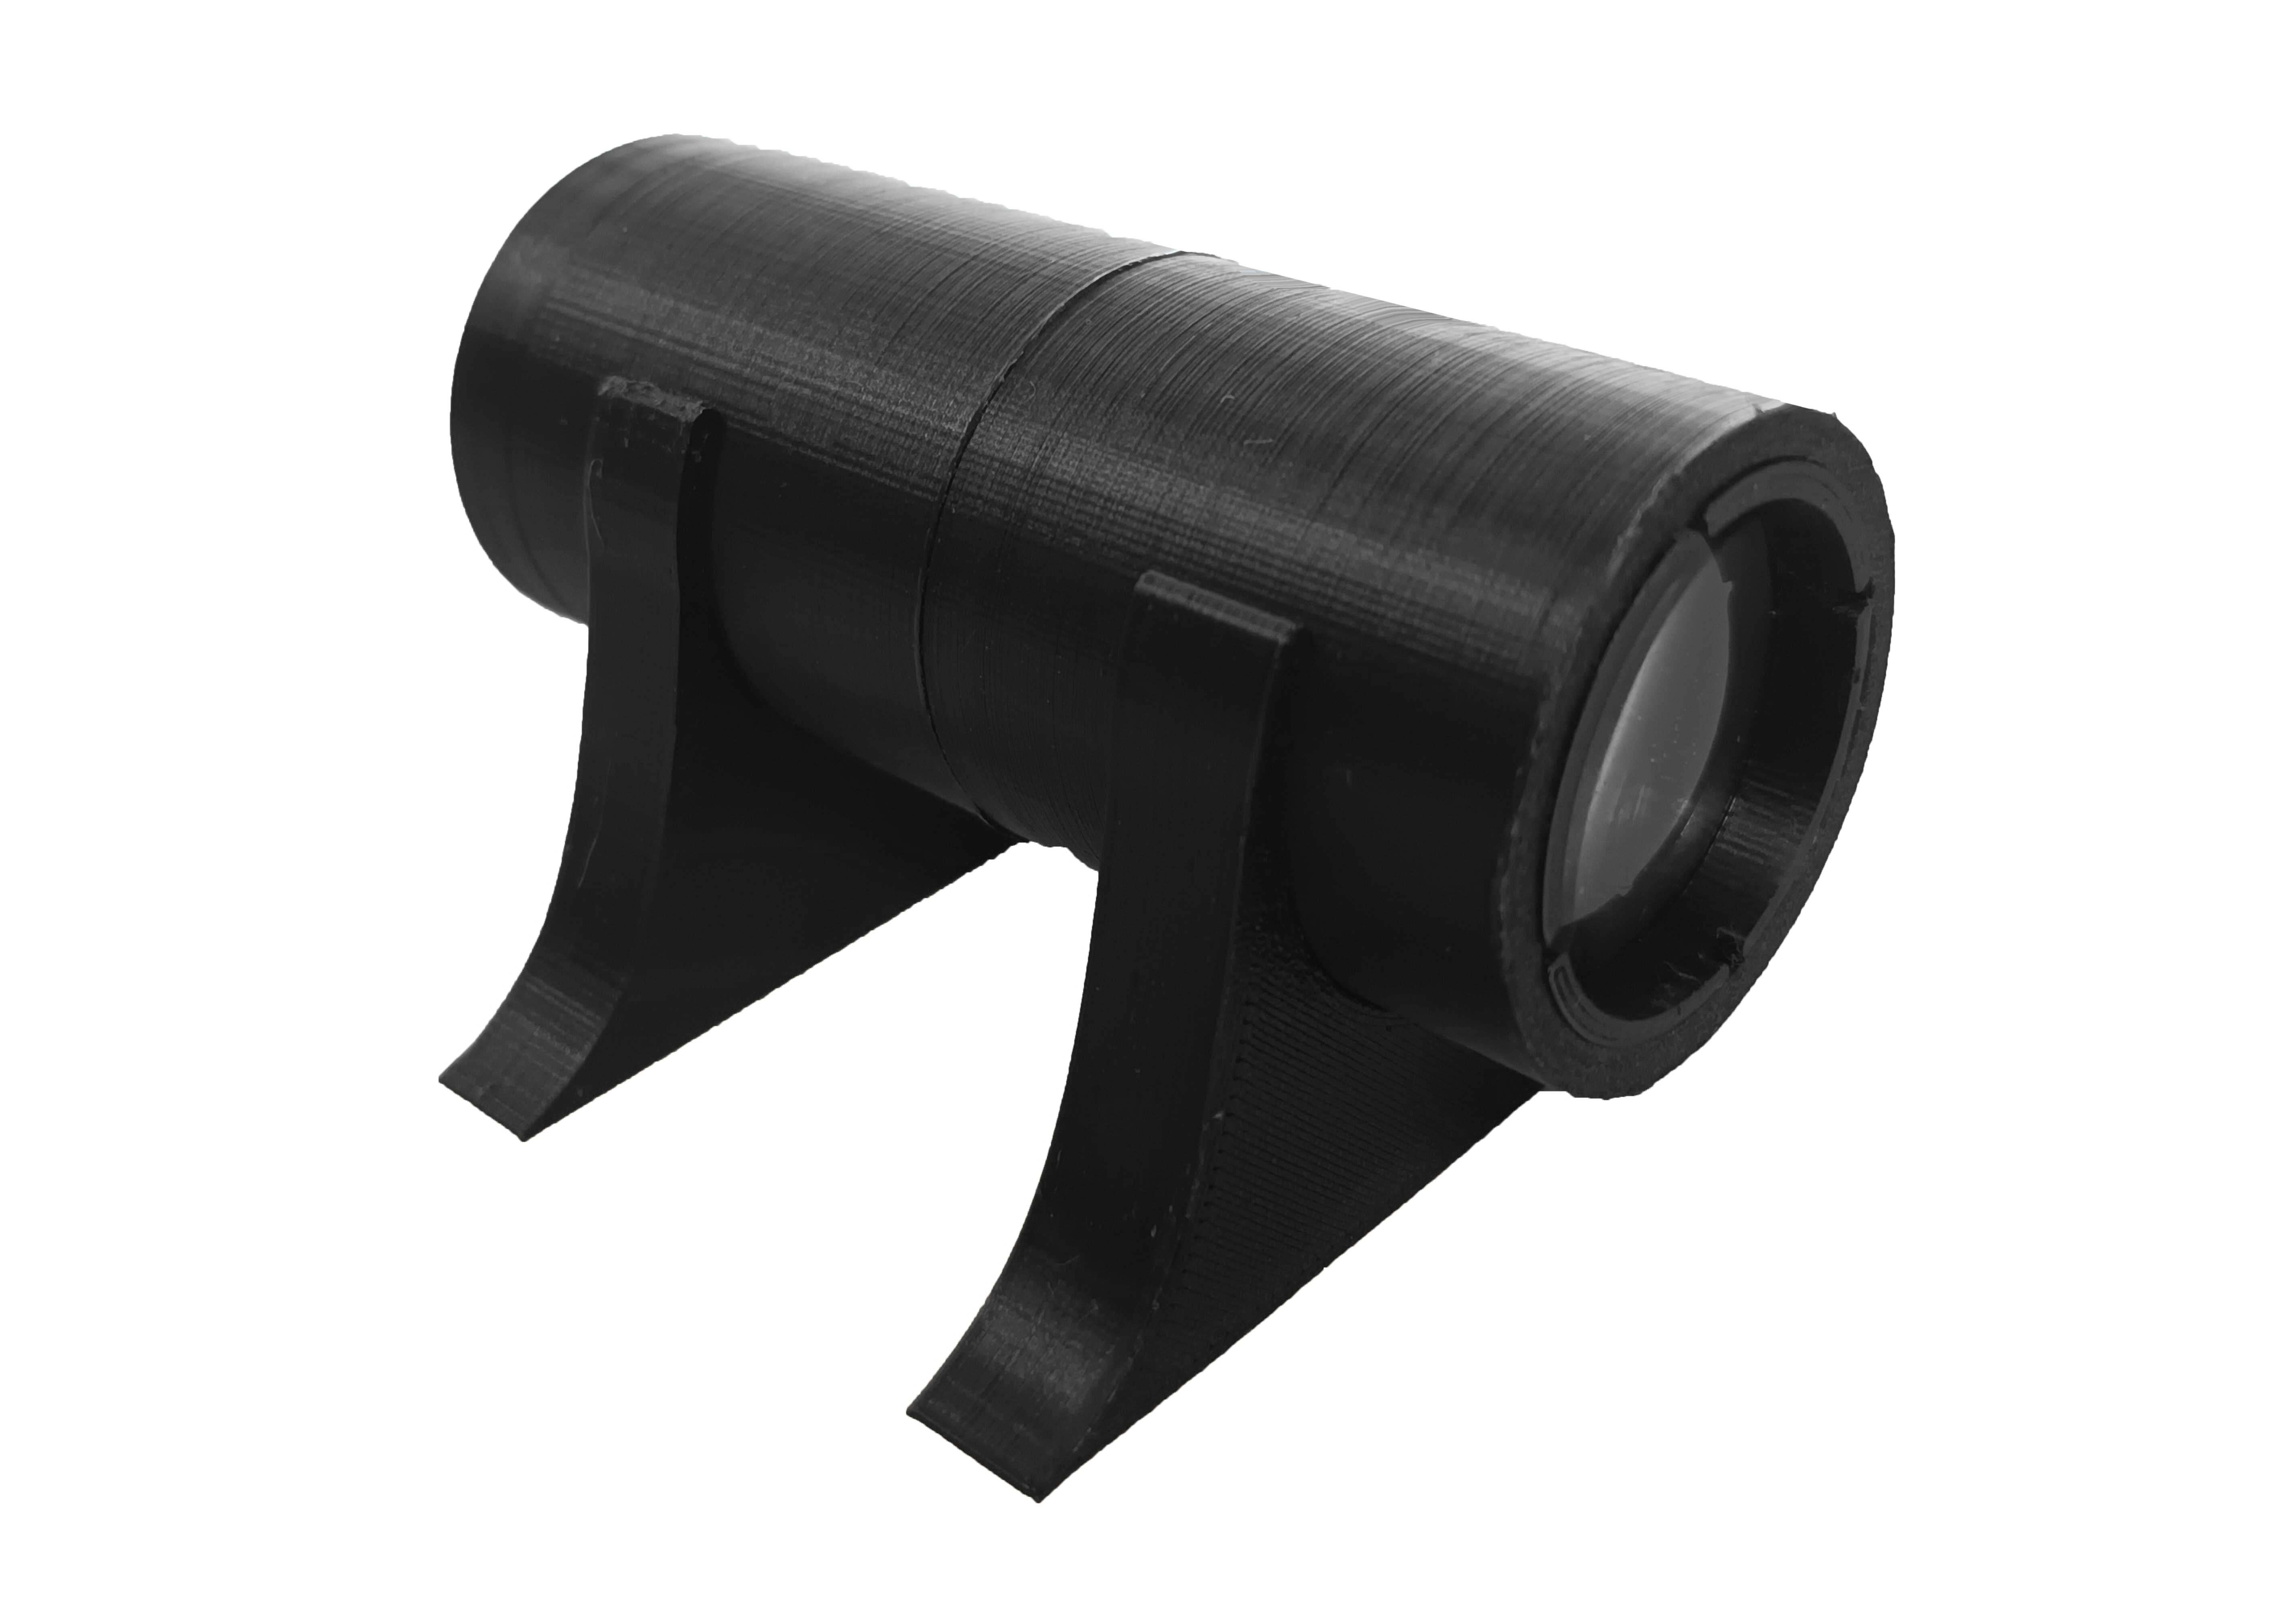
Two tube clamps will be used to hold the light output parallel to a horizontal surface. Place the two tube clamps on a horizontal surface at a distance of 25 mm between both parts. Then, fit the optical tube into both clamps by pressing down on the tube on top of the clamps.

Step 4: Fiber laser adapter
For this step, you must have the extended optical tube with the clamps, assembled in the previous step.
Fit laser fiber adapter and turn all the way.
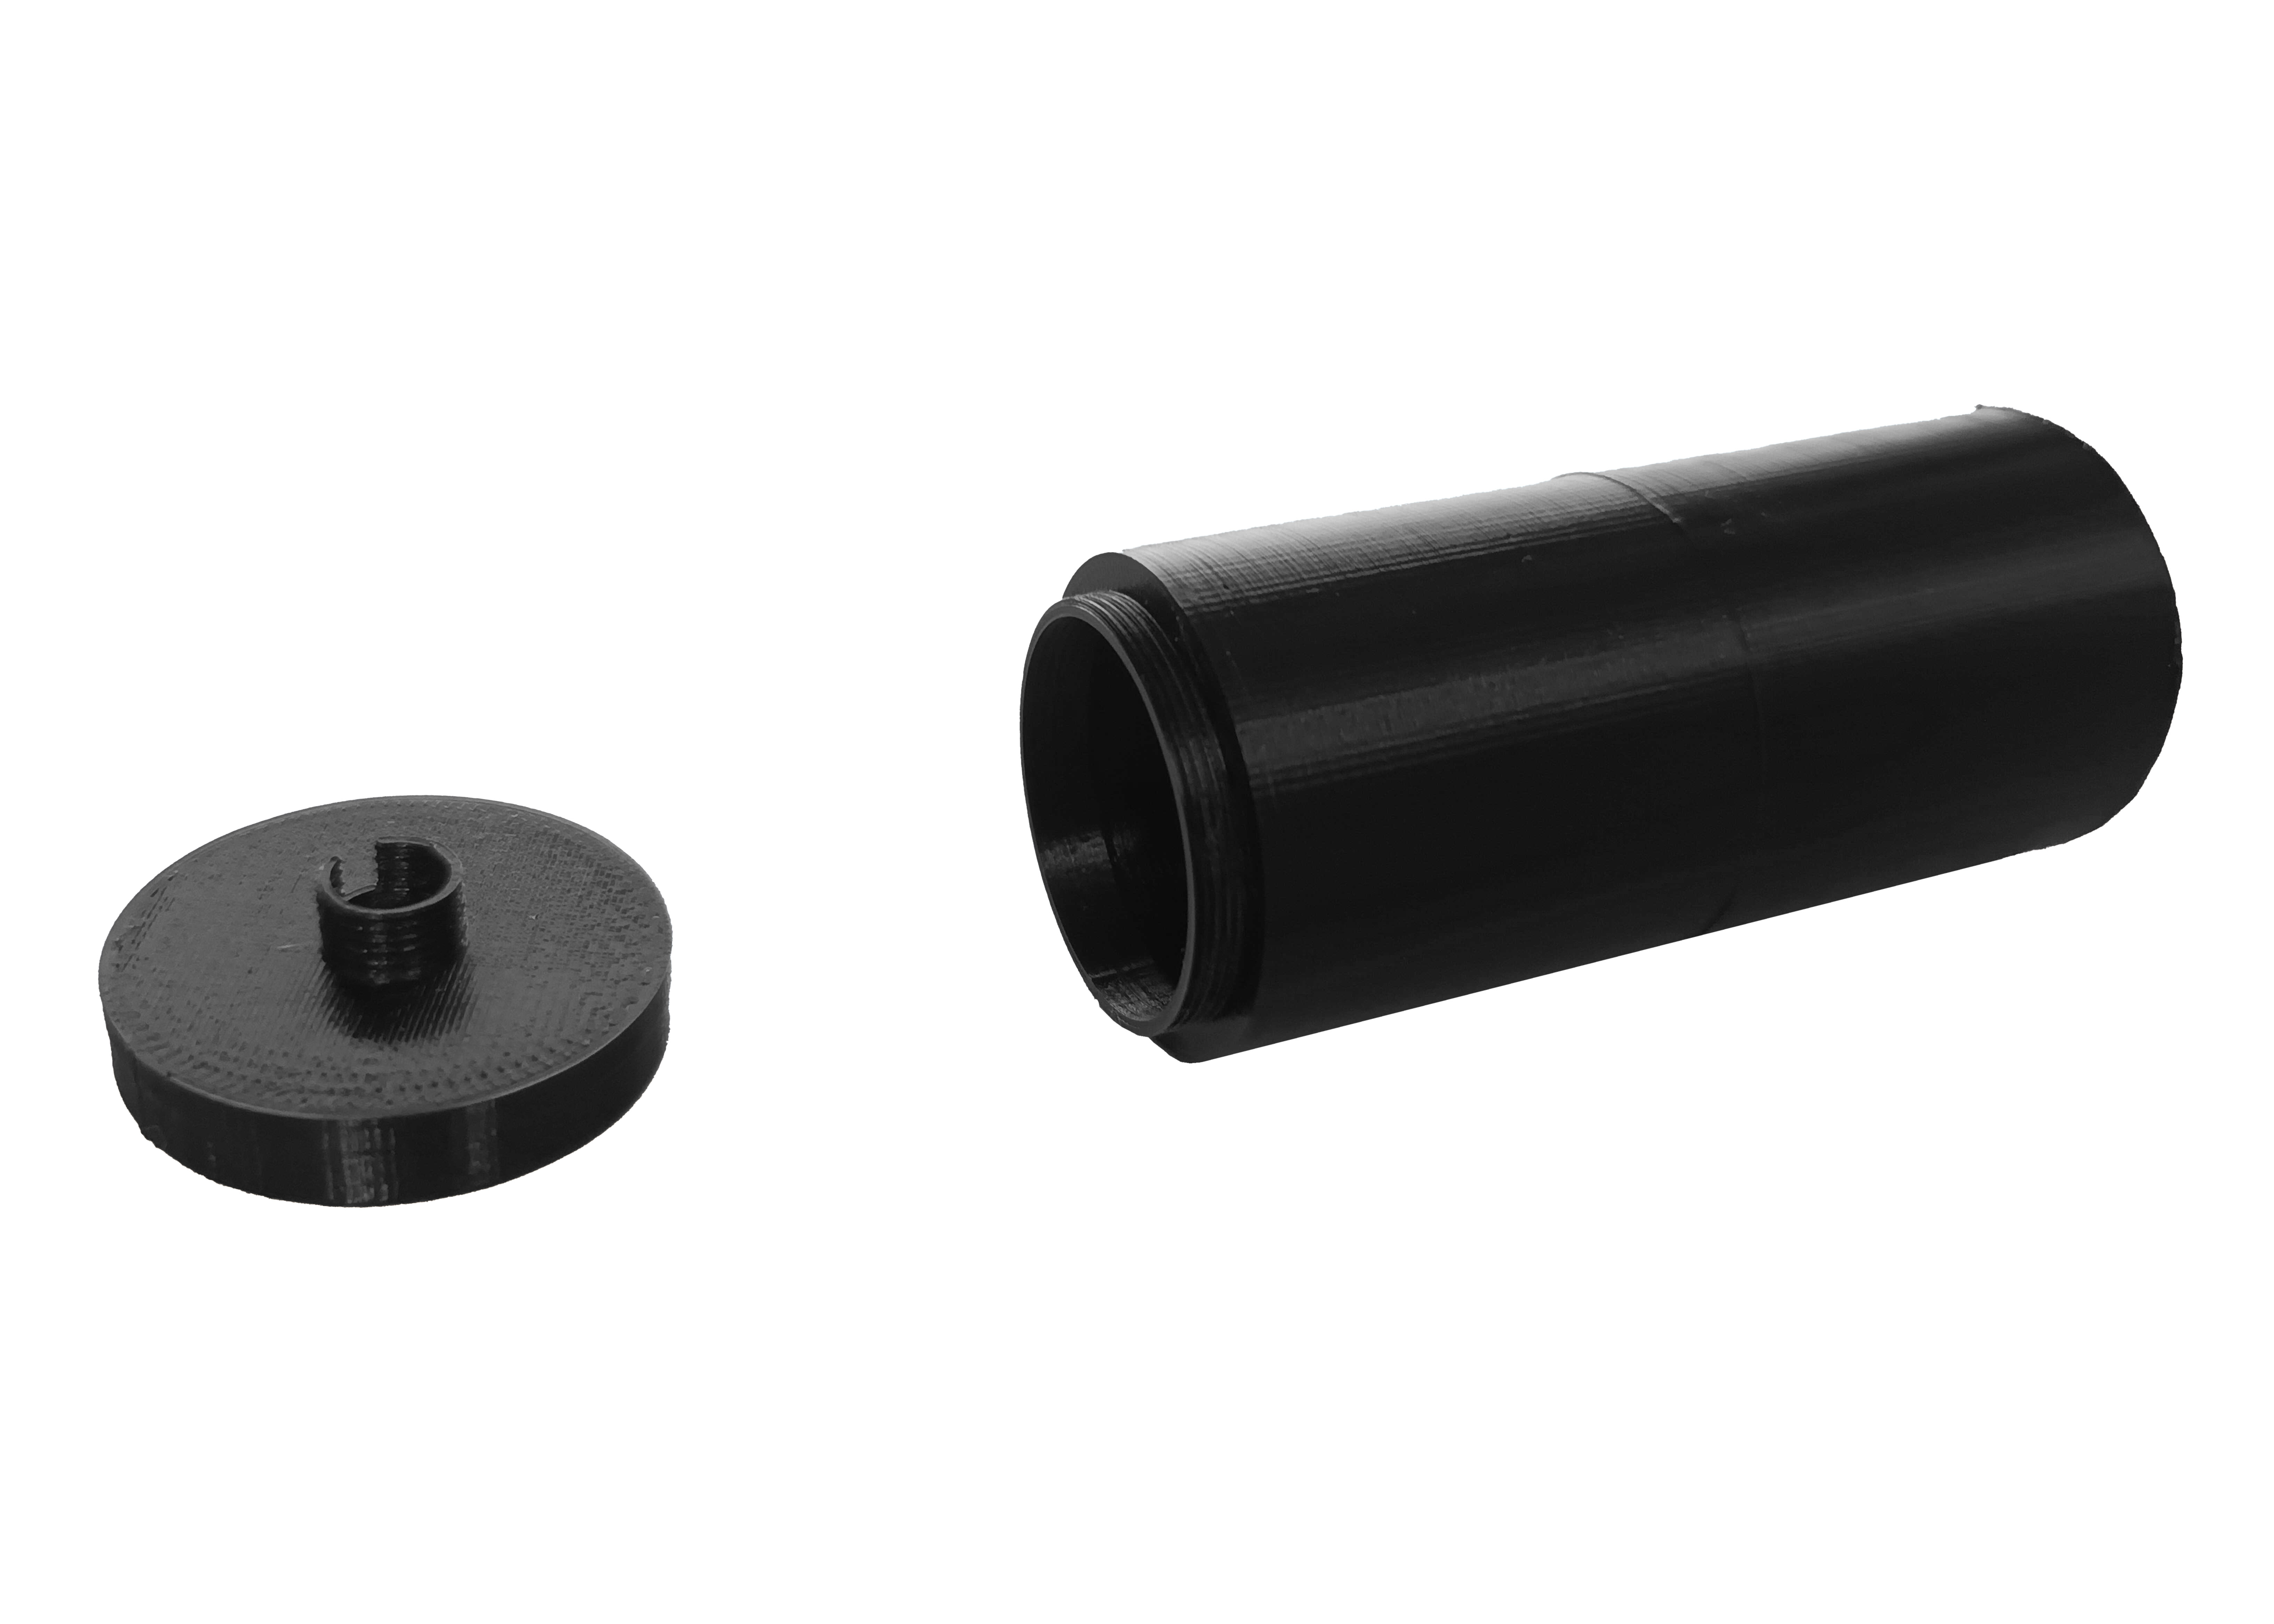
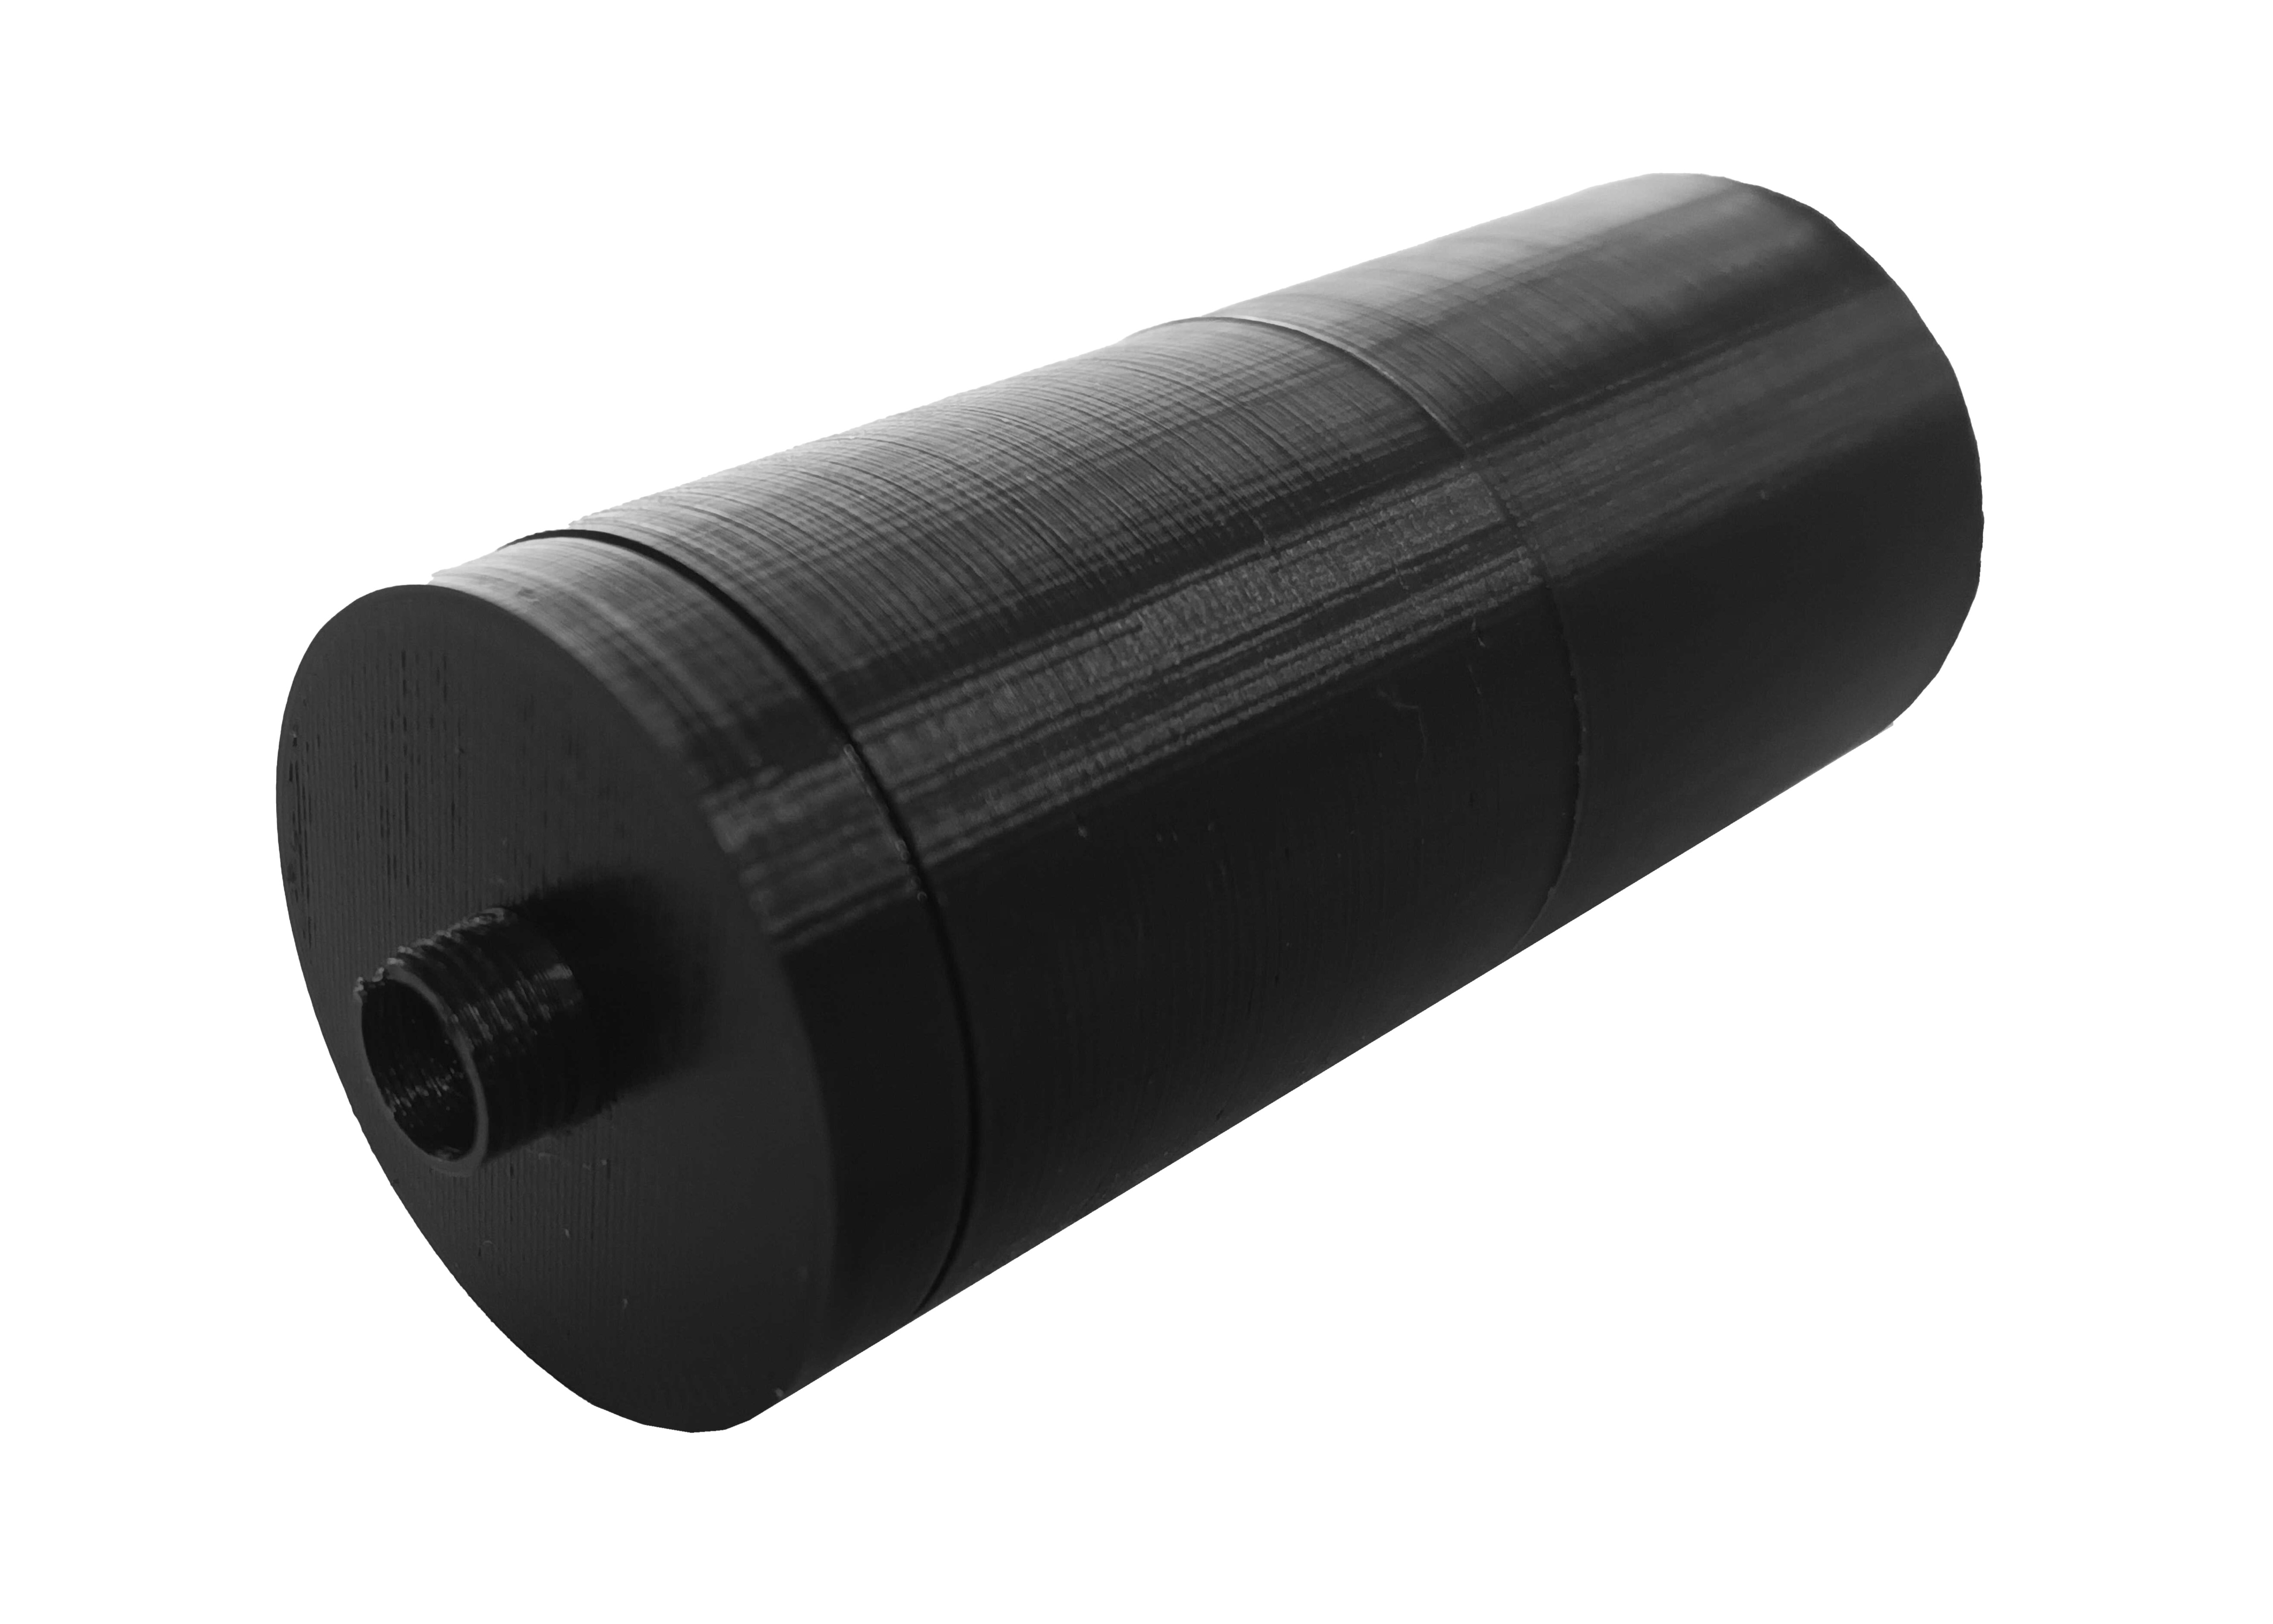

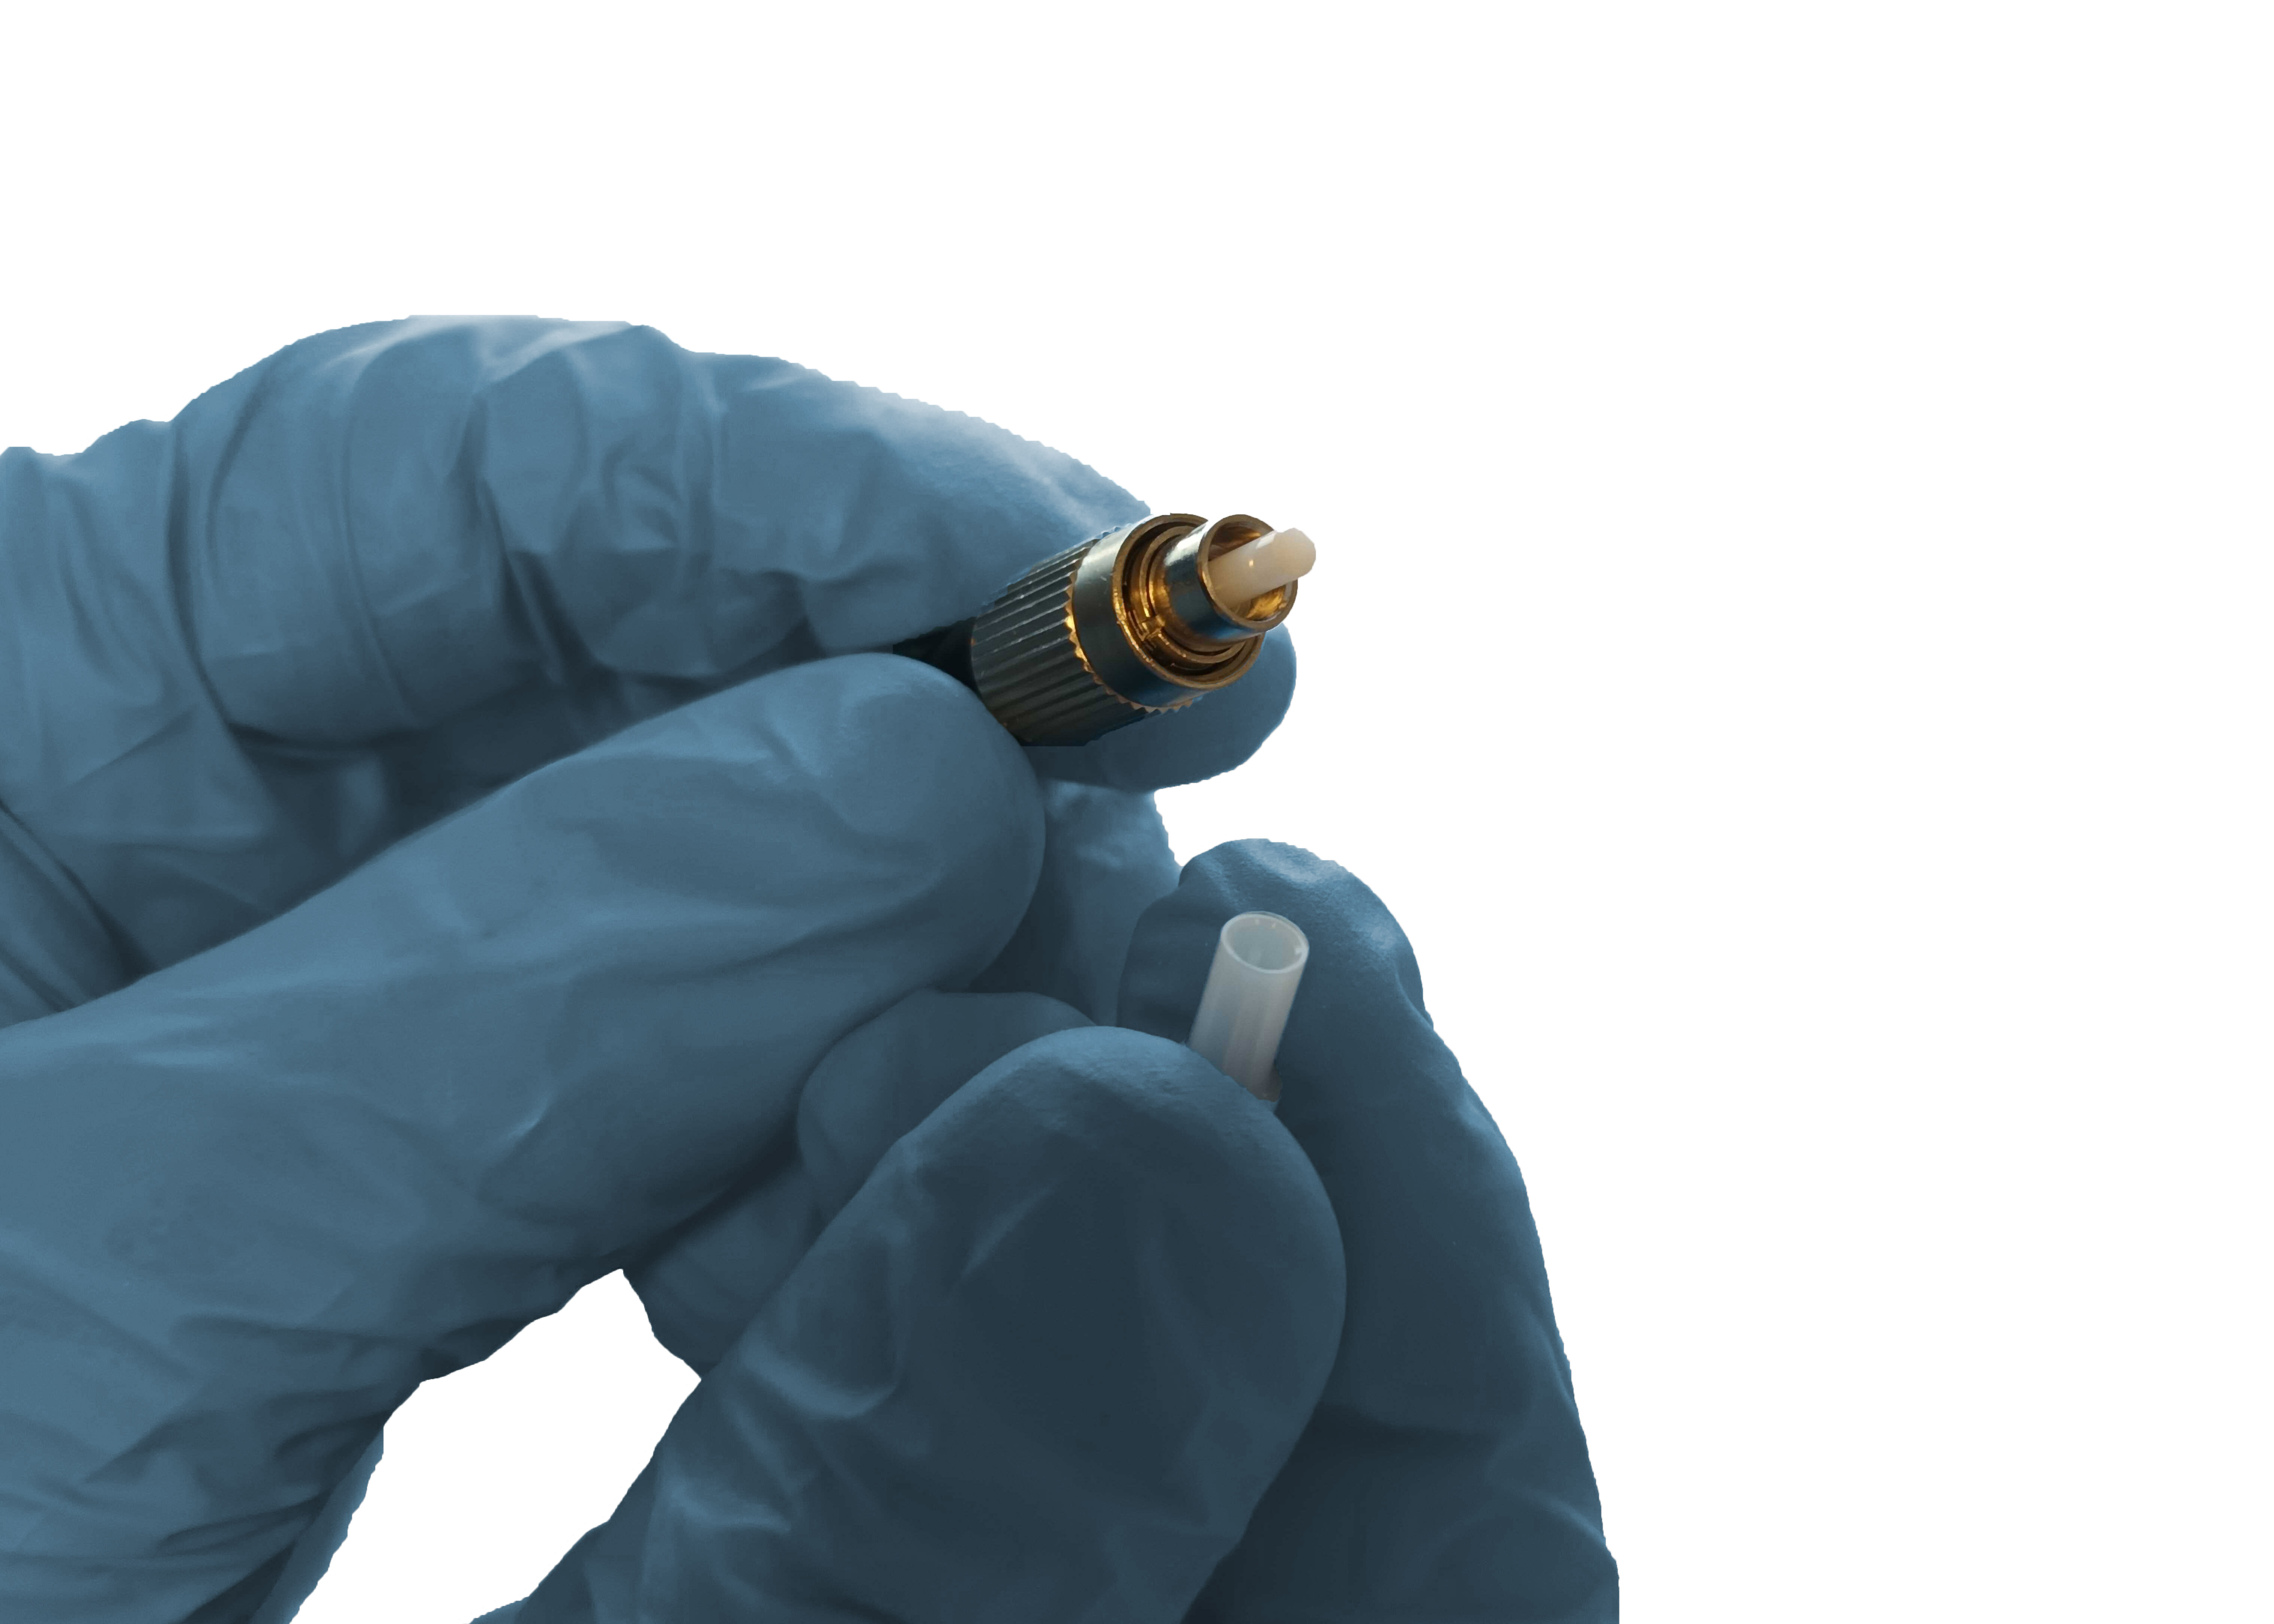
Remove laser cap, assemble laser with [fiber laser adapter] and turn laser adapter all the way.
Warning Do not touch fiber optics. Manipulate components as shown in the images.
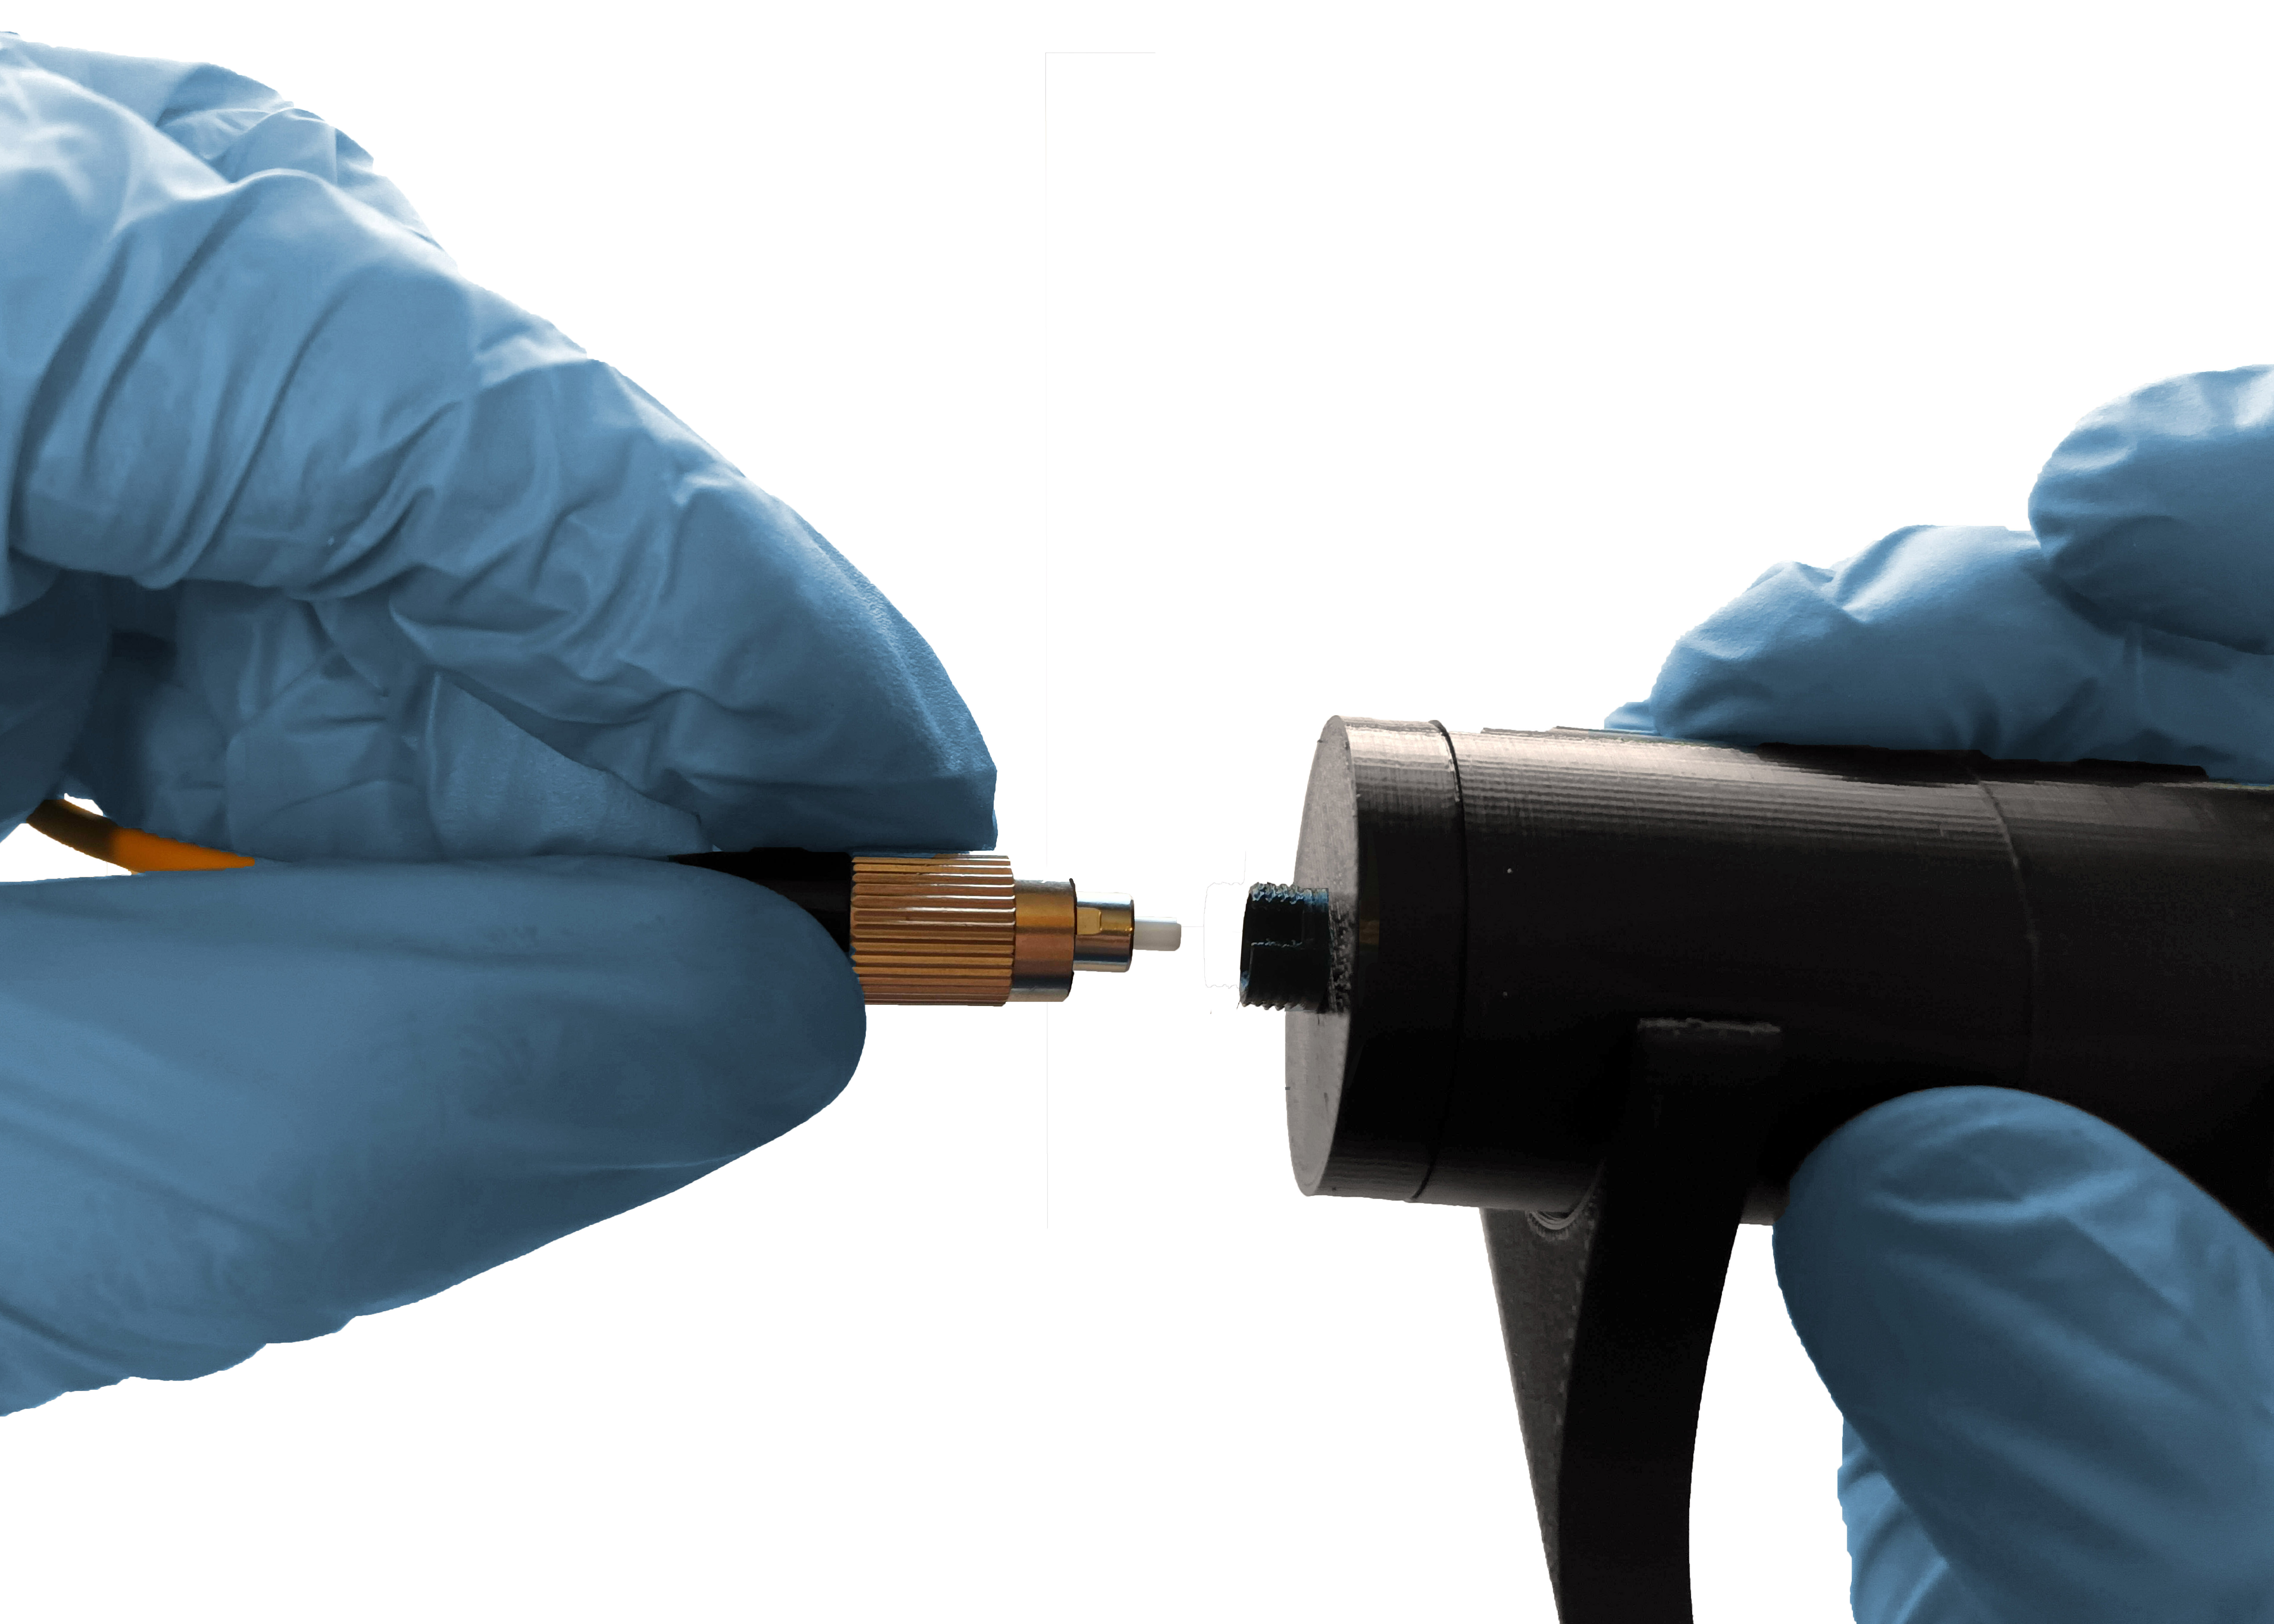
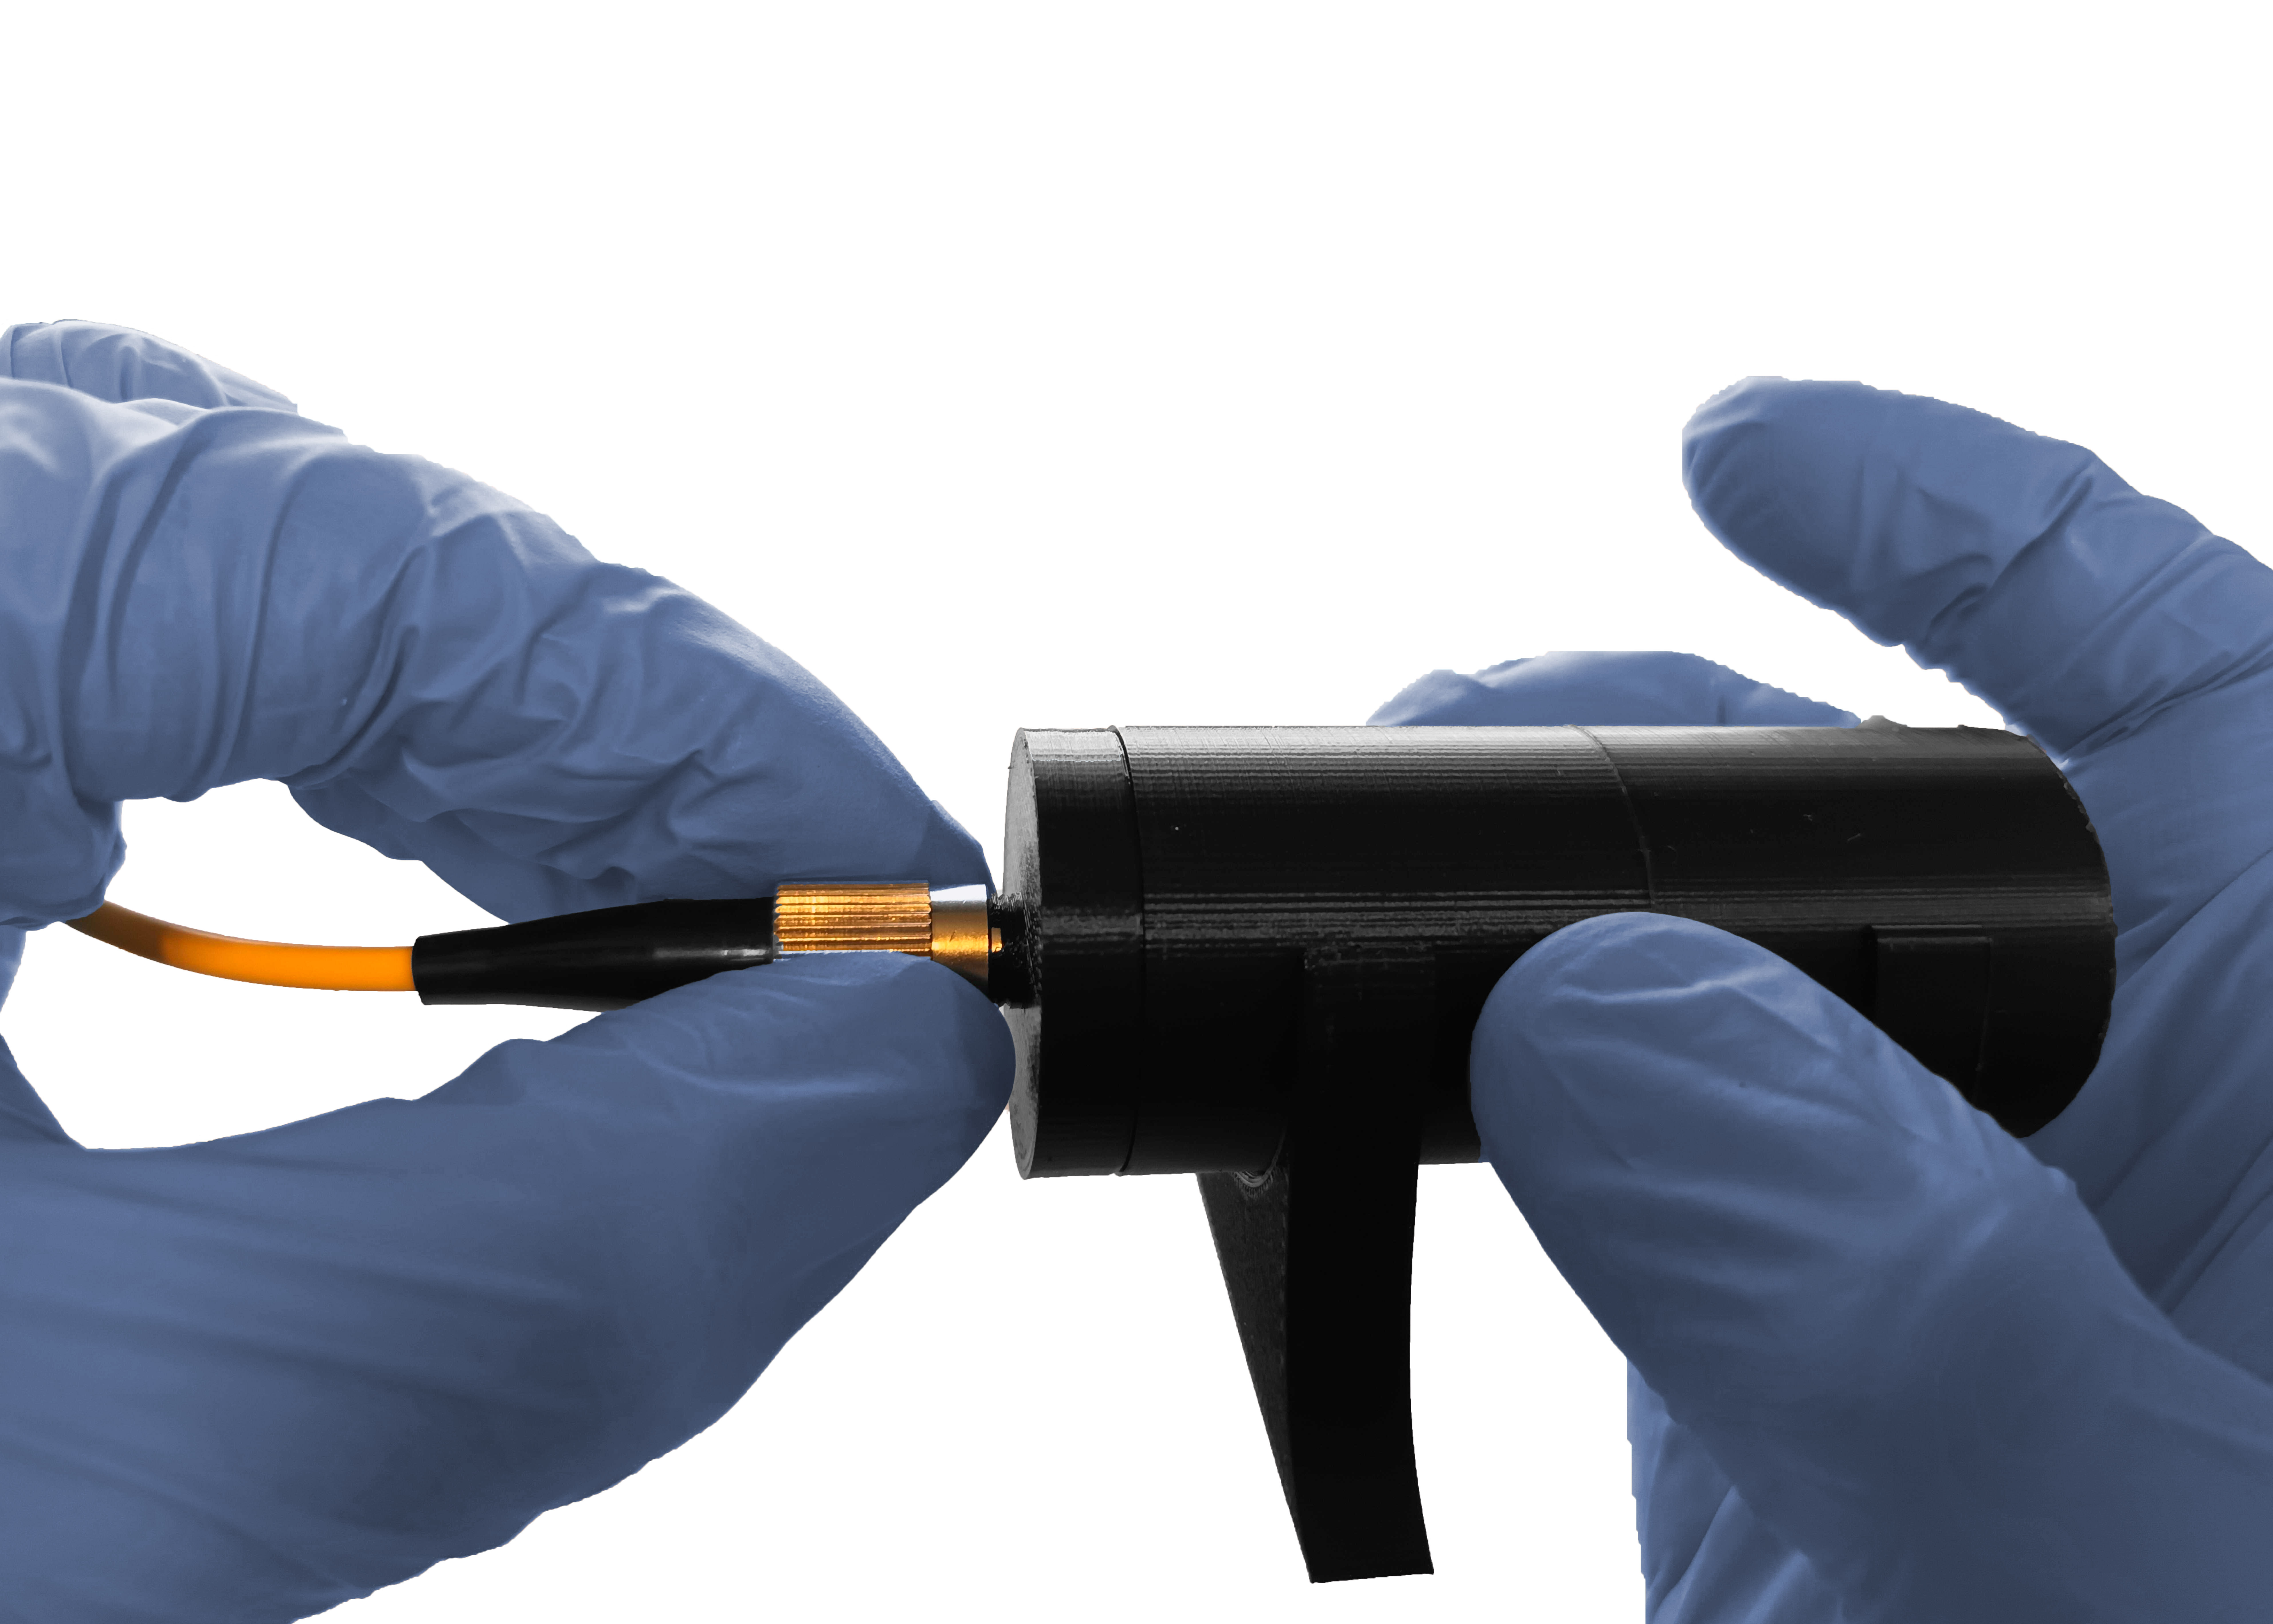
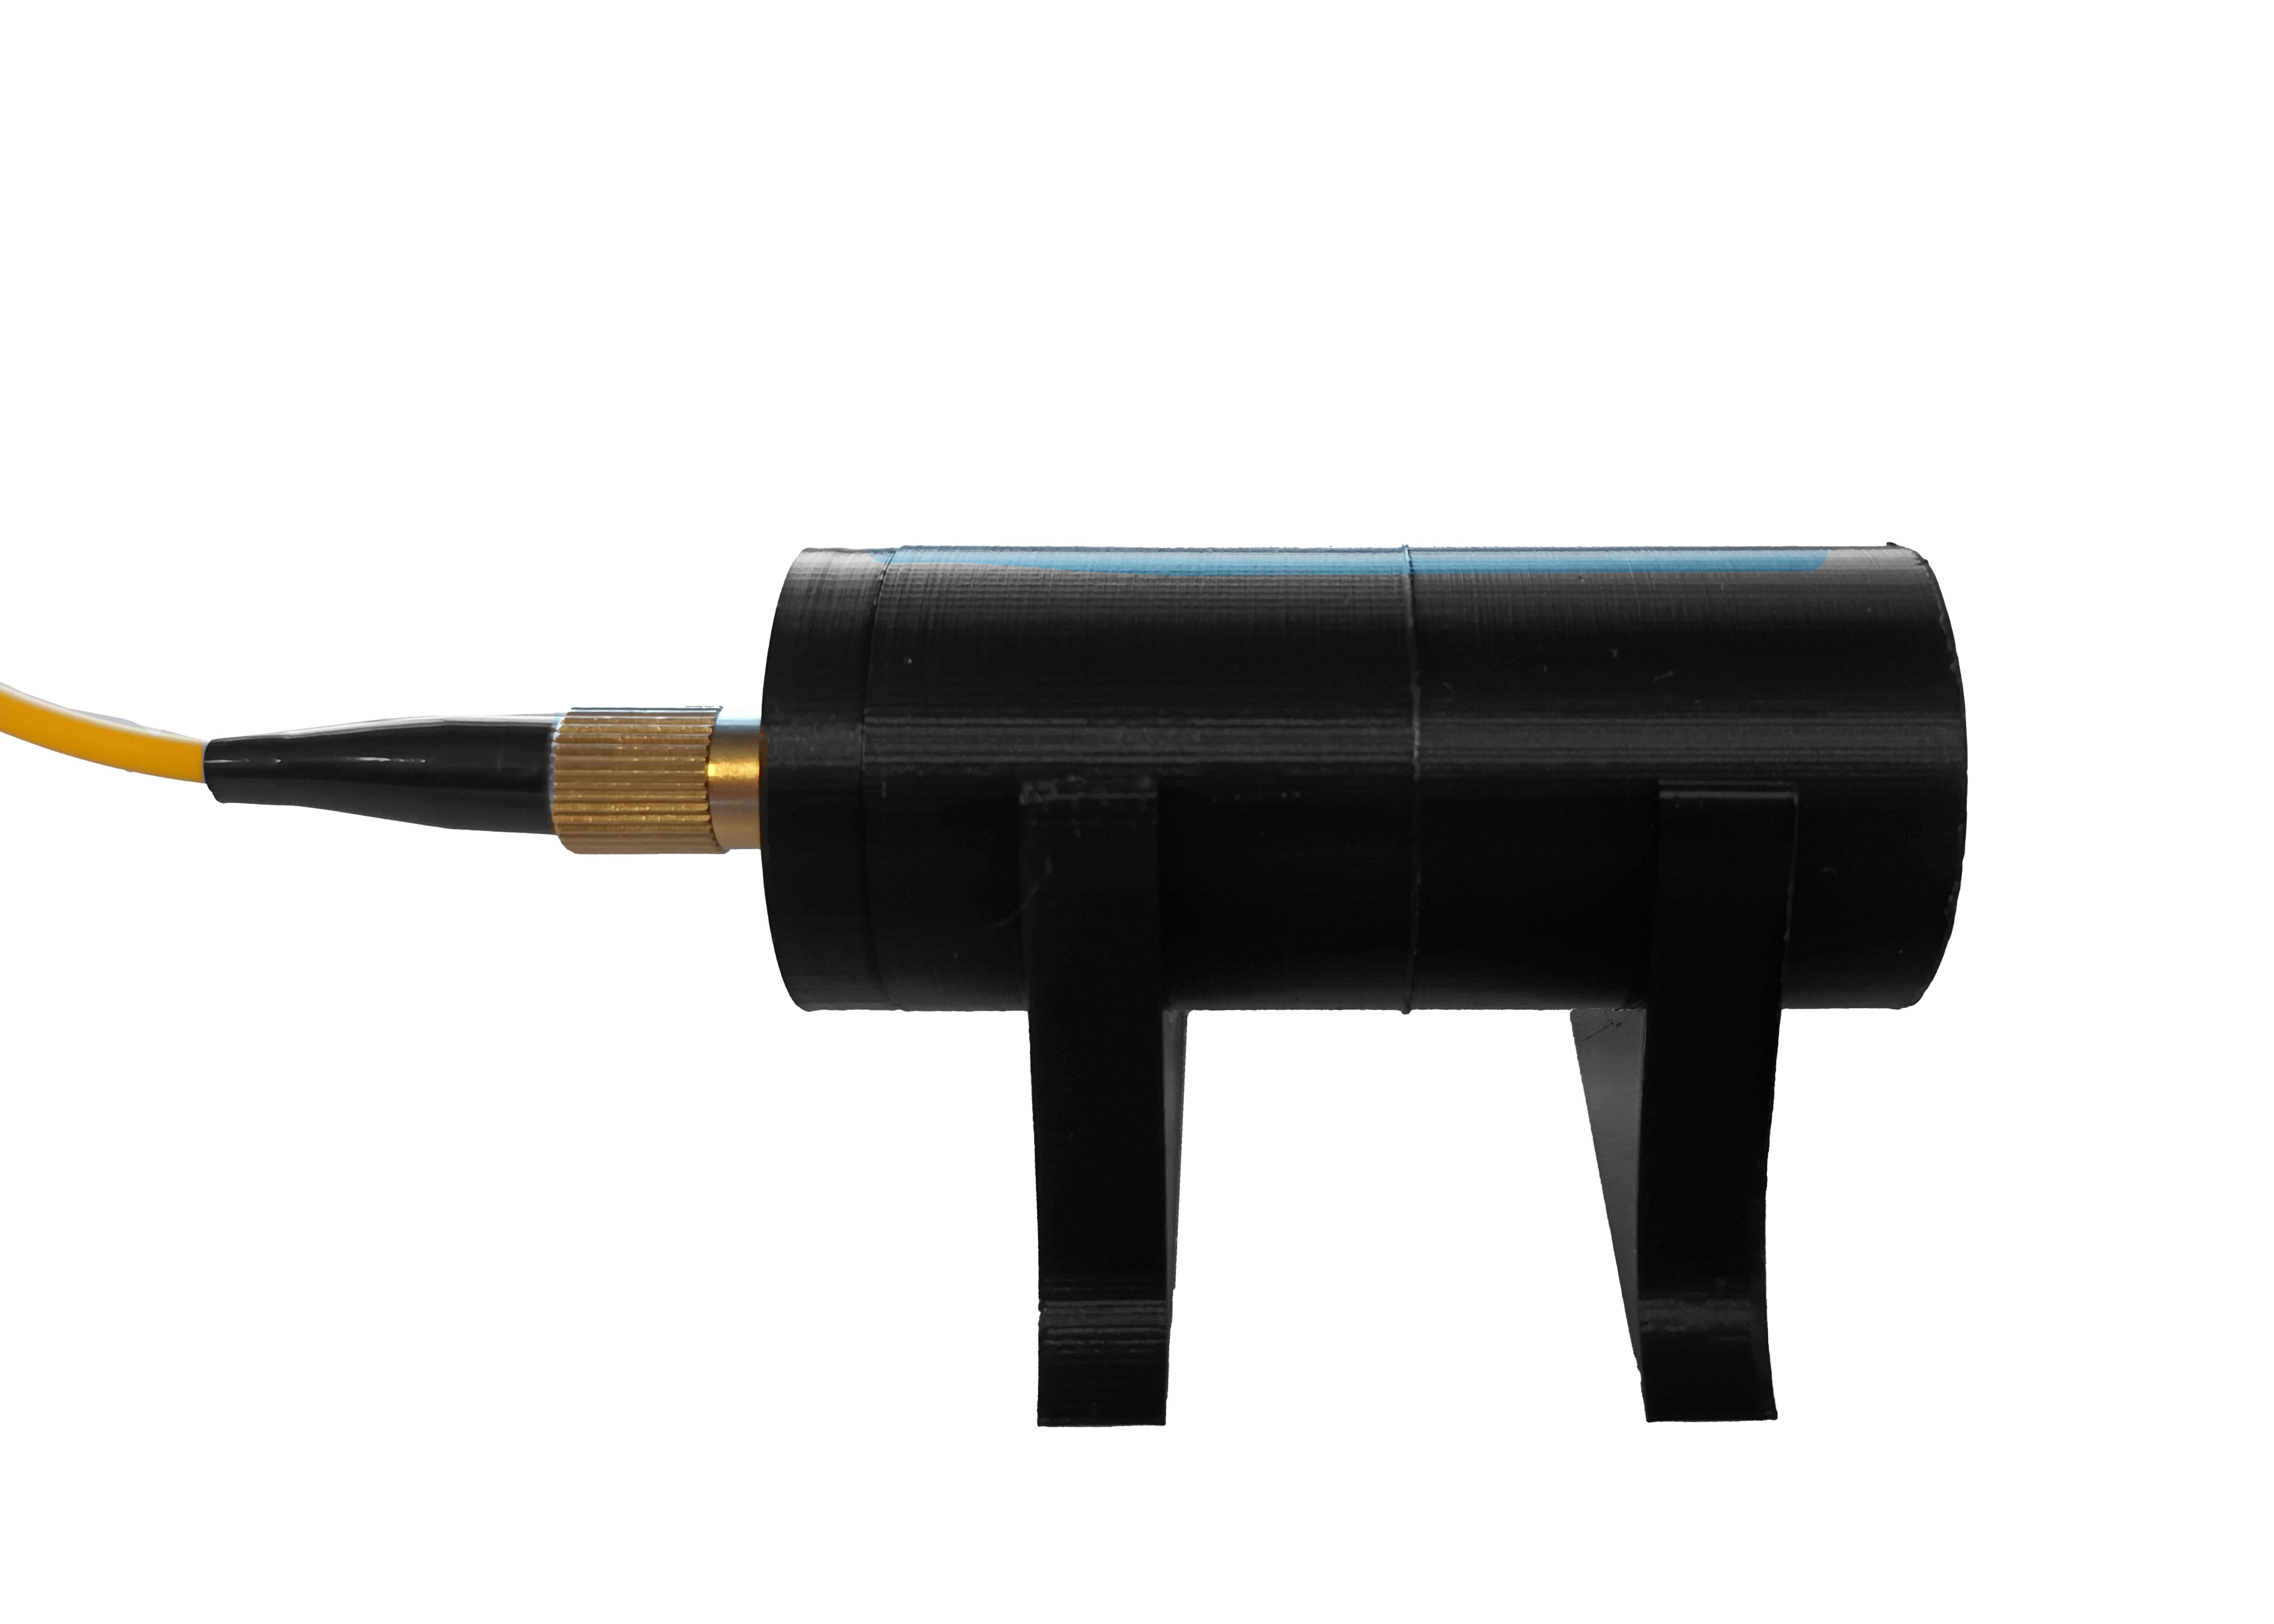

The assembly should look like the image below.
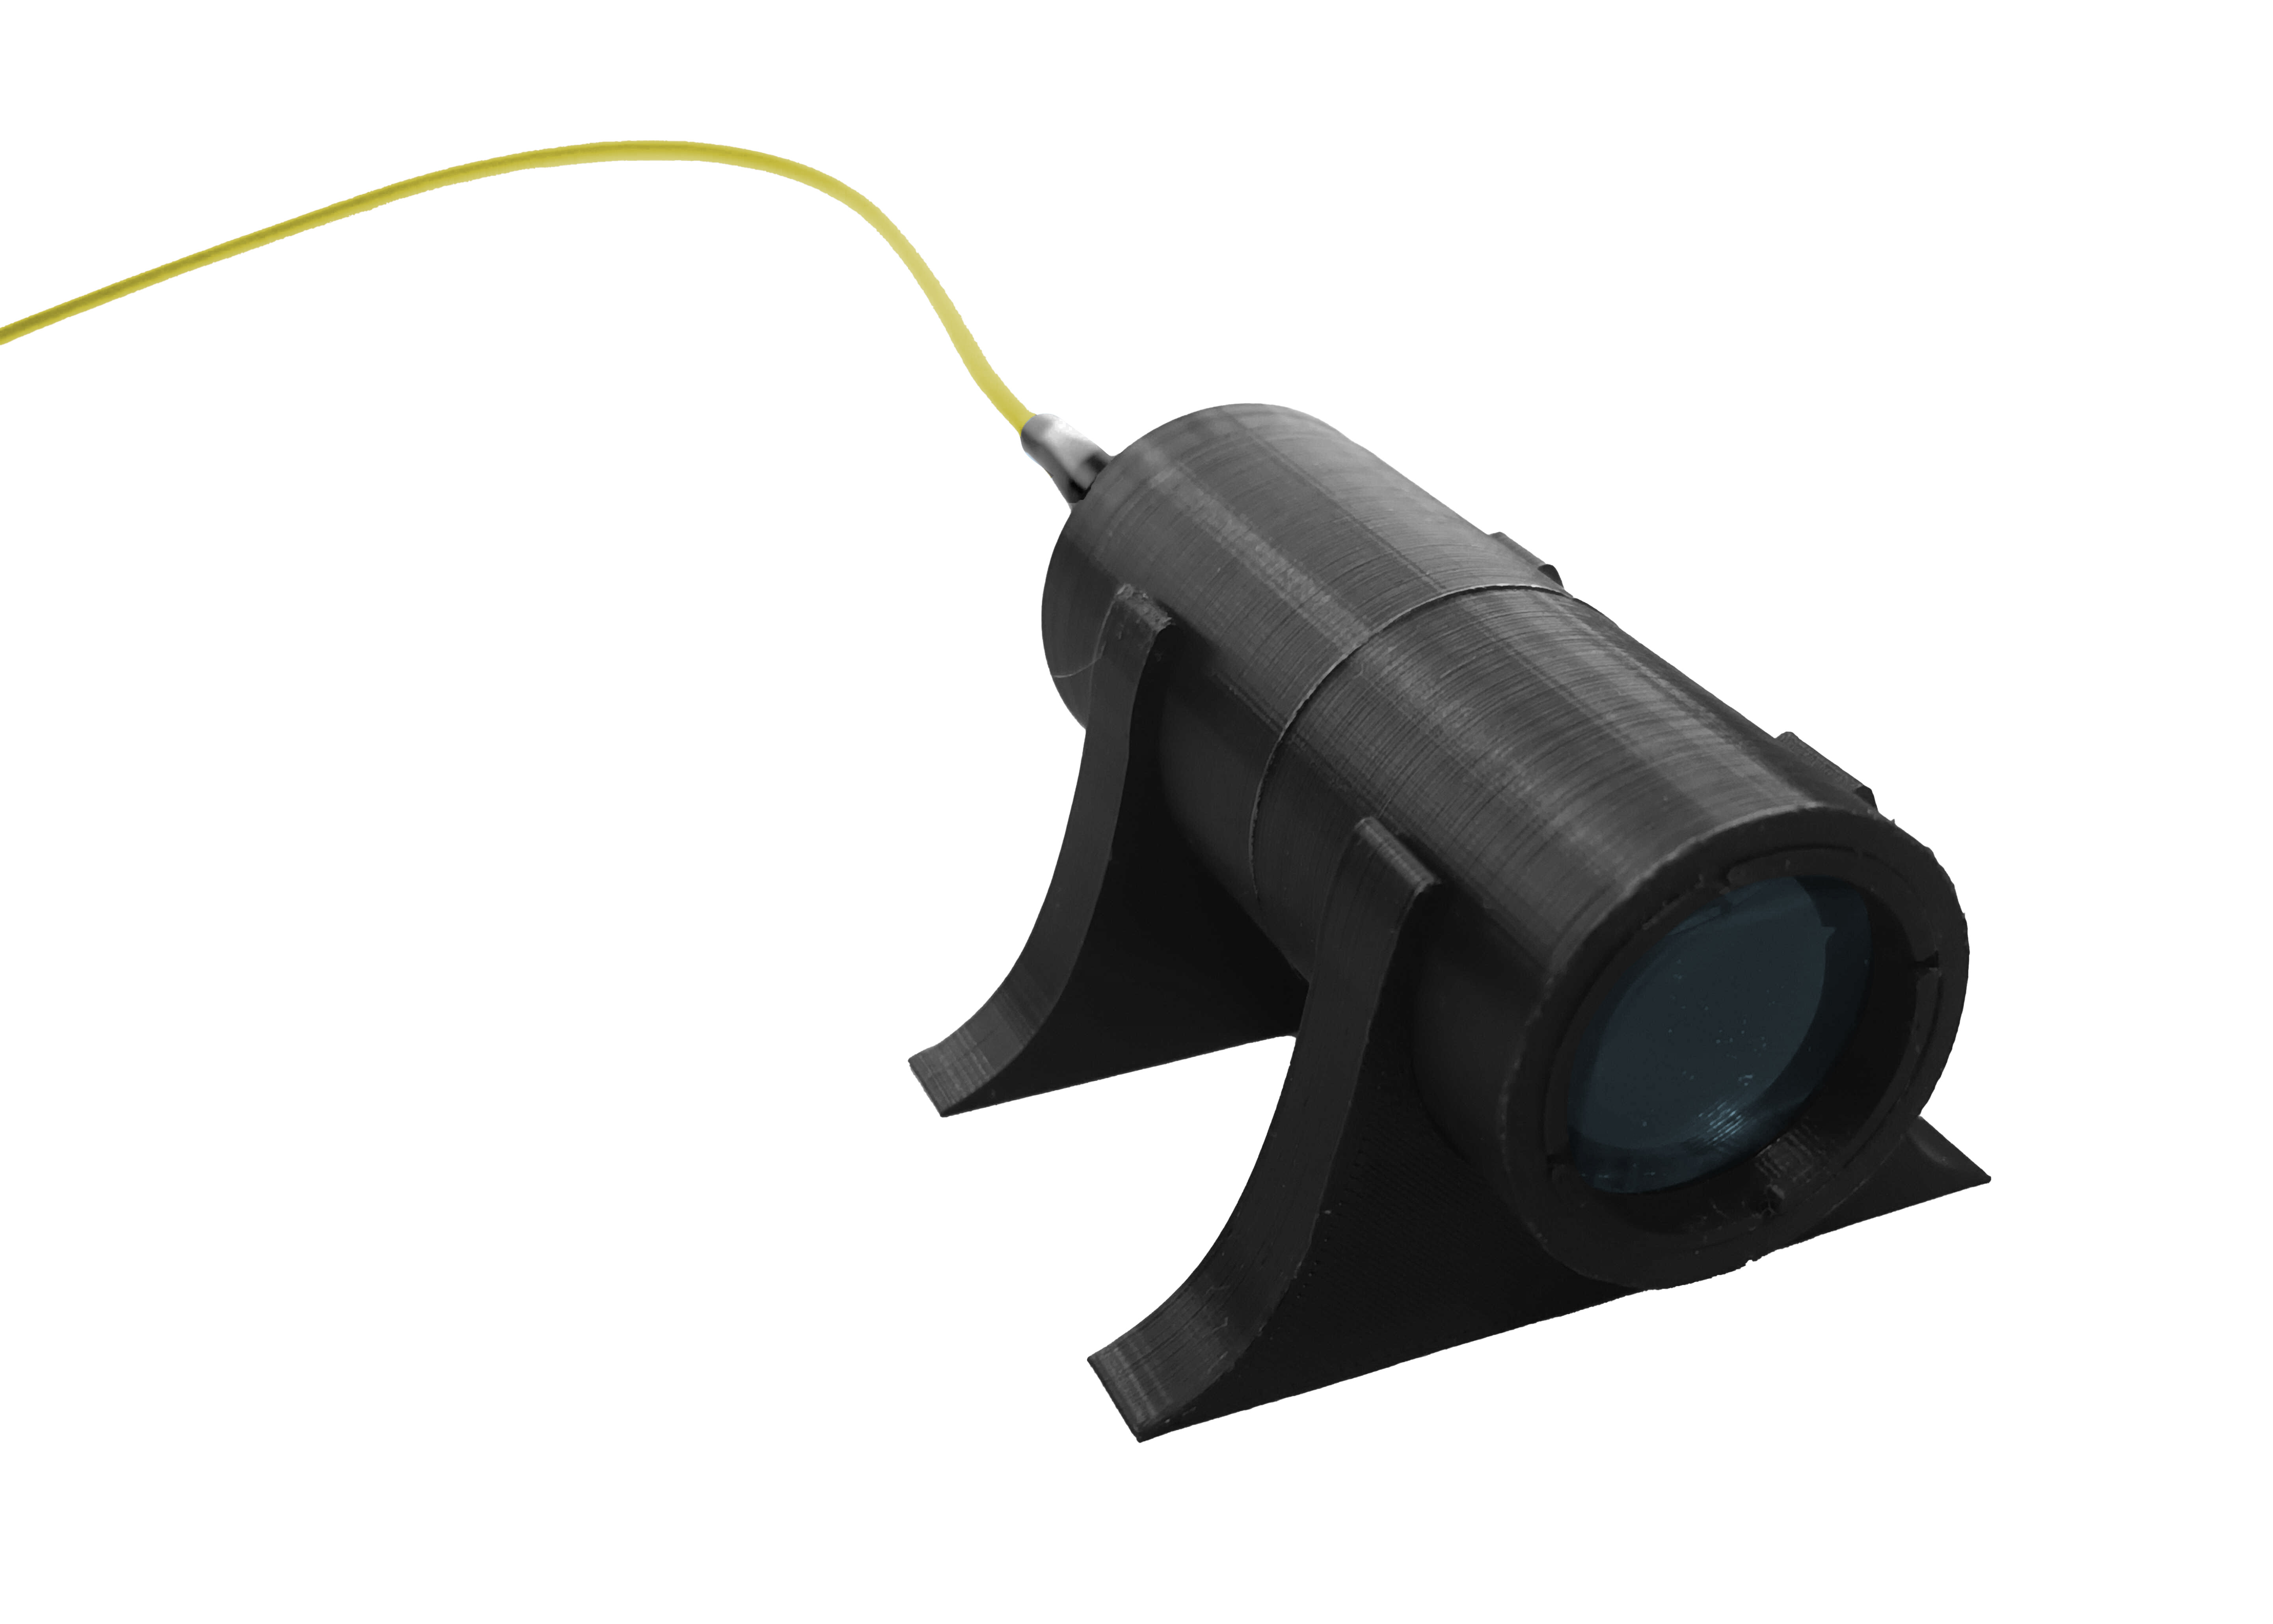
Step 5: Laser aiming surface
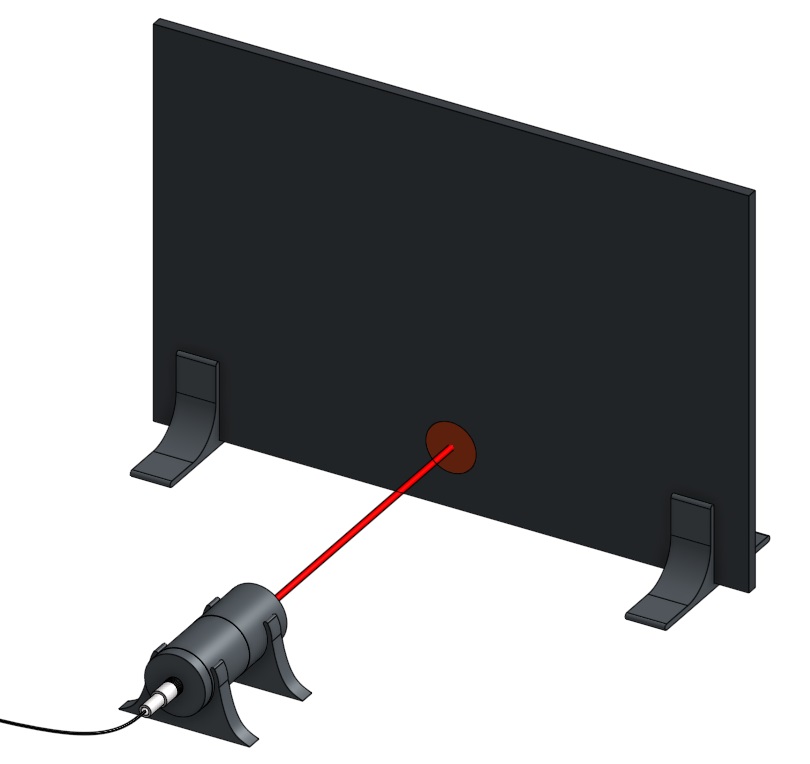
To test the operation of the laser safely, we recommend using a flat, black surface to terminate the laser propagation. Included in the kit are a piece of black cardboard and two surface holders for this purpose.
Step 6: Diffuser
To perform optical tests that require the use of diffuser:
- Make sure the laser is turned off before adjusting elements in the light path. Take apart the extended tube by unscrewing apart both segments.
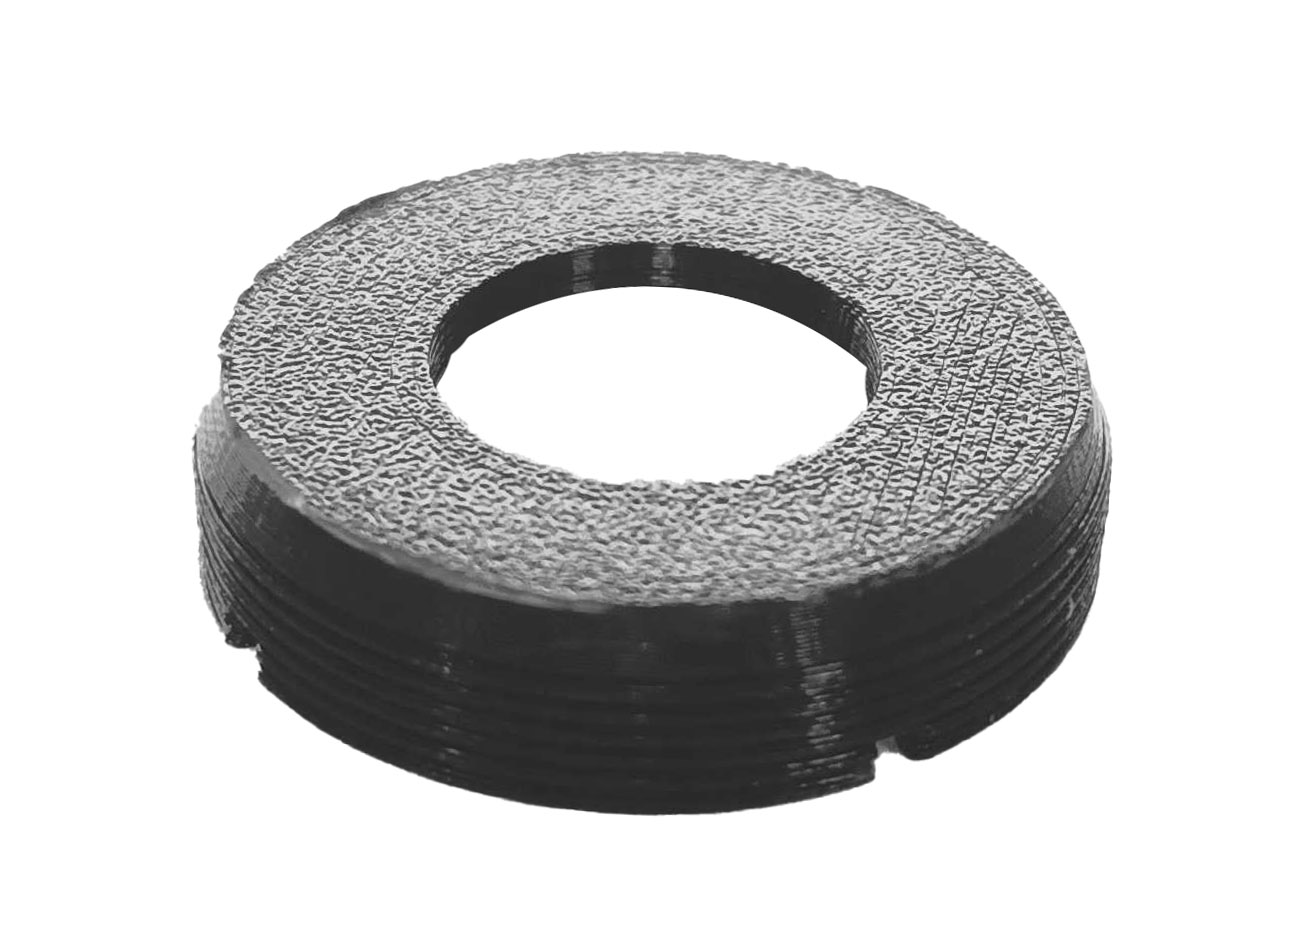
- Cover the aperture of the diffuser holder inner ring using a segment of clear diffusing adhesive tape.
- Fit the diffuser holder inner ring into the ring tool and insert the diffuser into the optical tube screwing from the open side of the tube closest to the laser fiber adapter. Reassemble the extended tube by screwing the tube segments together.


Step 7: Adjustable Lens Tube
Make sure the laser is turned off before adjusting elements in the light path. For activity that requires adjusting the position of the lens depending on its focal length, you could replace and use the adjustable lens tube part instead of one of the optical tubes.
