Laser cut the acrylic parts
Step 1: Set your laser cutting machine settings
Laser-cutting acrylics is relatively simple. The basic steps for achieving good-quality cut acrylic parts are listed here.
Settings for laser cutting acrylics will vary according to the machine. The table below lists the settings we used:
| Setting | Value |
|---|---|
| Material | Acrylic 5mm |
| Power (W) | 50 |
| Speed (mm/s) | 10 |
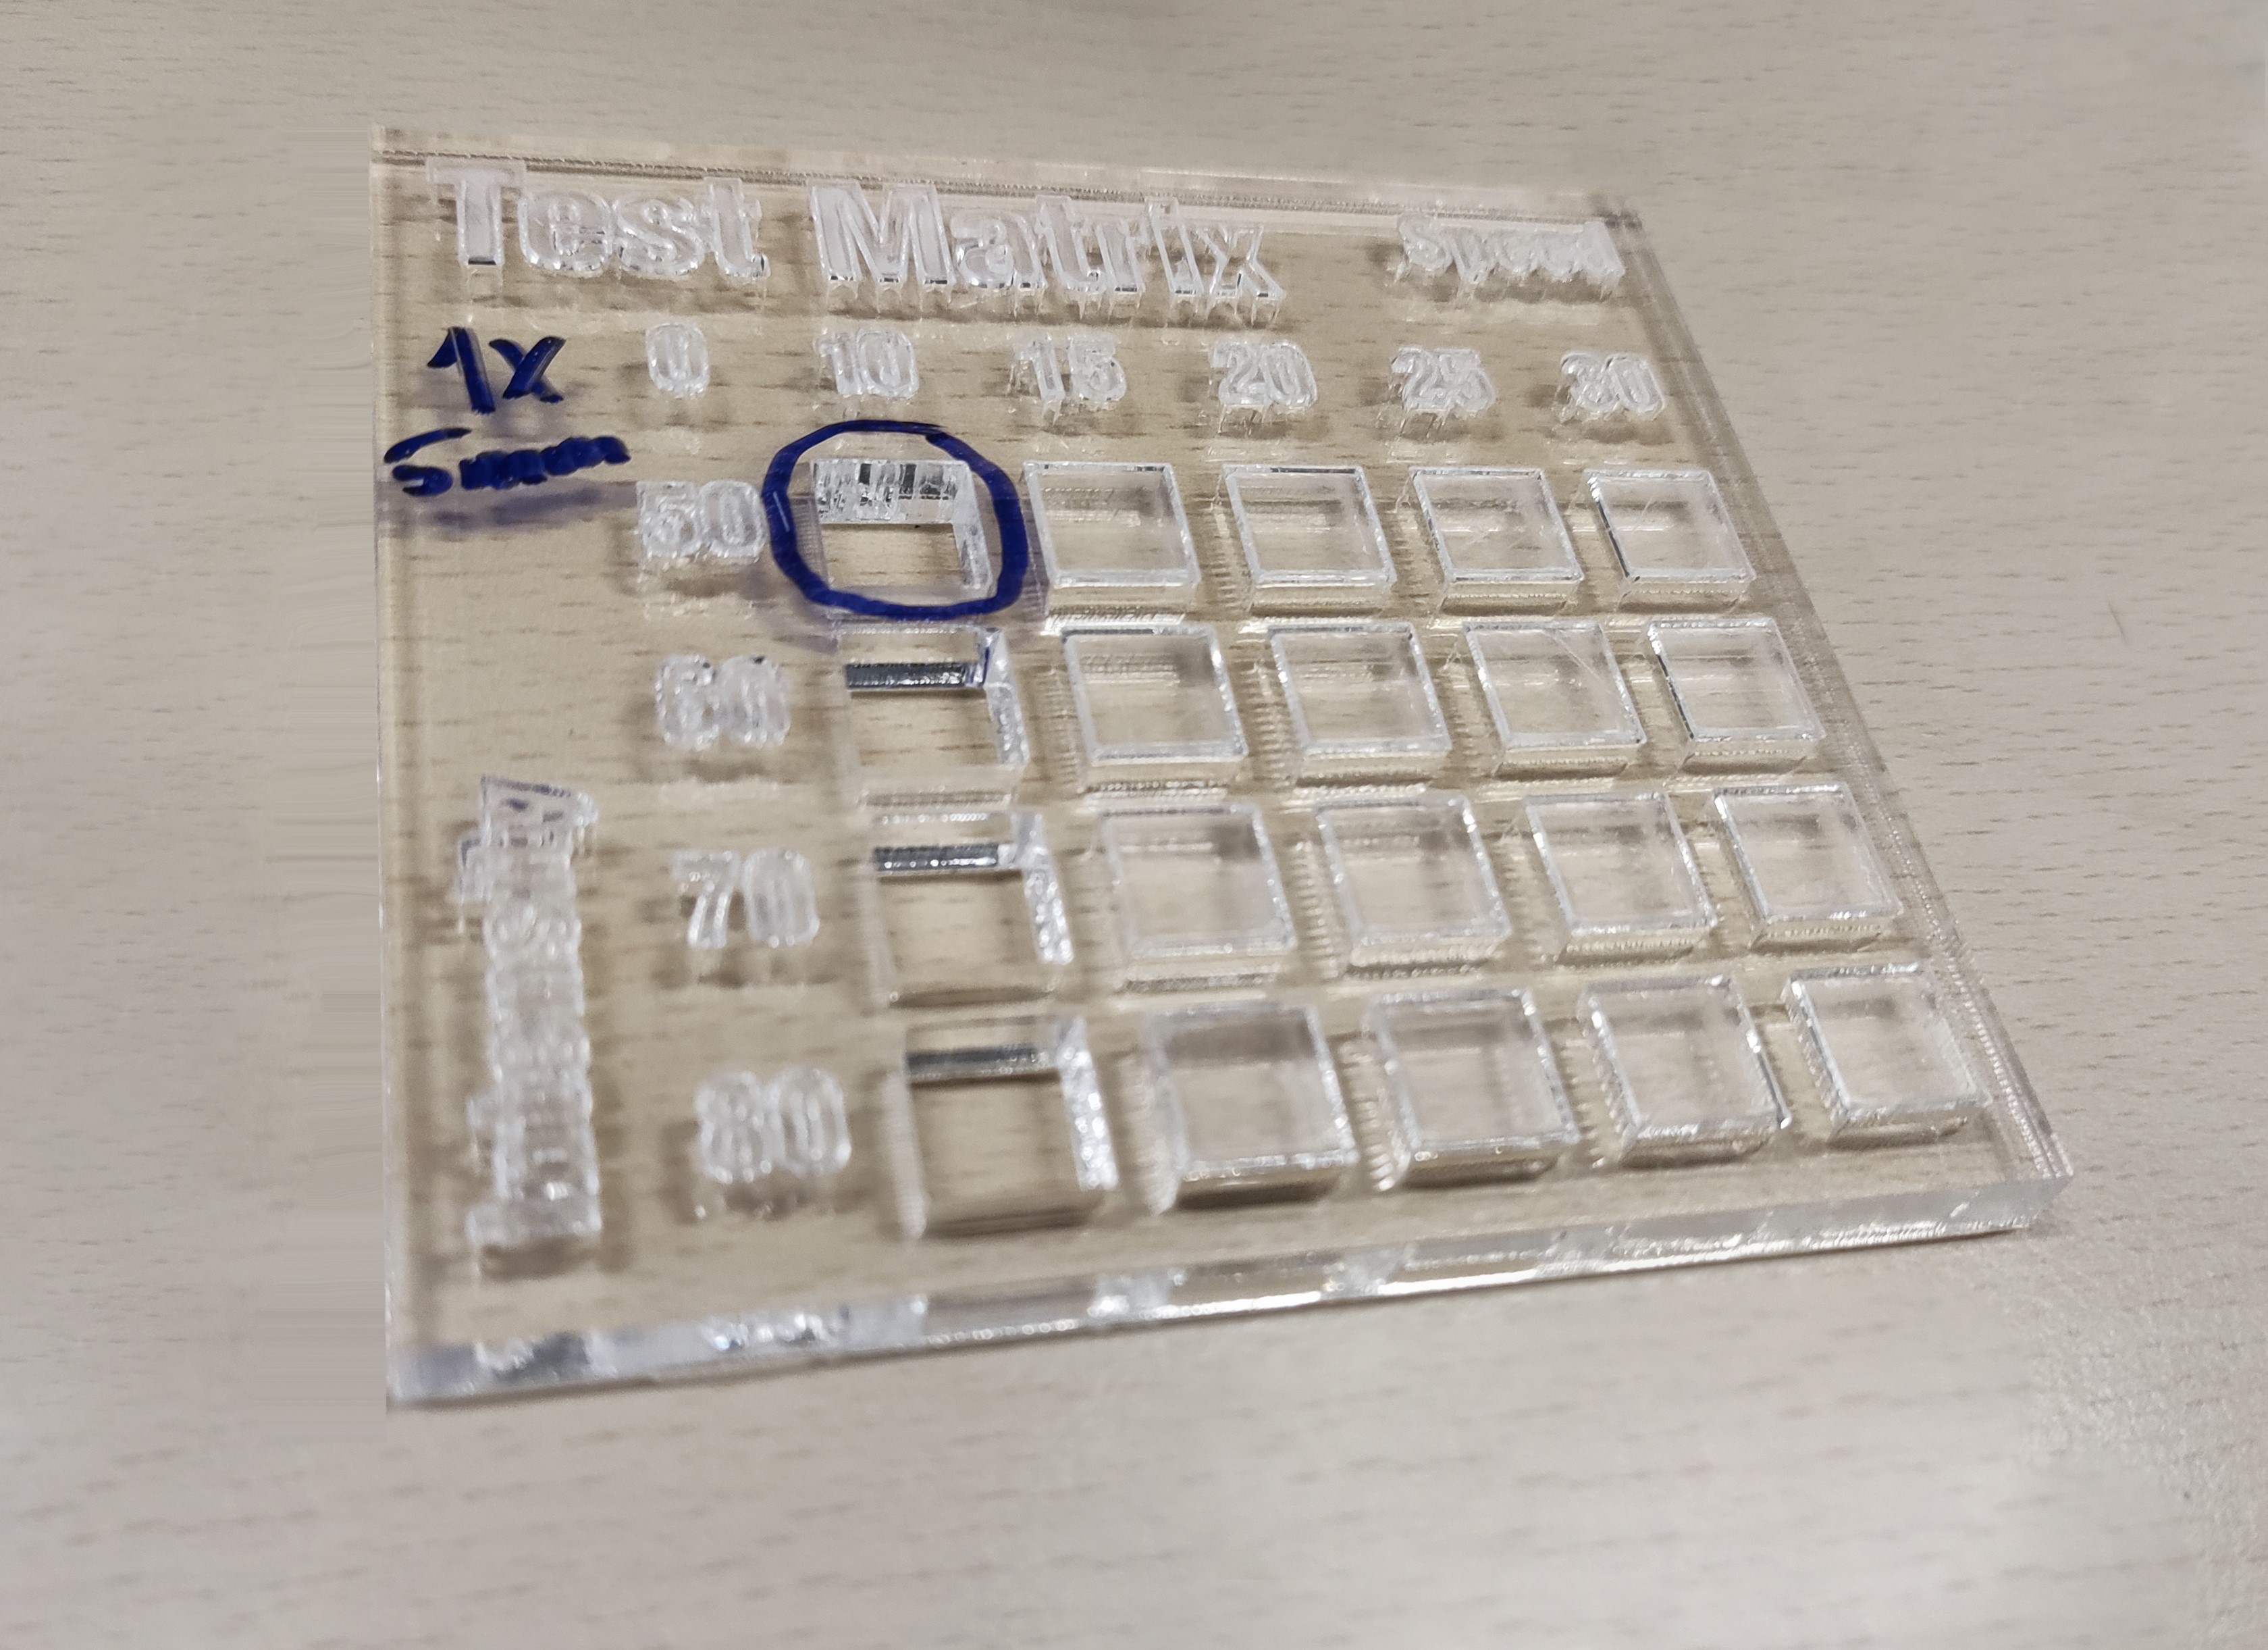
We recommend testing the parameters for acrylic laser cutting using a test matrix. Download and laser cut the test matrix file. This will only use about an 8x9x0.5cm acrylic sheet.
The result should look like this:
Step 2: Laser cutting
Now you have tested your laser cutting machine and acrylic sheet you can laser cut the following parts:
- Top plate (17x17x0.5cm): top-plate.dxf
- Middle plate (17x17x0.5cm): middle-plate.dxf
Remove film
-
If there is protective film on the acrylic, remove it now.
-
Your plates are now prepared and ready to use.