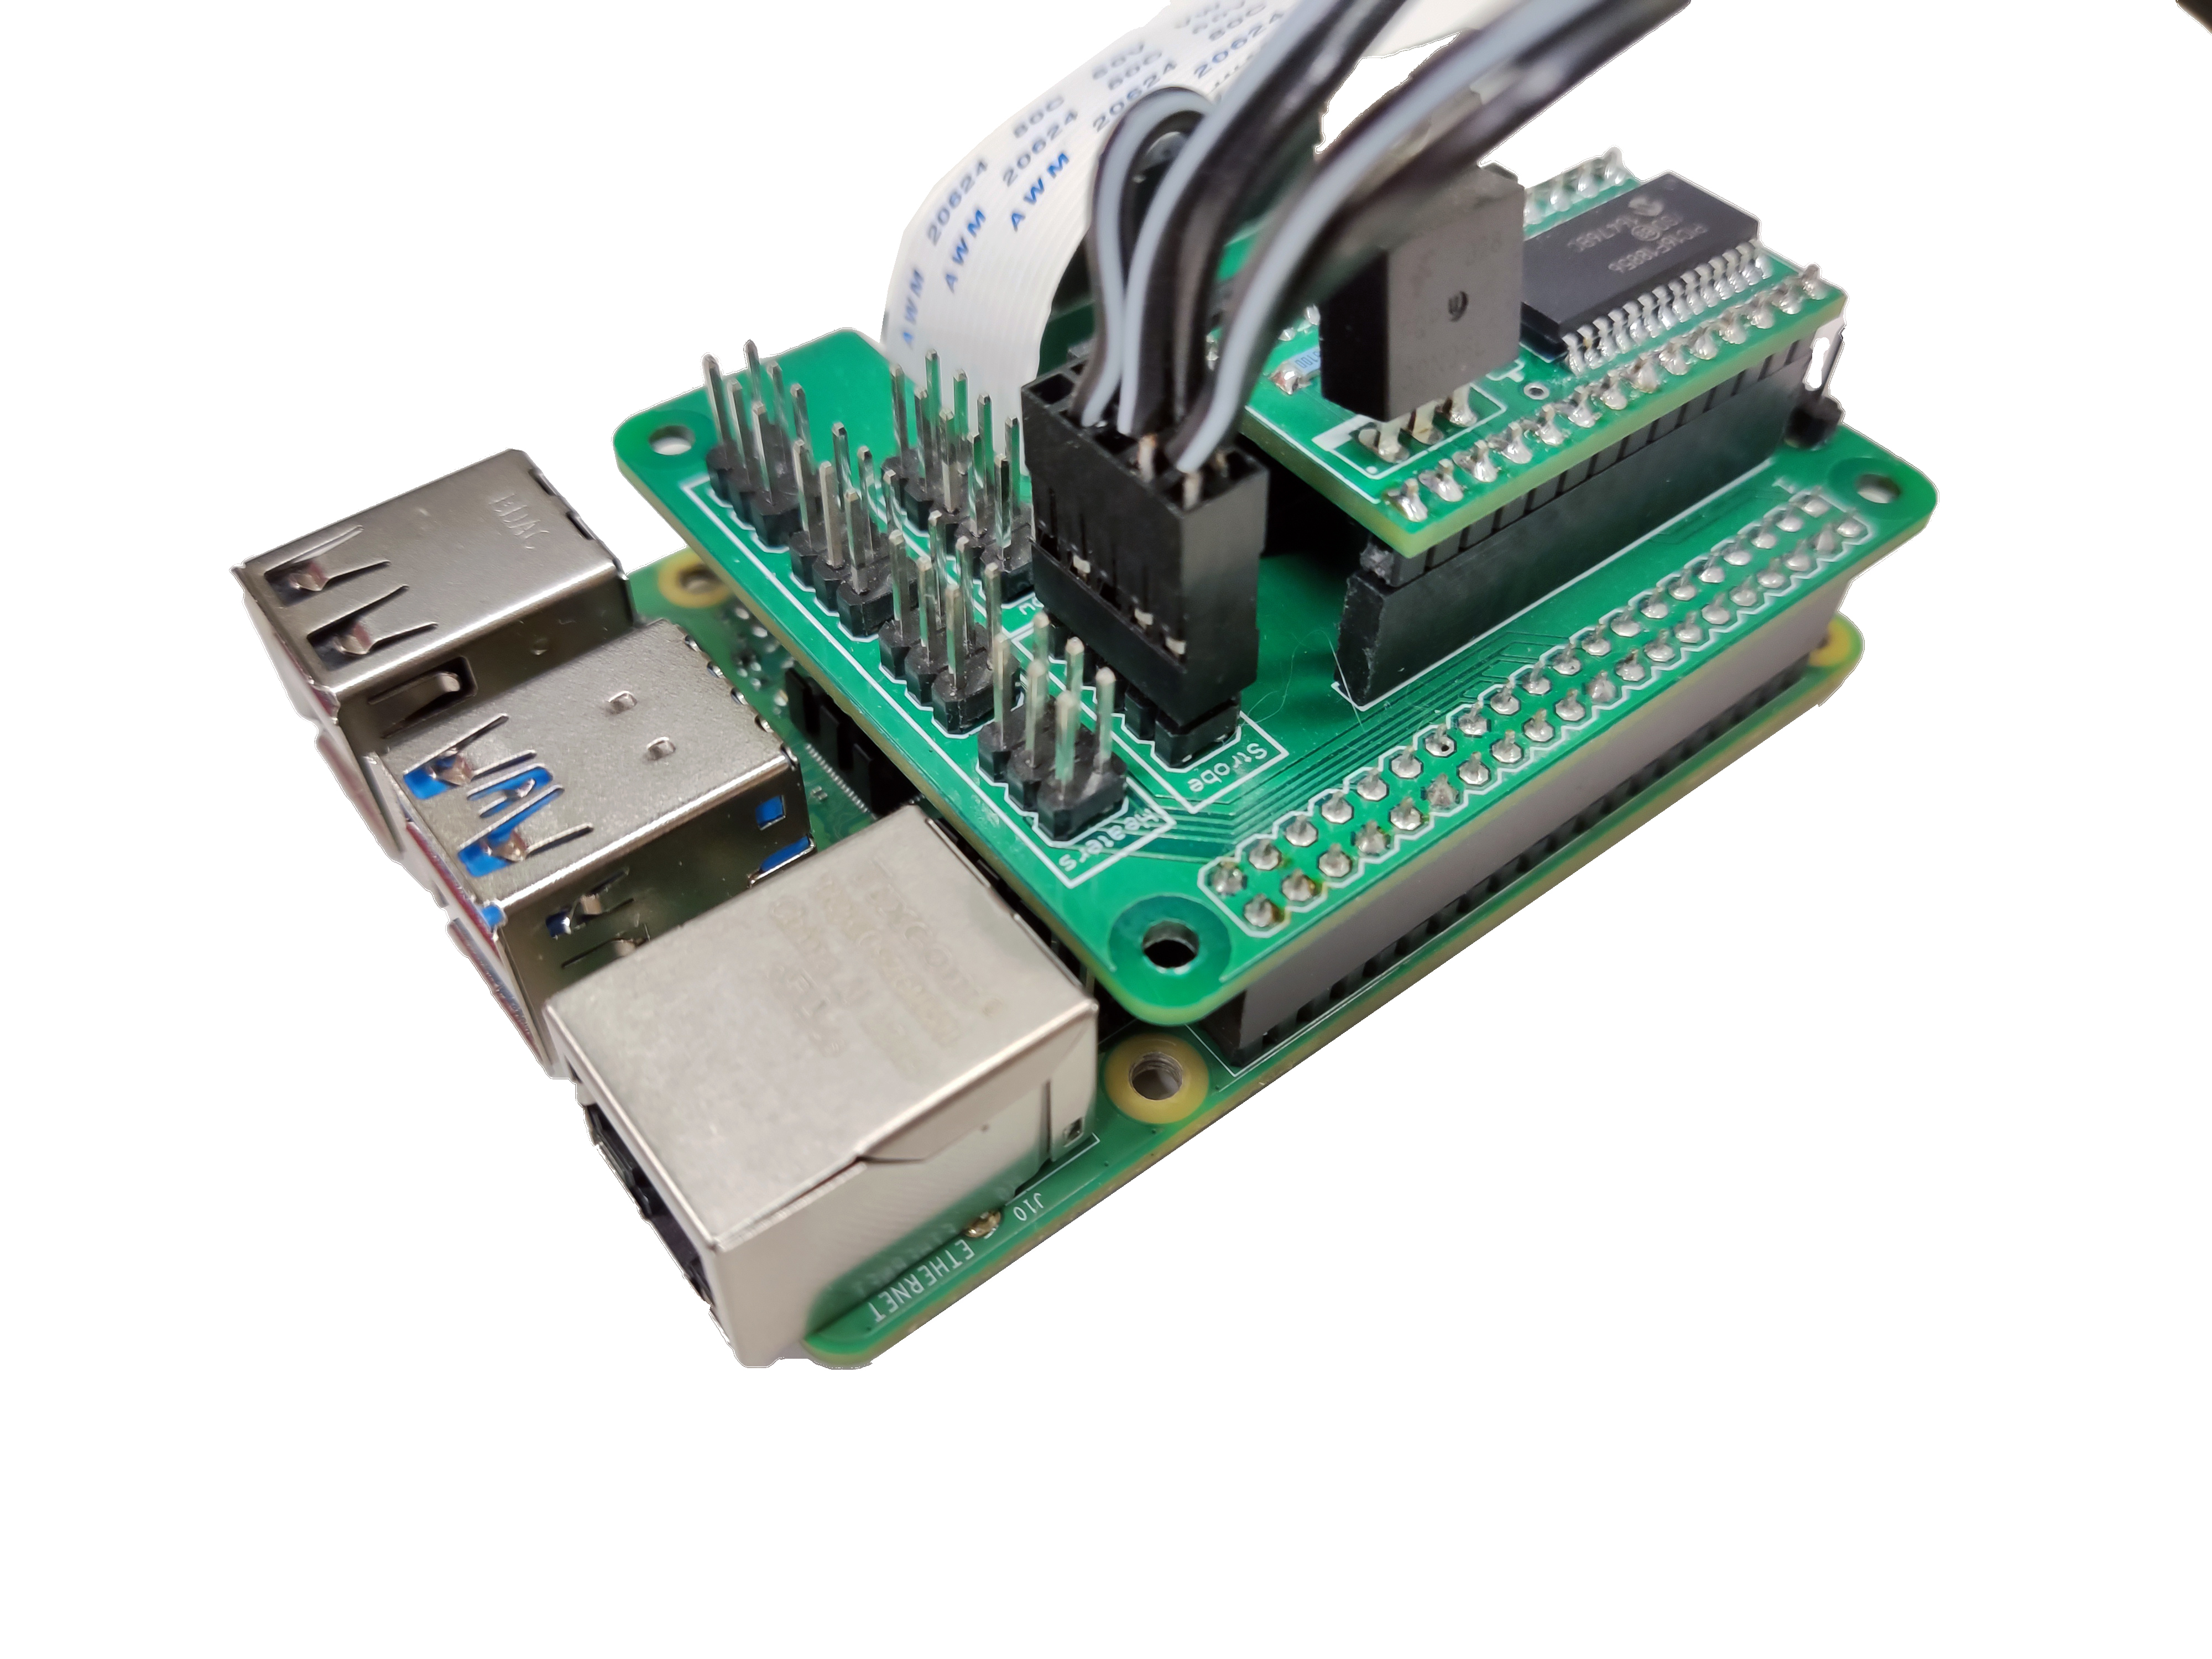
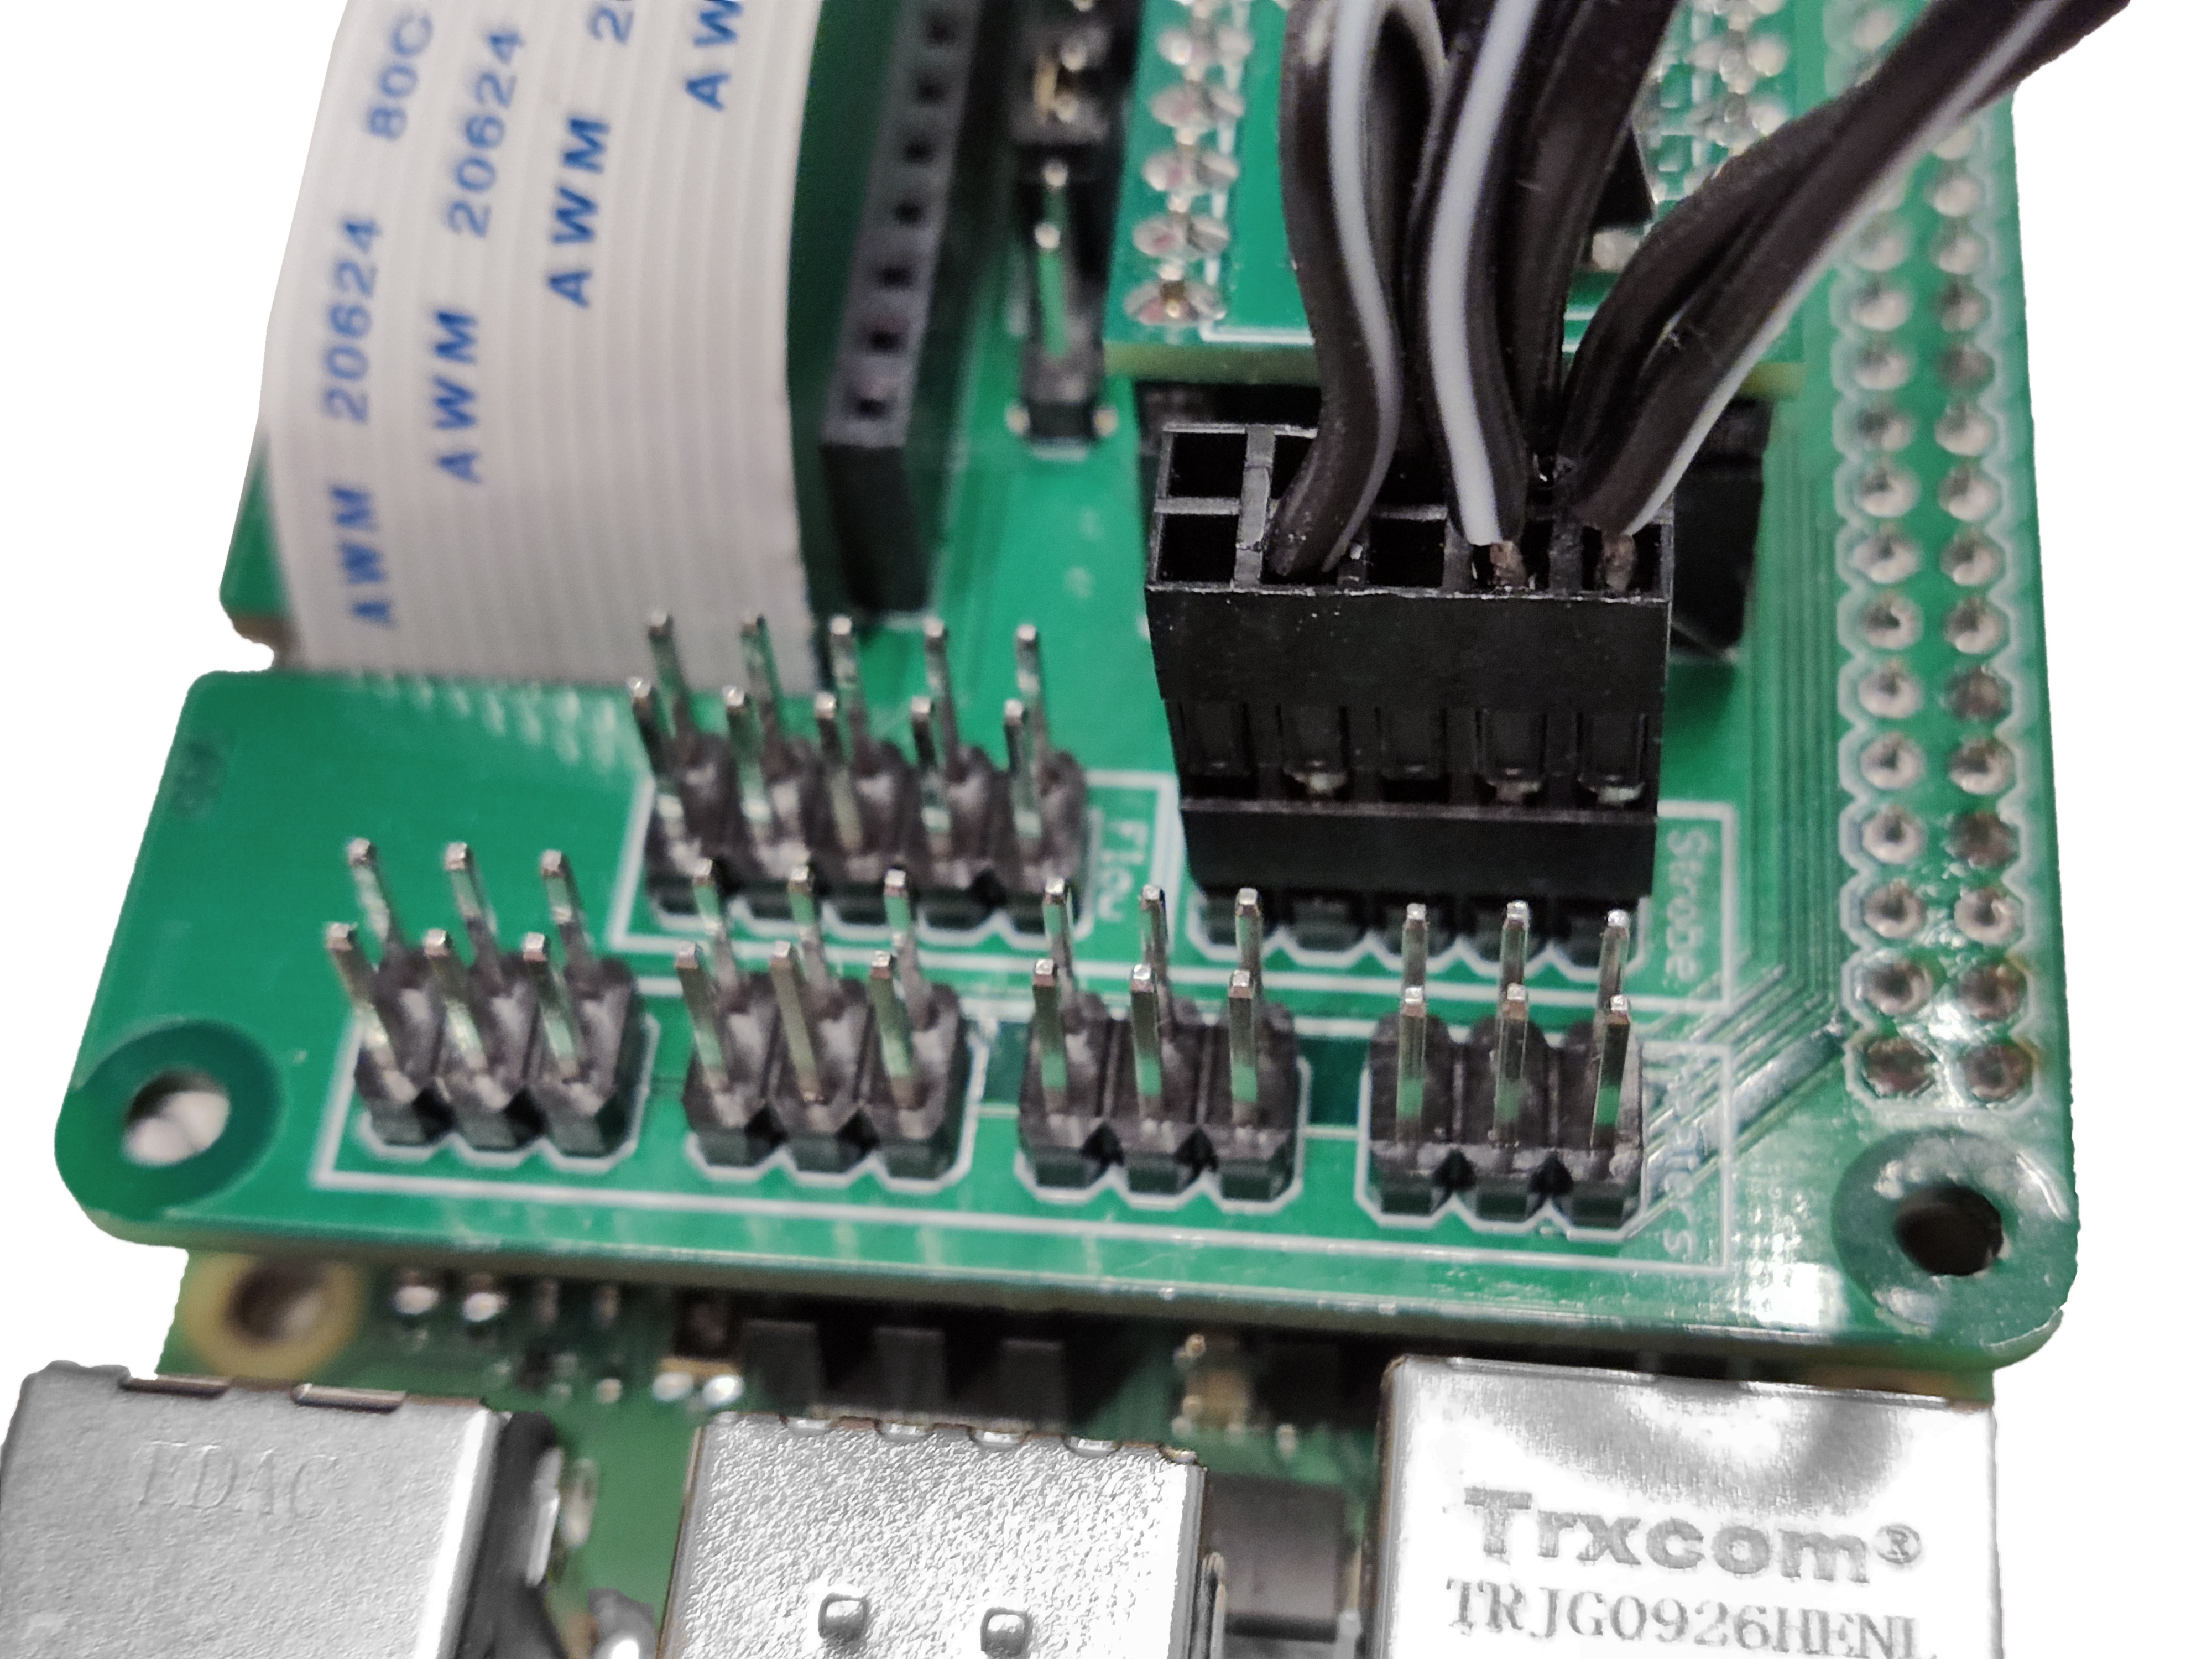
Complete the wiring
These instructions assume you are using a Raspberry Pi v4, a Pi Hat, and the Strobe module.
Tools
- 1 Tweezers
Consumables
Electronic Components
- 1 Pi Hat - This is a custom open-source board documented here
- 1 Raspberry Pi
- 1 Strobe Cable - This is a custom connector documented here
- 1 Strobe Module - This is a custom open-source board documented here
Mechanical Components
Caution
Use tweezers and gloves to avoid directly touching the electronic components. This can avoid accidental damages.
Step 1: Connect the camera
- Insert the ribbon cable from the optics module into the camera port of the Raspberry Pi, ensuring the contacts are on the opposite side of the clasp. There are detailed instructions on the Raspberry Pi website.
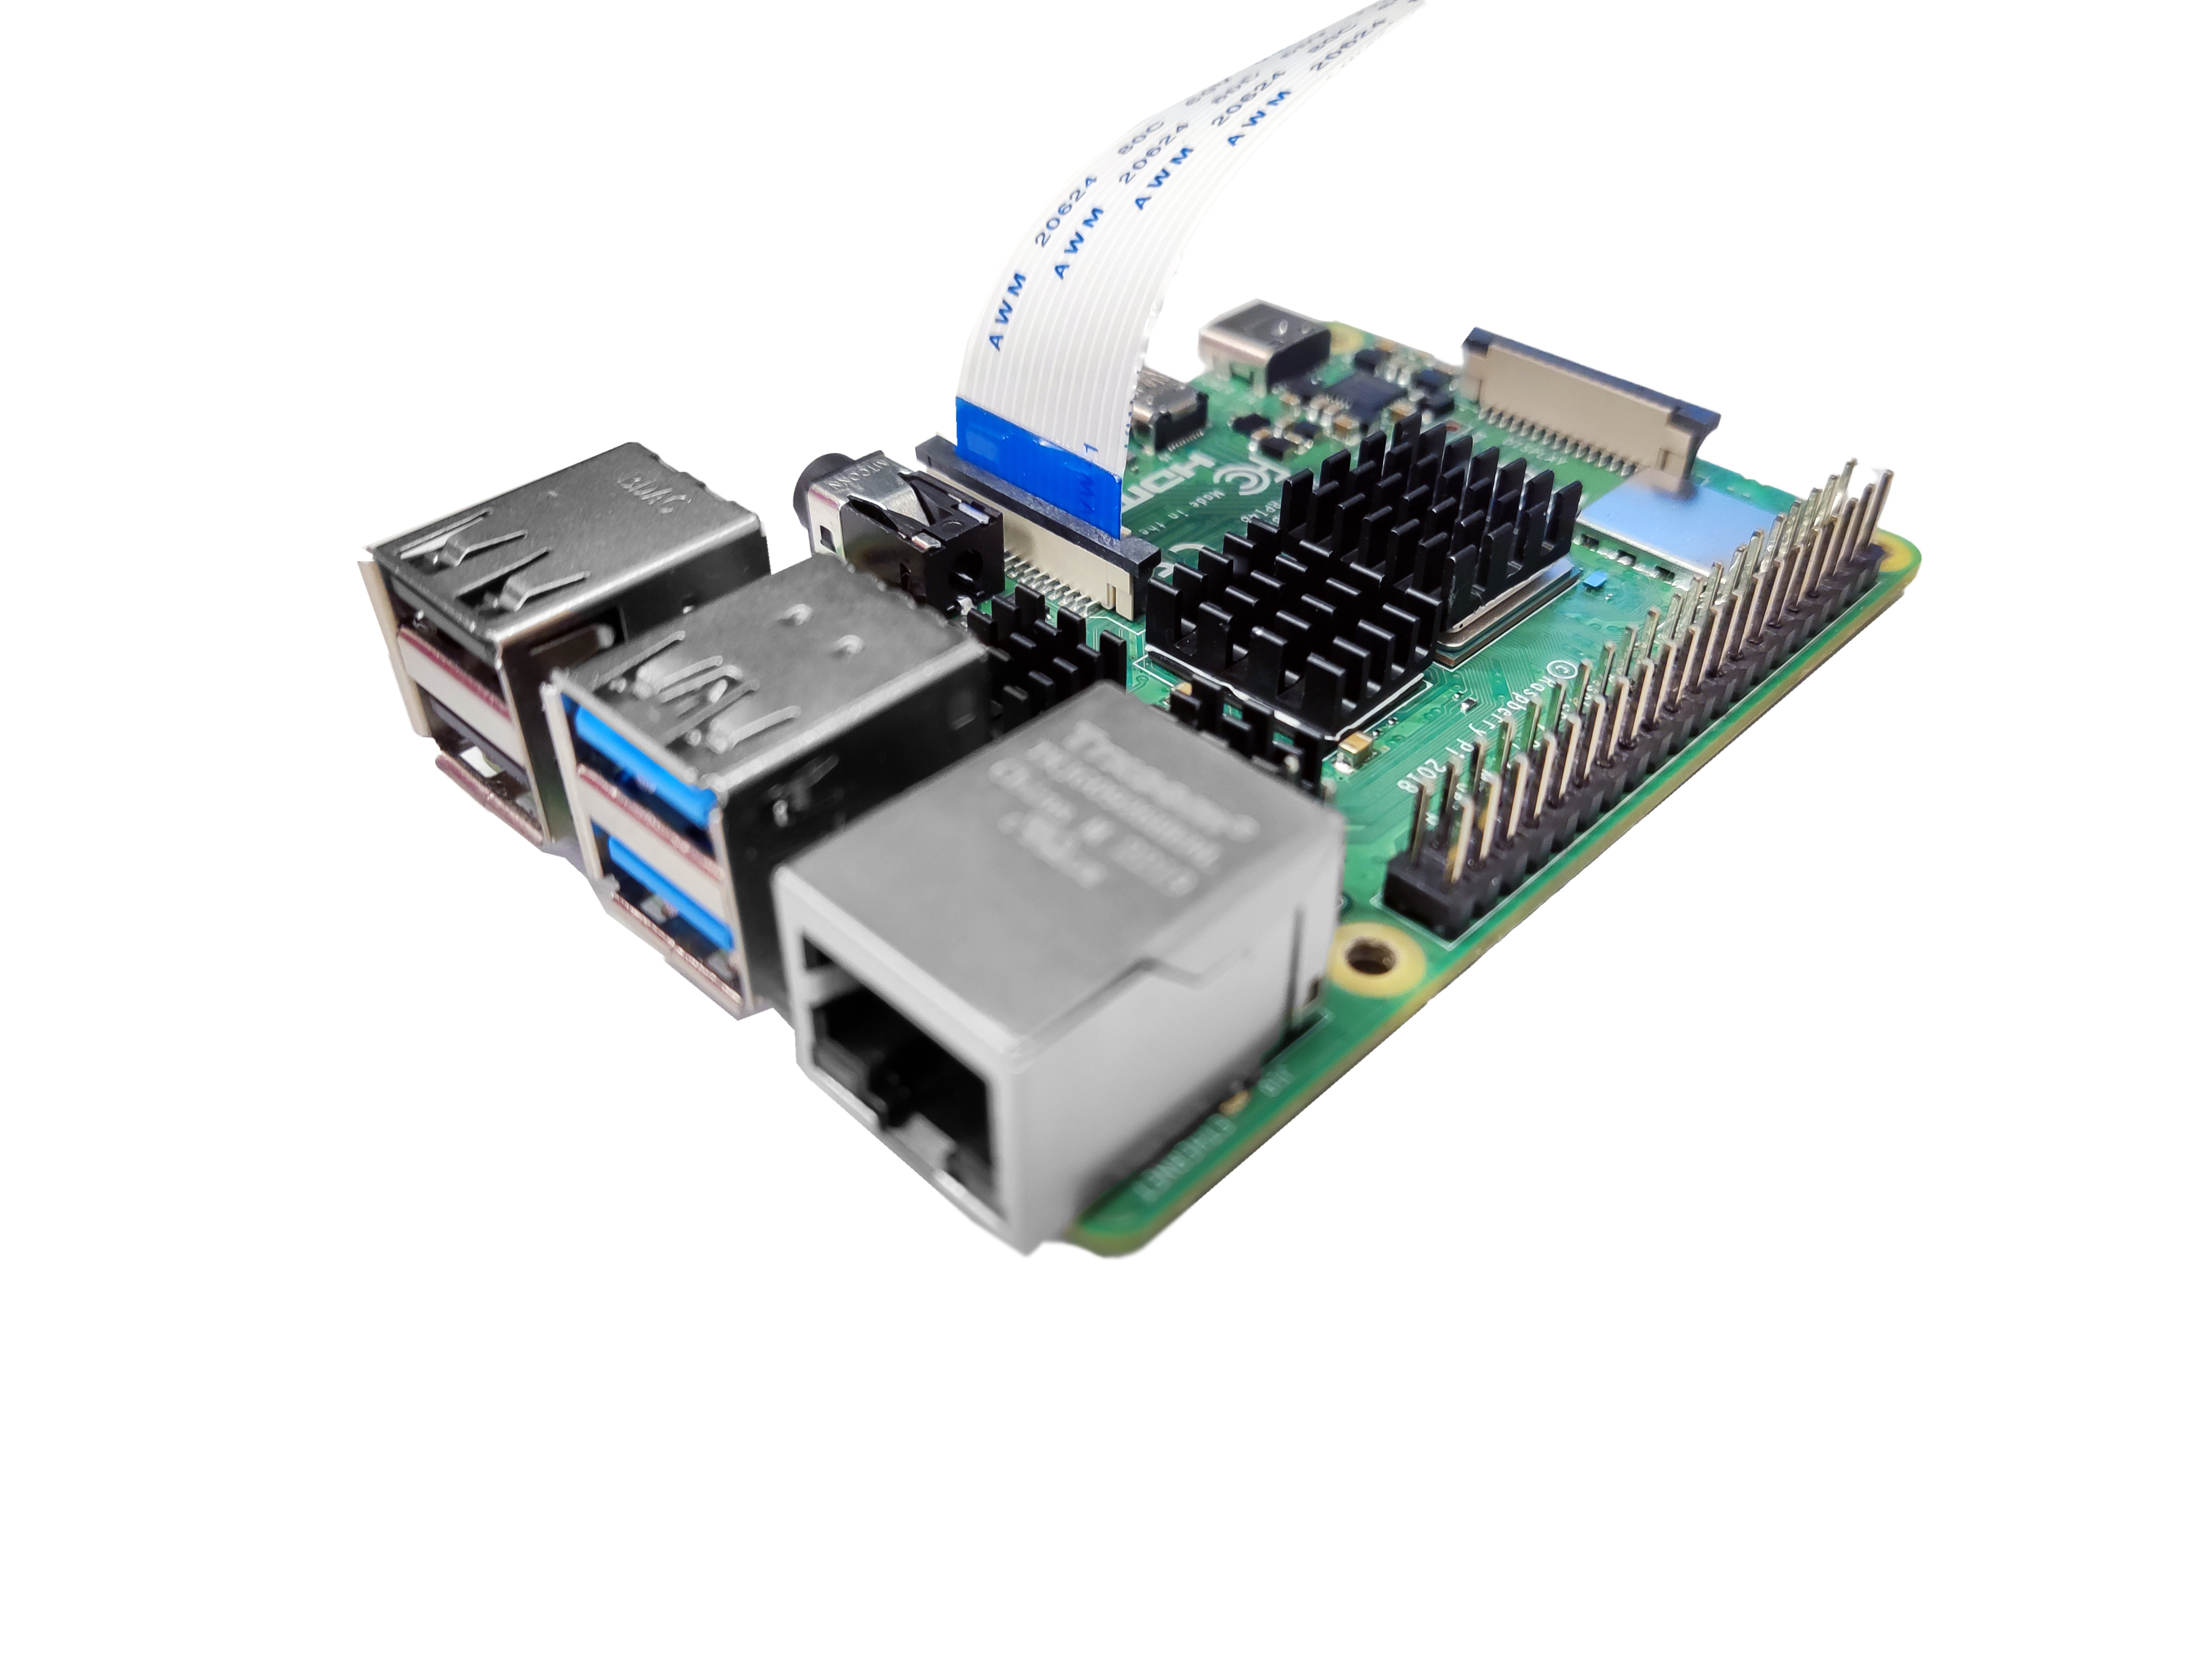
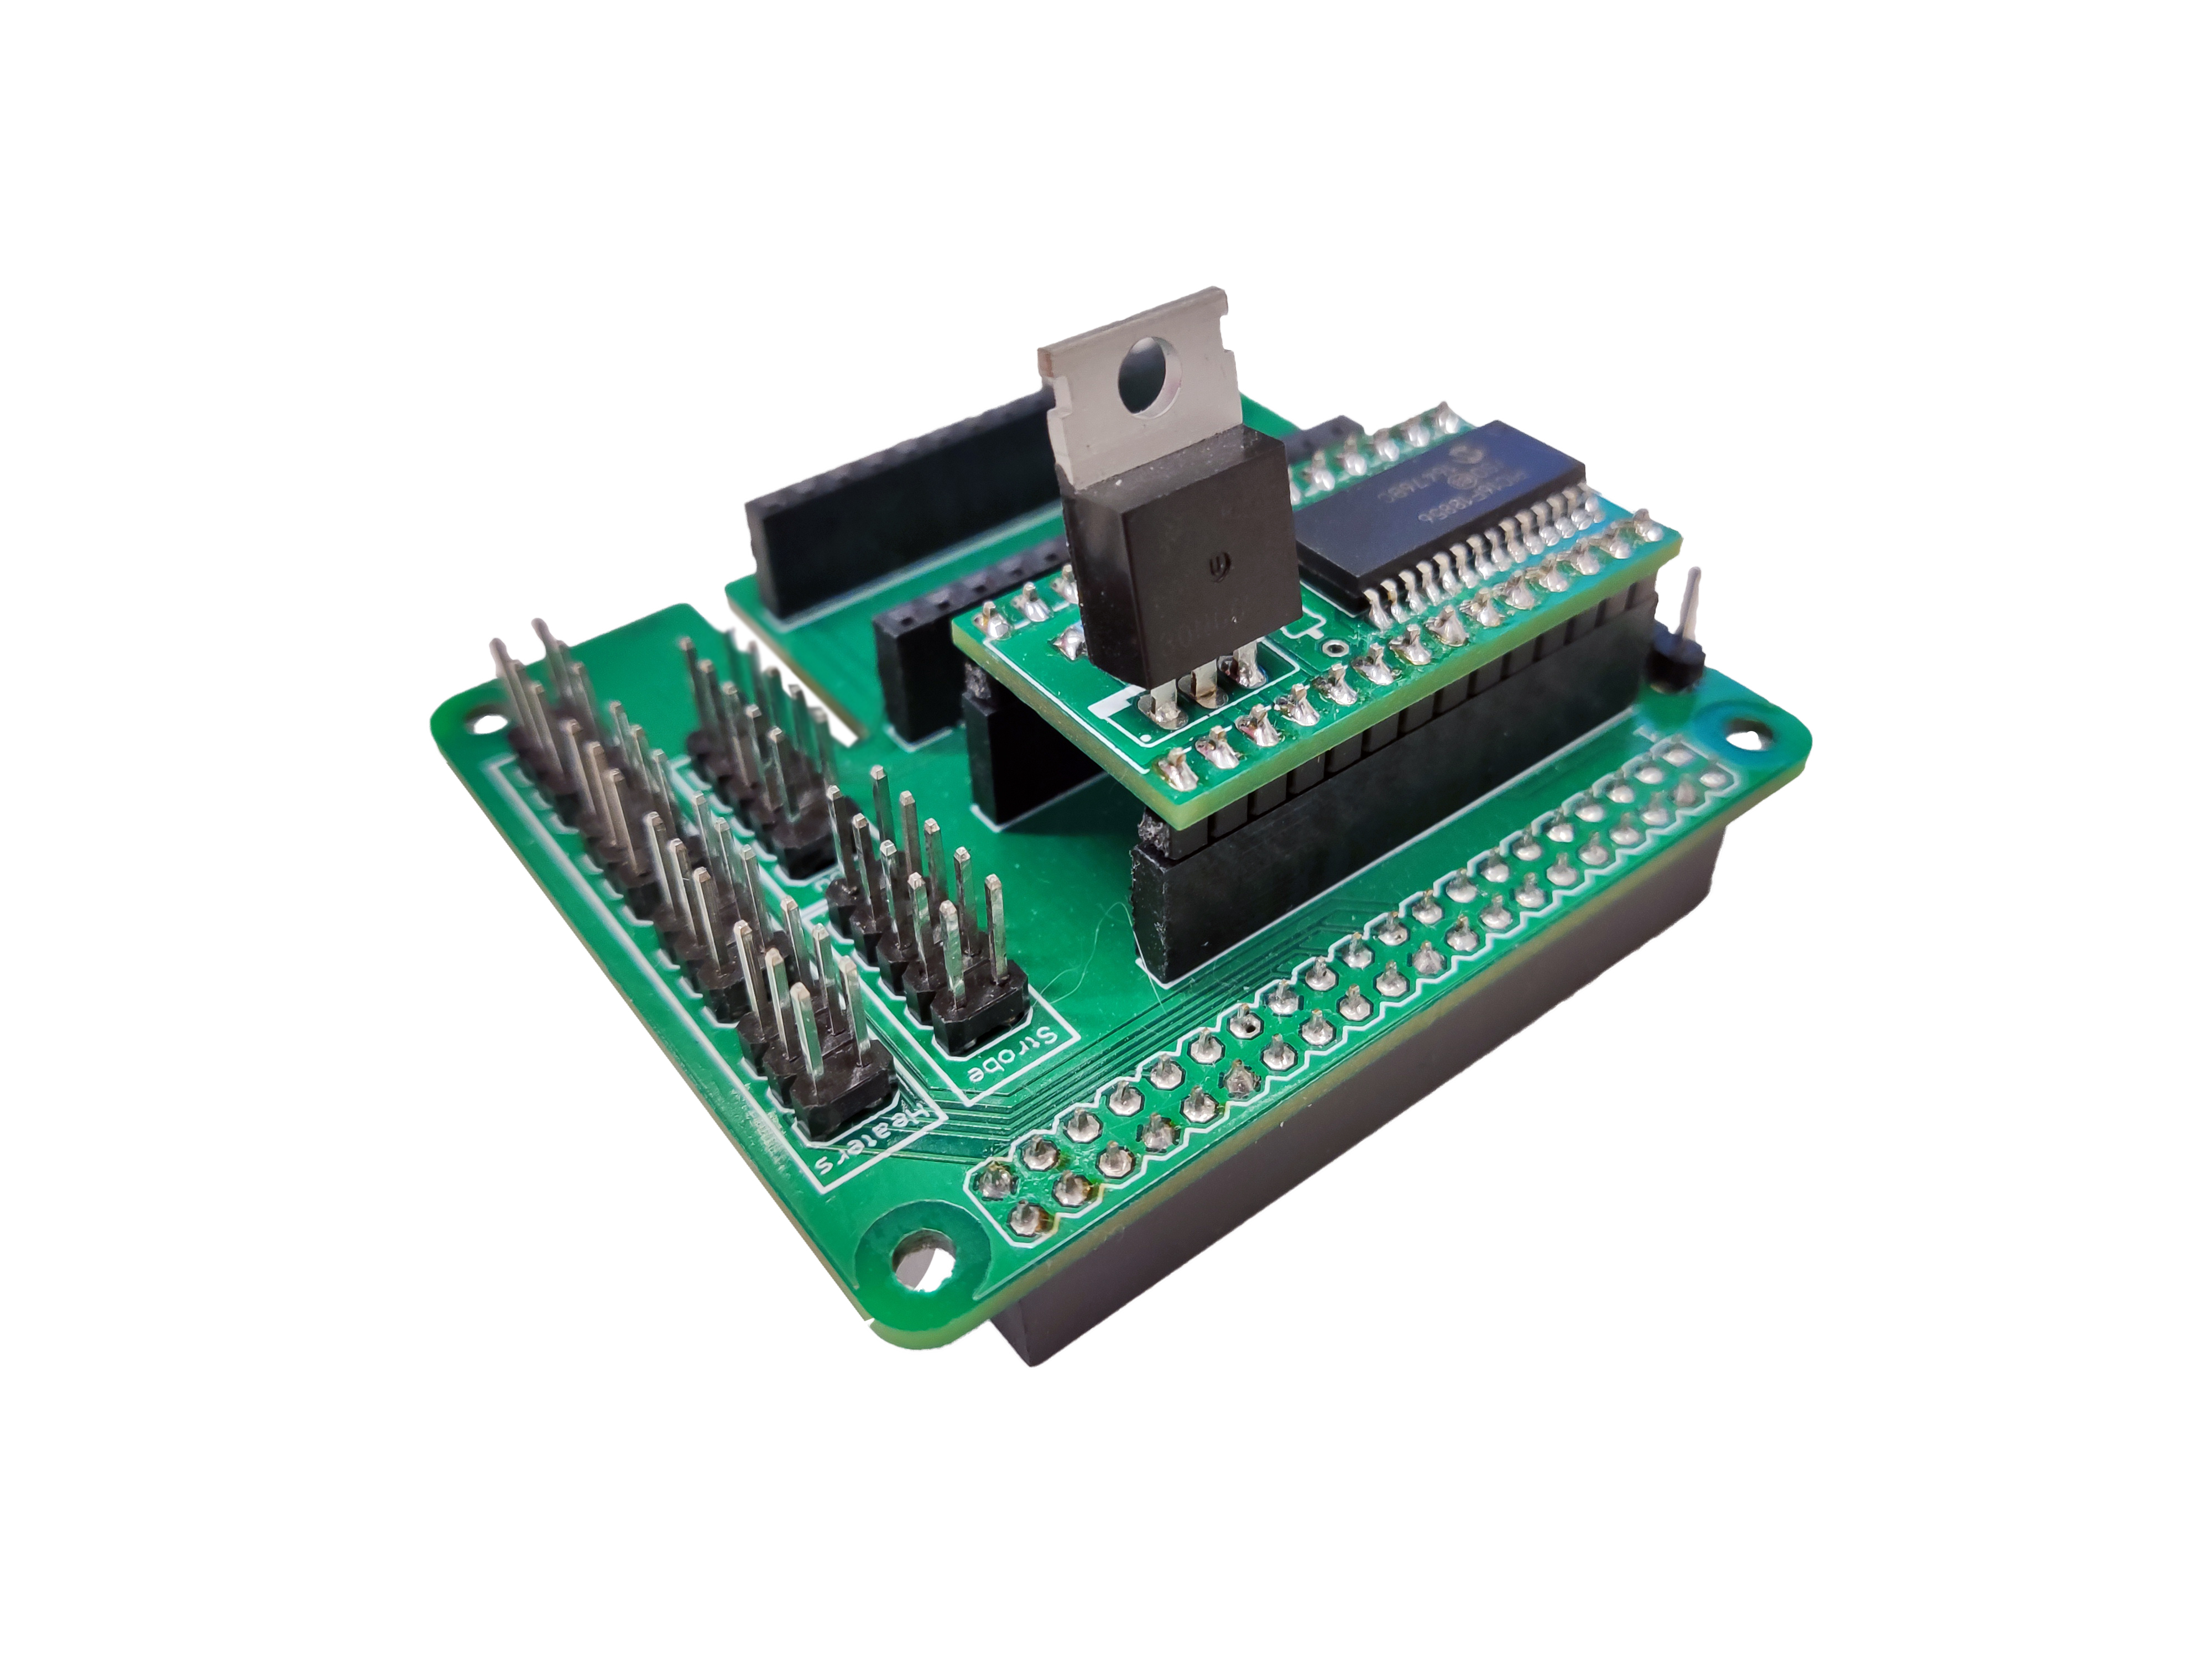
Step 2: Prepare the electronics
- Place the strobe module over the Pi hat.
- Mount the Pi hat on the Raspberry Pi GPIO headers. There is a space to place the ribbon cable.
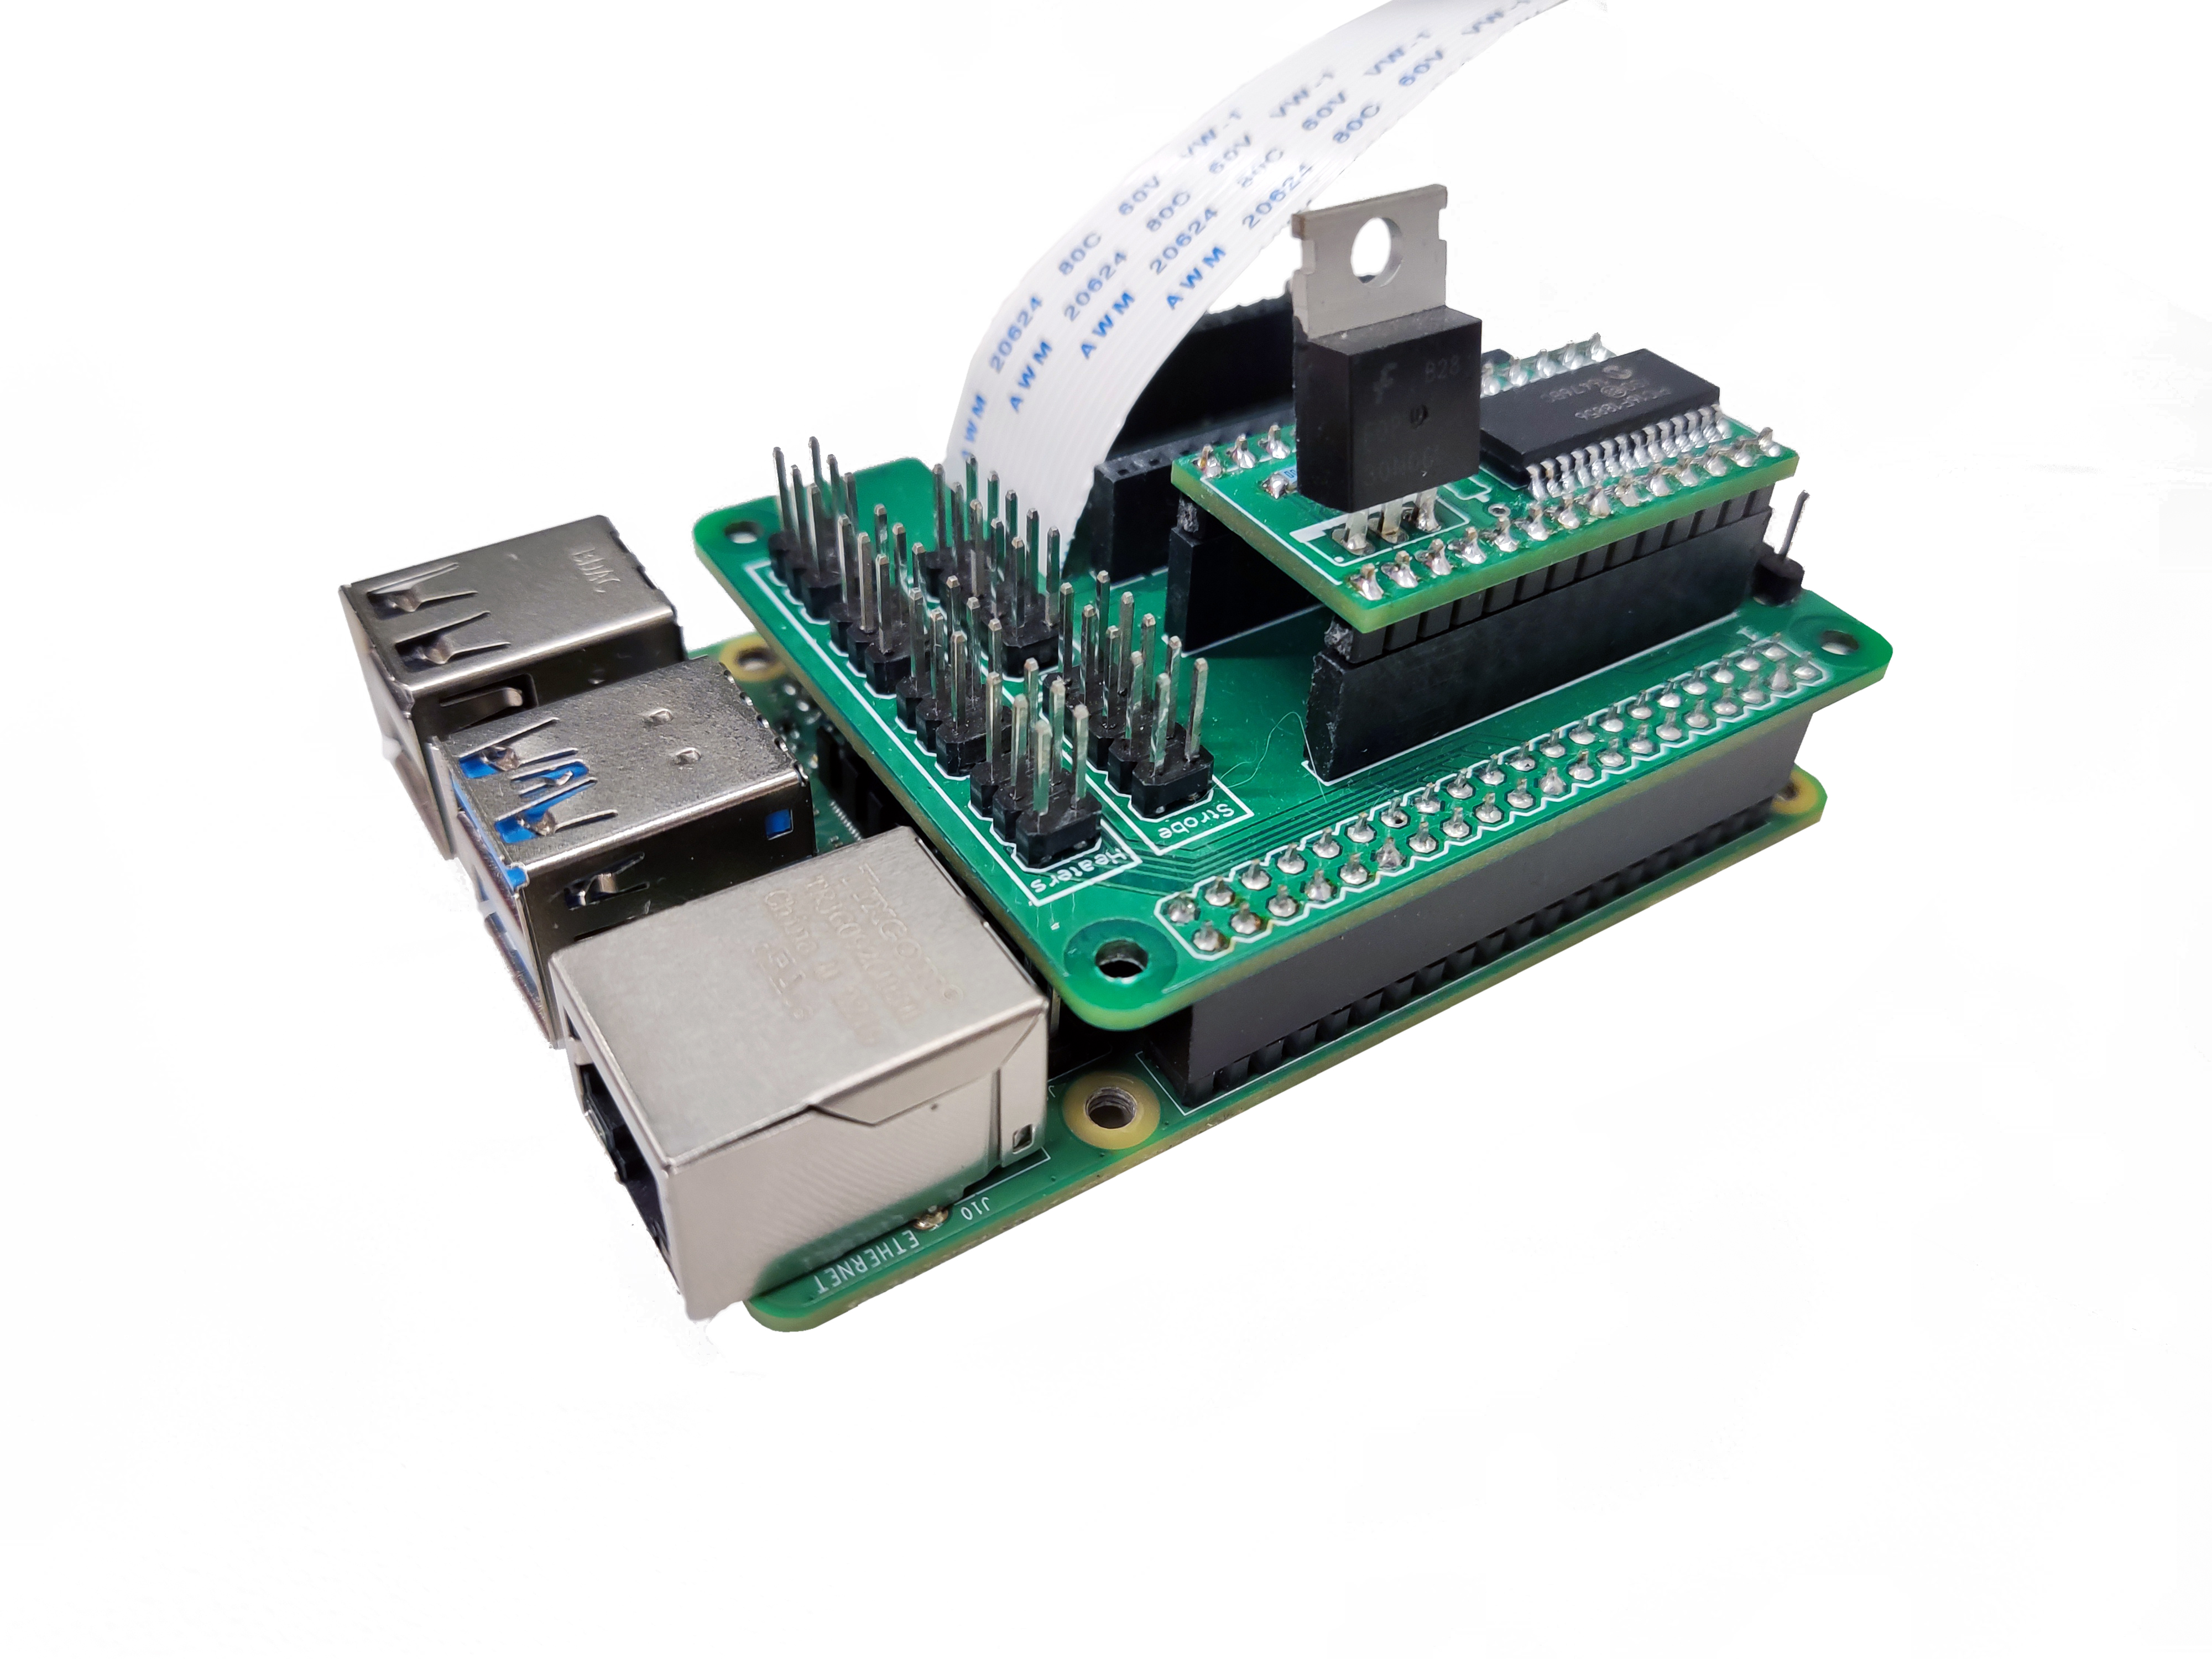
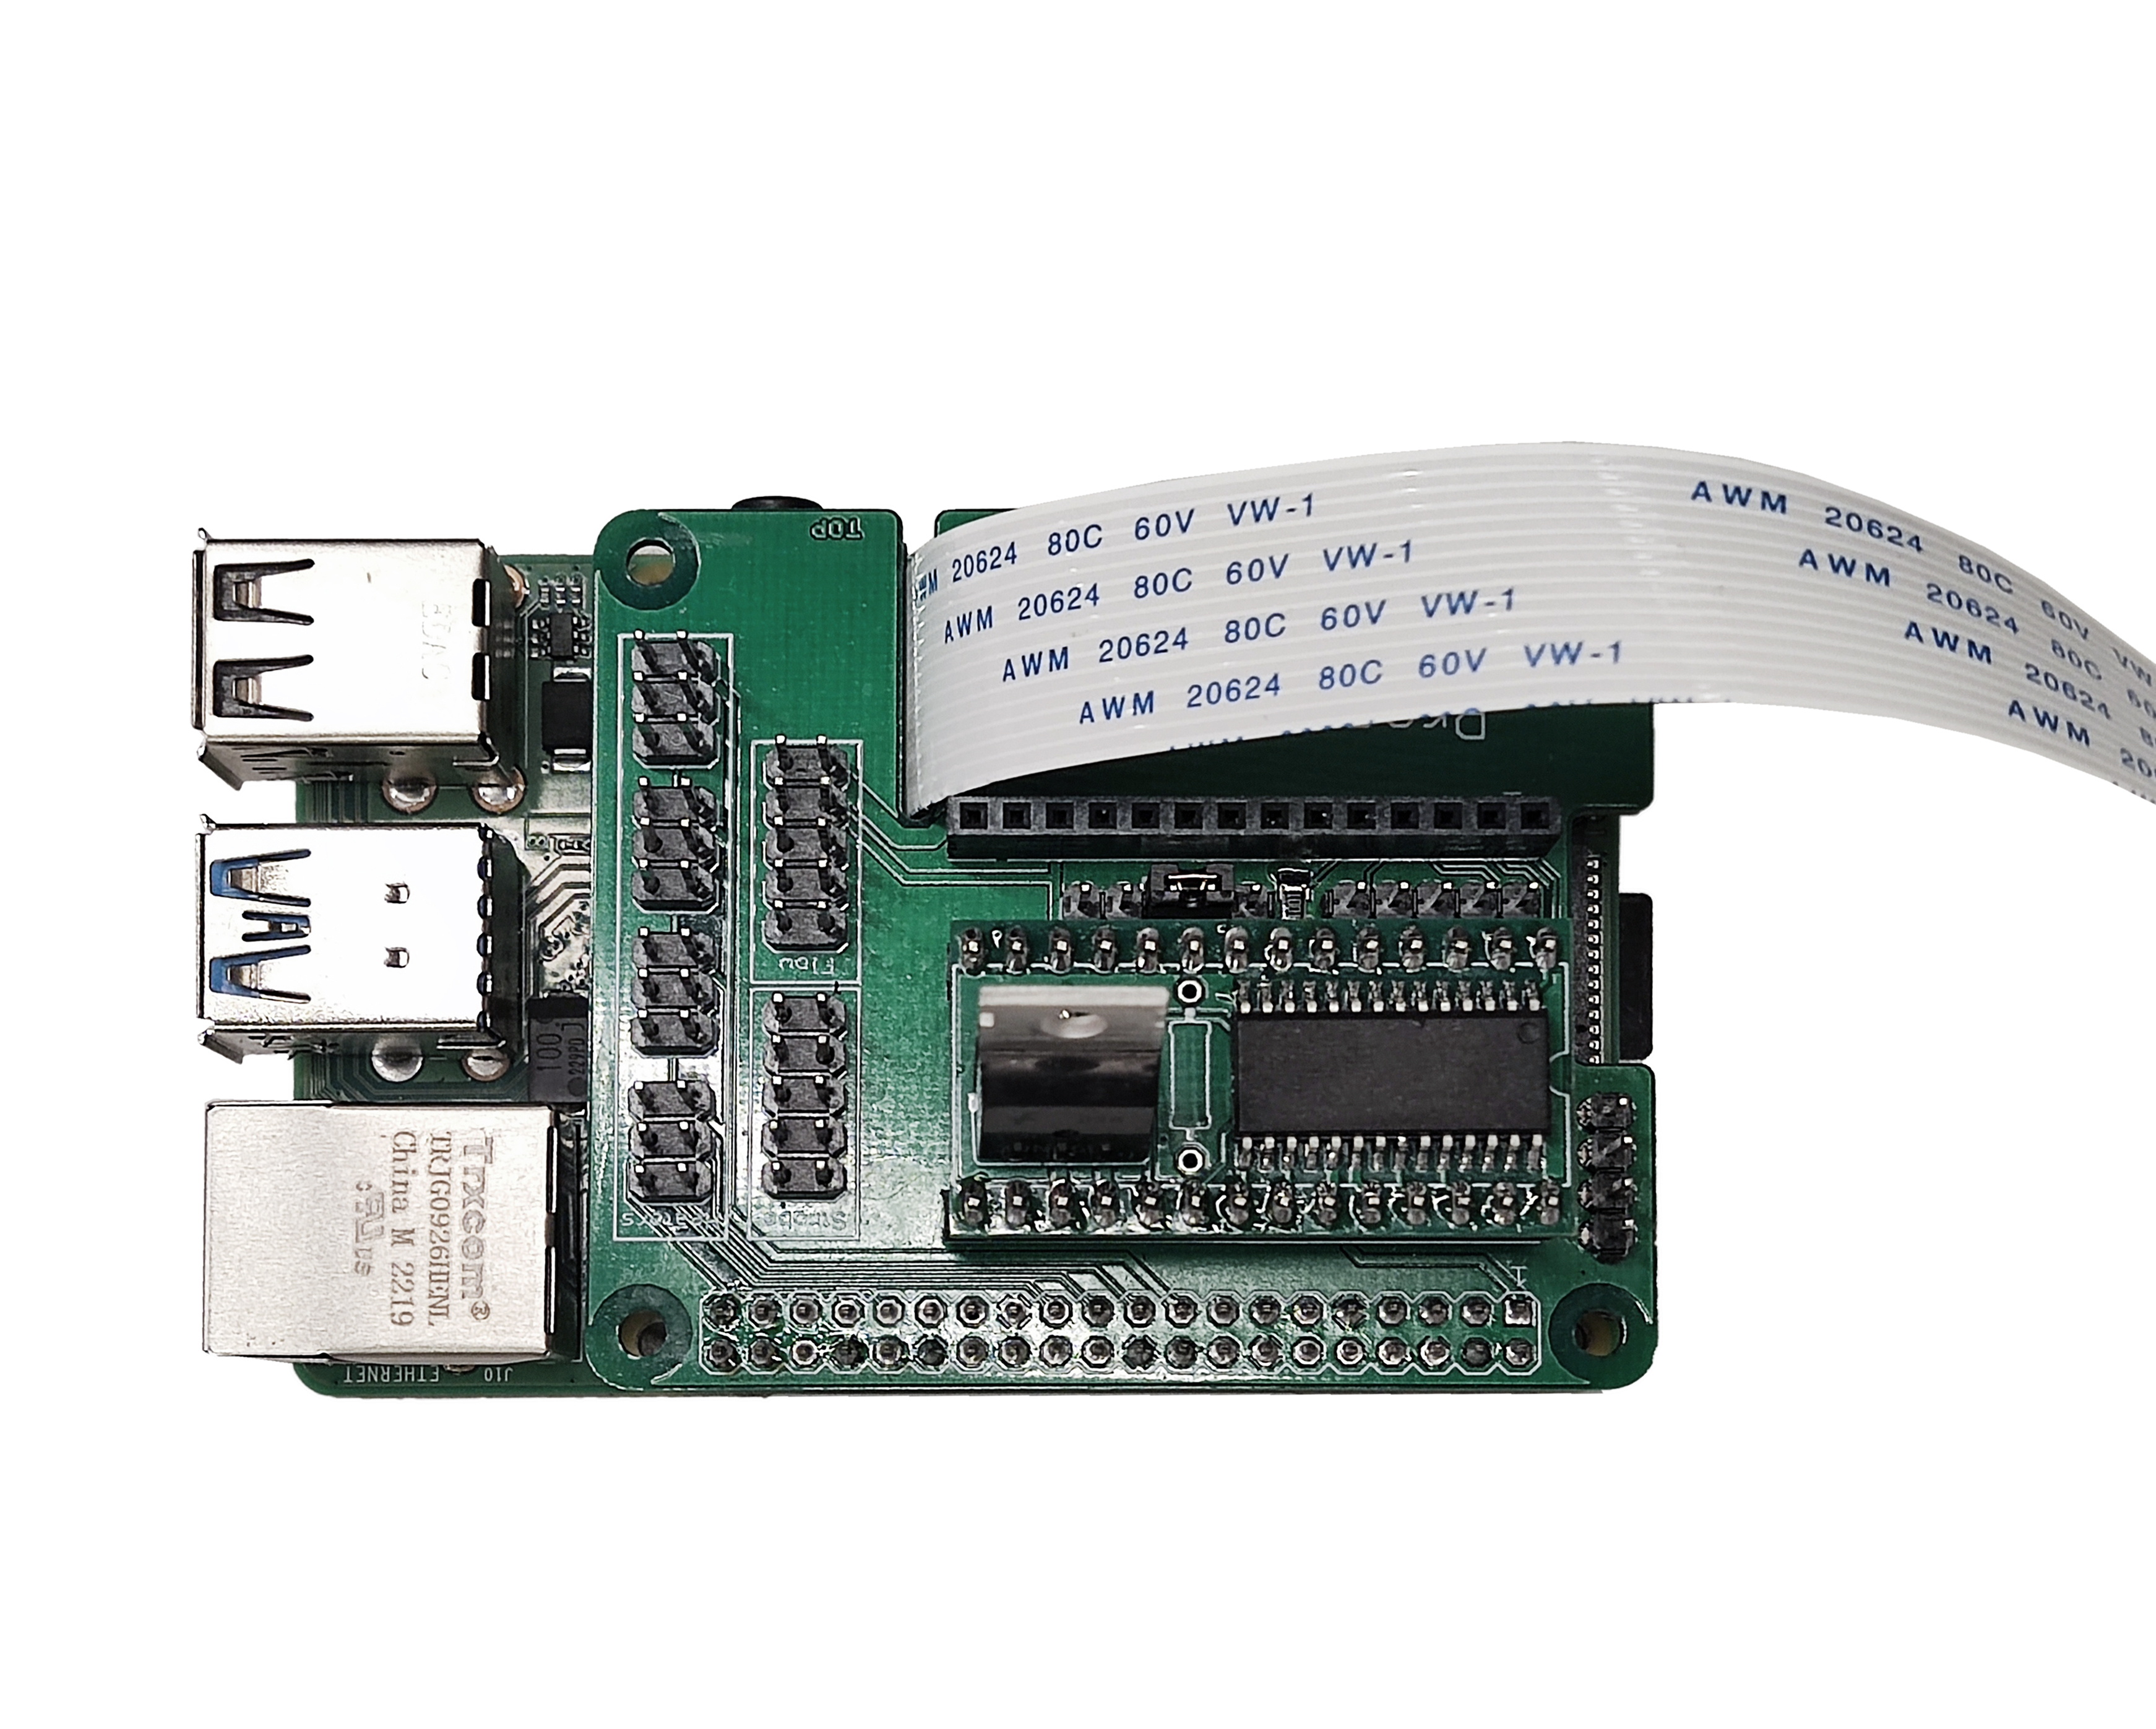

- Connect the 5-pin double row DuPont female connector of the strobe cable to the Pi hat.
